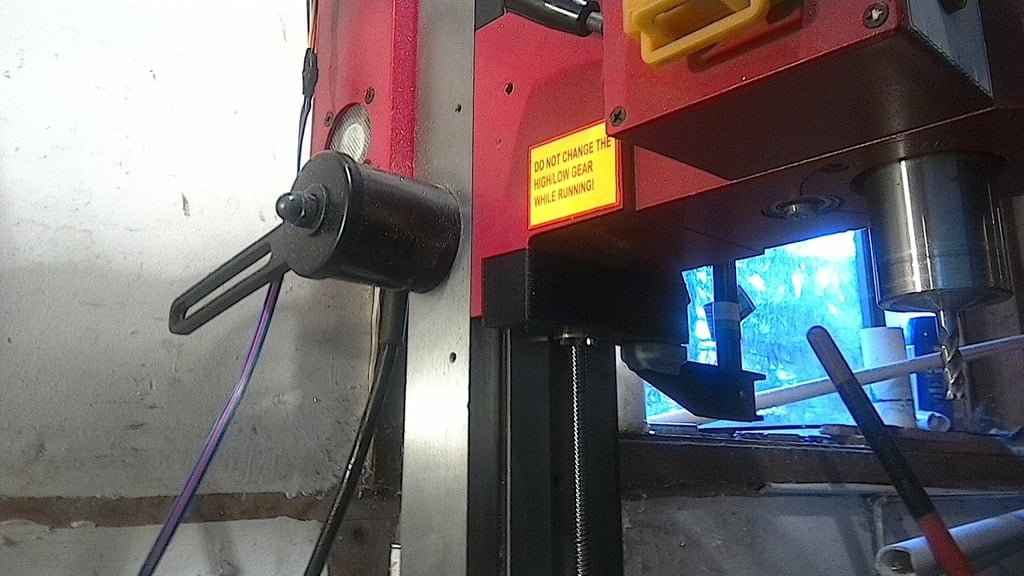
Mini Mill Z axis CNC conversion
thingiverse
Two options exist for converting your mini mill's Z-axis to CNC. "Z final" is an adapter which enables direct drive of the rack and pinion. It offers limited mechanical advantage, along with considerable backlash. This option is the quickest and easiest. The other two prints combine to utilize a leadscrew drive, providing significant mechanical advantage over the rack and pinion (4:1 if using an 8mm leadscrew). The top print centers the motor, while the bottom print fits over the mill and holds the leadscrew nut. Additionally, you will need a leadscrew, leadscrew nut, NEMA stepper, and a coupler between the motor and the leadscrew (I turned this on a lathe). A thrust bearing is also used on the bottom to carry most of the load from the leadscrew instead of hanging from the stepper motor. Blog post: http://harborfreightcnc.blogspot.com/2017/11/z-axis.html X axis: https://www.thingiverse.com/thing:2586512 Y axis: https://www.thingiverse.com/thing:2591938 This entry is brief; if people are interested in replicating, I am happy to elaborate further. My X and Y axis conversions have received some likes/collections but no makes that I am aware of. If people decide to start making, I am happy to provide more details.
With this file you will be able to print Mini Mill Z axis CNC conversion with your 3D printer. Click on the button and save the file on your computer to work, edit or customize your design. You can also find more 3D designs for printers on Mini Mill Z axis CNC conversion.
