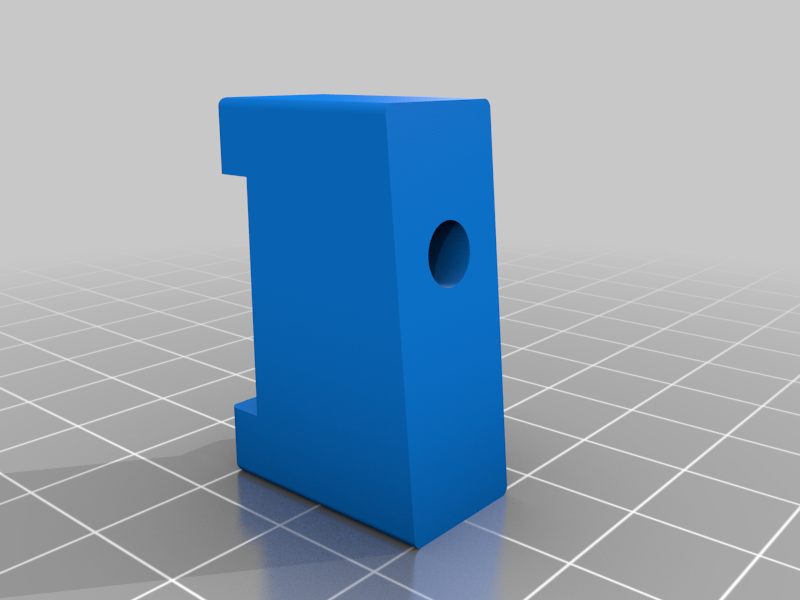
Mini Mill iGaging DRO Mount
thingiverse
Mounting brackets to add [this iGaging DRO](https://www.amazon.com/iGaging-35-706-P-Digital-Readout-Display/dp/B01G4FQI64/ref=sr_1_1?dchild=1&keywords=igaging+dro&qid=1595273331&sr=8-1) to your Sieg X2/Harbor Freight milling machine. You will need thin aluminum or steel to attach the encoder to the machine. Aluminum or steel is required for this purpose. The Z-Axis mount may work well on a lathe as well, suggesting its potential versatility. Designed with M5-0.8 fasteners in mind, you will require 4 x 10mm screws per axis, 2 x 30mm screws for the Z axis, 2 x 16mm screws for the Y axis, and two of the M6 bolts that came with your machine to attach the X axis brackets. Based largely on https://littlemachineshop.com/images/gallery/Instructions/2016DROInstallation.pdf, which has been adapted to fit the dimensions of the igaging parts. Ensure that your machine is capable of 3d printing a threaded hole, as these parts have modeled M5-0.8 threads. The X axis can be installed using the already threaded holes in your table. The Y and Z axes require drilled and tapped M5-0.8 threads to be created.
With this file you will be able to print Mini Mill iGaging DRO Mount with your 3D printer. Click on the button and save the file on your computer to work, edit or customize your design. You can also find more 3D designs for printers on Mini Mill iGaging DRO Mount.
