Mini LED light
prusaprinters
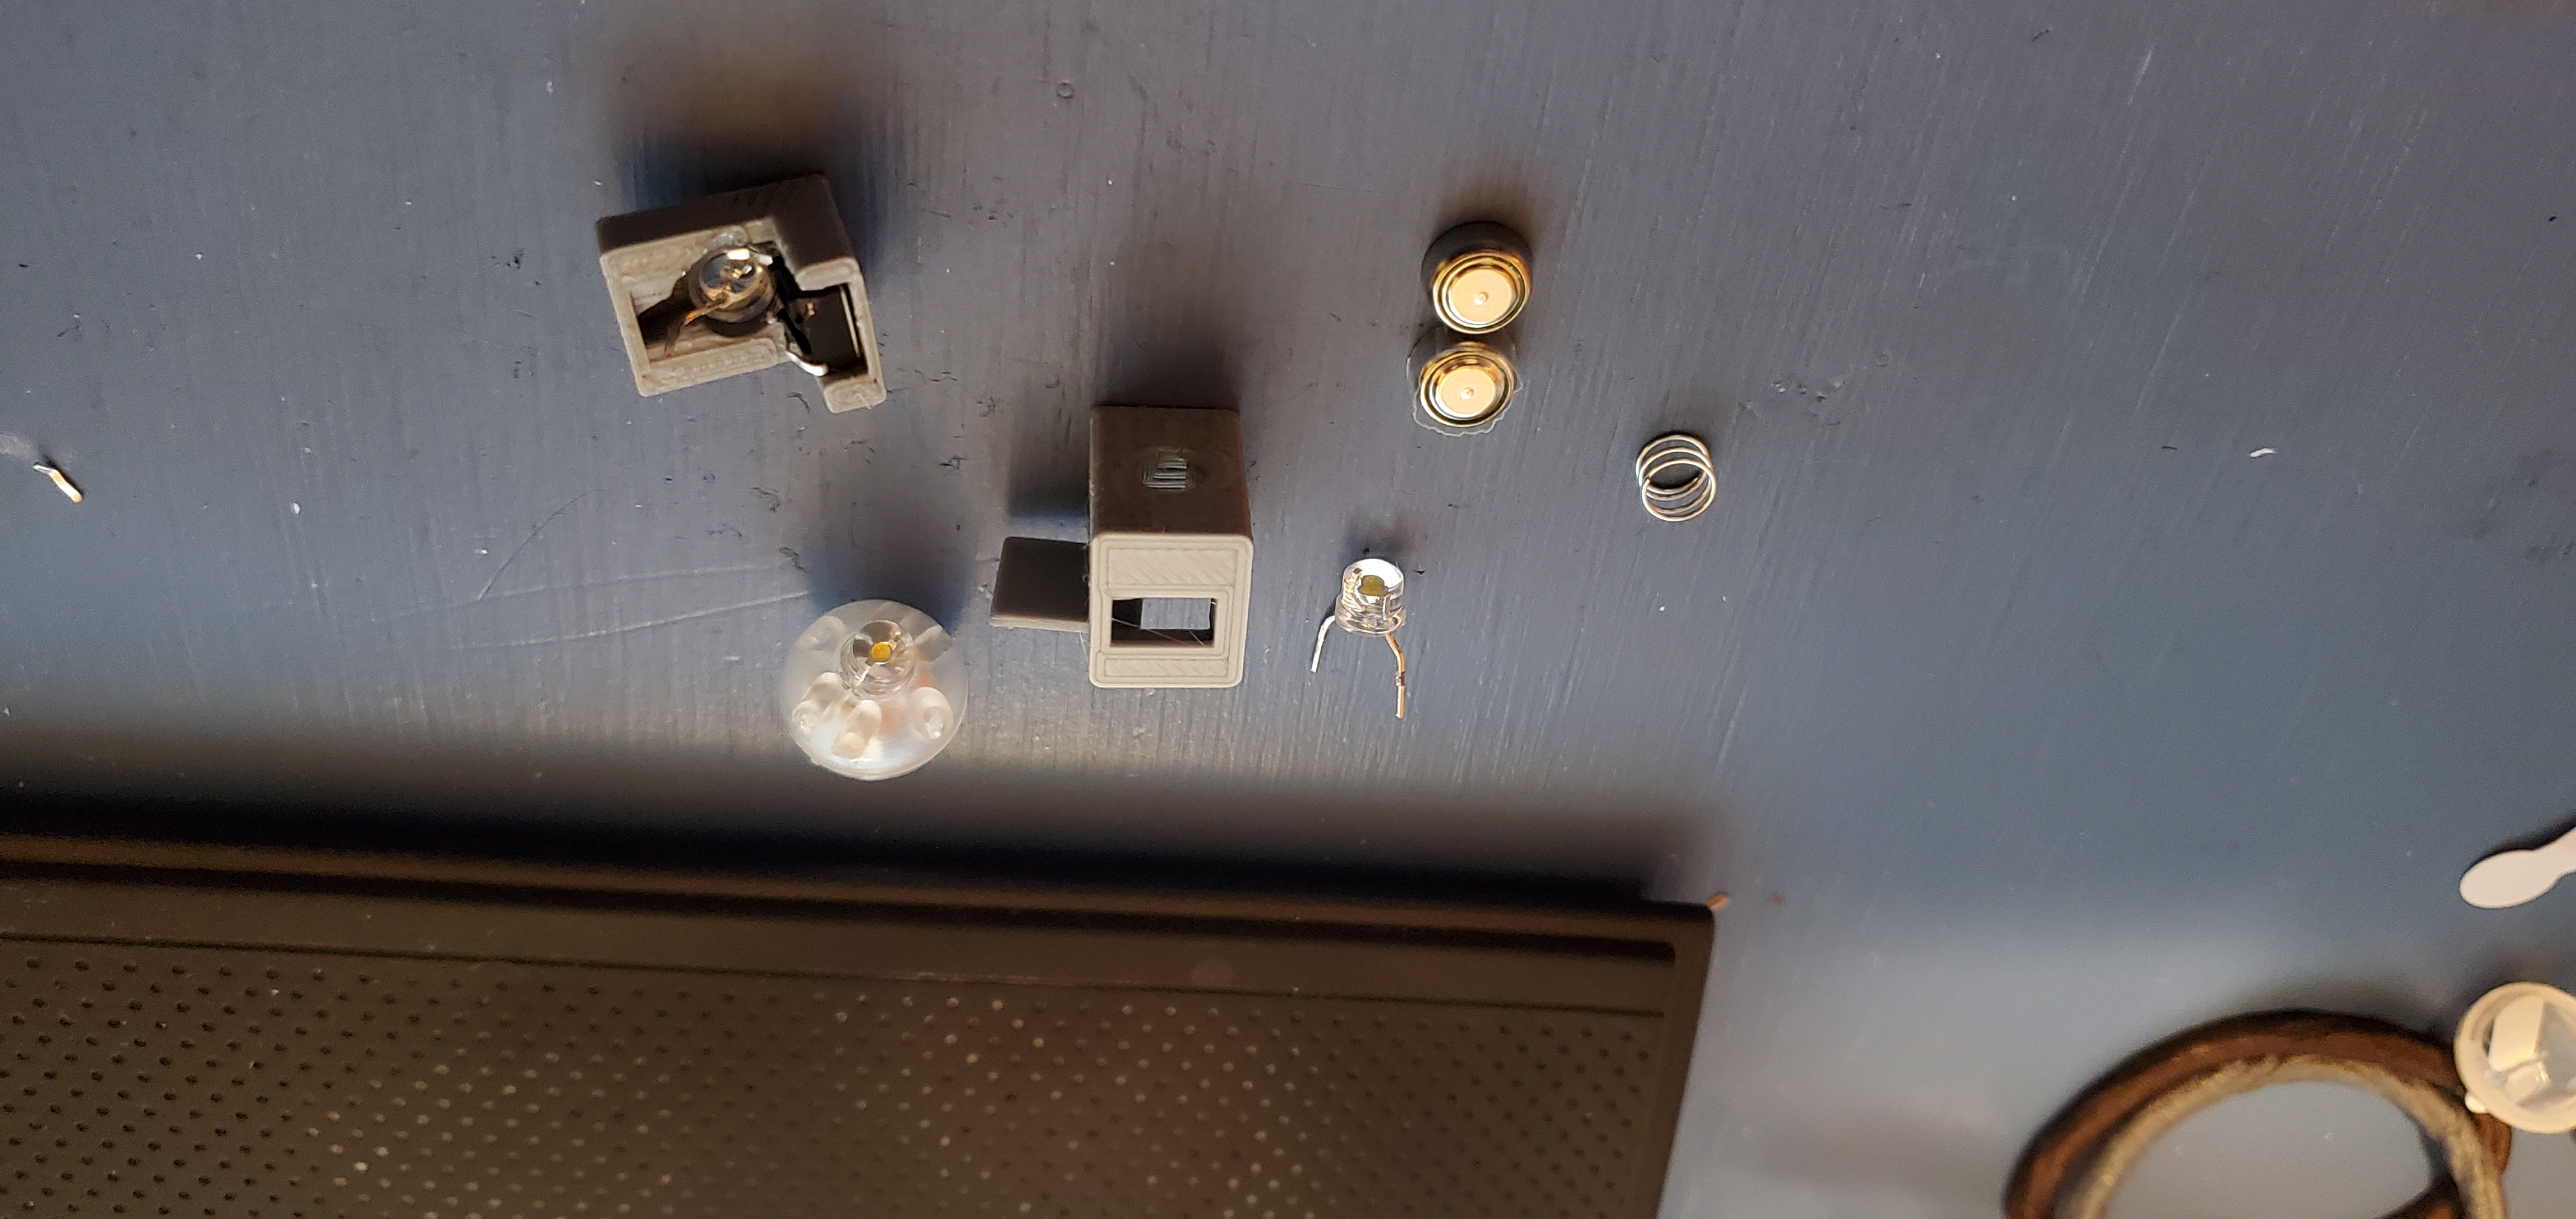
<p>I made this because I found several little LED lights however turning them off and on was a pain, So I made my own version with a push button.</p><p>Print at .2 or .15 layer heights, this thing is tiny.</p><p>To make them you only need</p><p>2 LR41 cells</p><p>6x6x5 push button</p><p>5mm Straw hat LED (the hole is too small for a regular 5mm LED)</p><p>Small spring optional</p><p>To make clip the Negative leg of the LED at about 3mm. Then bend in two of the connected legs of the button toward the center (these will be your positive battery connection). Next place the button and LED in the soldering jig. (I like to clamp it at a 45 degree angle so the button and light sit better.) The button leg and shortened LED Legs should meet in the corner. Solder these legs together.</p><p>Now remove the LED and button and place the LED into the light, you will need to bend the button down to get it in. It helps to use a small screwdriver to then bend the button up into its slot.</p><p>Now push the batteries in positive sides towards the button. The button legs should contact the top of the batteries, and the remaining LED leg should contact the bottom. Test that it works and slide on the back.</p>
With this file you will be able to print Mini LED light with your 3D printer. Click on the button and save the file on your computer to work, edit or customize your design. You can also find more 3D designs for printers on Mini LED light.