Mini Laser Kerf Gauge
thingiverse
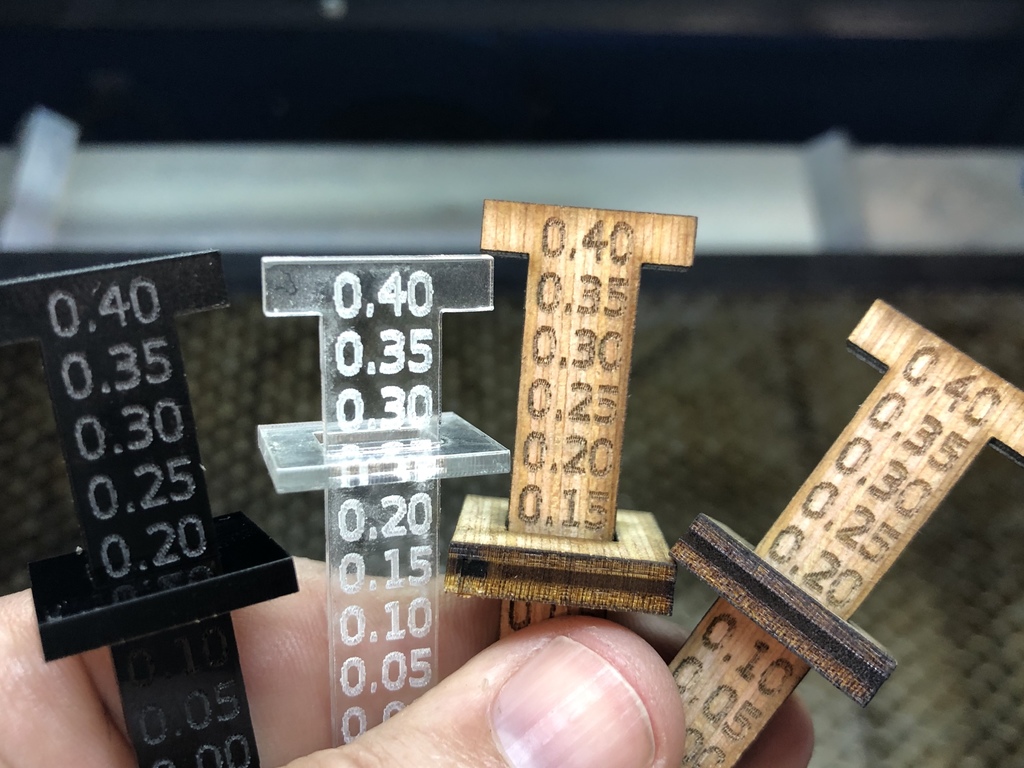
This isn't a new idea, but I wanted a simple tool to quickly figure out the laser kerf (width of cut) for projects where tight-fitting parts are needed. I also didn't want a large tool because sometimes I don't have enough extra material for testing - only 20mm x 70mm is required. Cut out your target material with suitable power and speed settings. Then just slide the gauge through the hole, and the kerf is shown above the base. It's also helpful when trying to determine the right offsets for press-tight joints, especially for soft materials. Just push the gauge up until the desired joint tightness is achieved. Then use the number displayed above the base to set the cut process offsets. Important: The kerf width shown is the total width of the cut made by the laser. When setting the offset for your cut process, use half of the displayed value. Kerf range: 0.00mm to 0.40mm, in 0.05mm increments The hole in the base can accommodate up to 8mm thick material.
With this file you will be able to print Mini Laser Kerf Gauge with your 3D printer. Click on the button and save the file on your computer to work, edit or customize your design. You can also find more 3D designs for printers on Mini Laser Kerf Gauge.
