Mini Knarre / Ratsche 1/4" Sechskant ***Print in Place***
prusaprinters
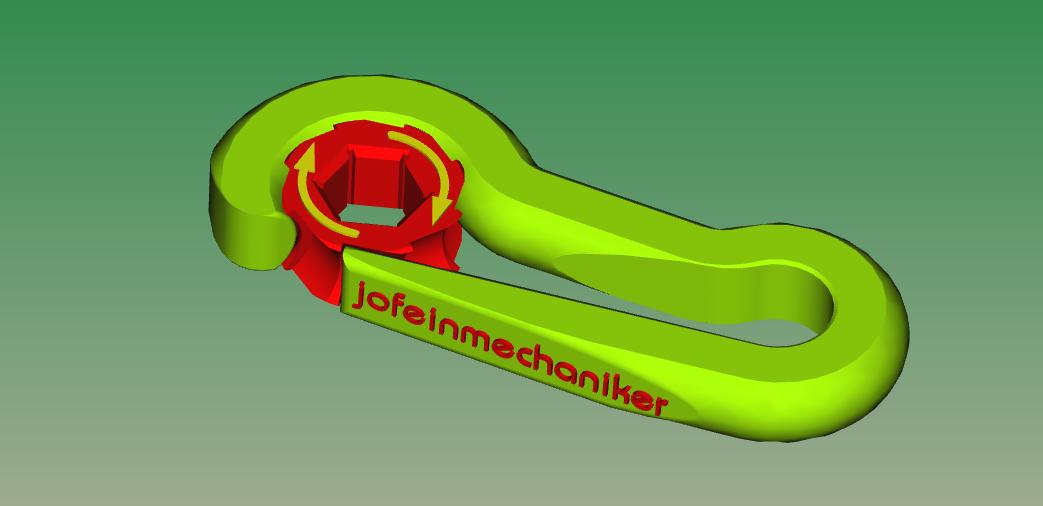
<p>Mini Knarre / Ratsche 1/4" Sechskant<strong> ***Print in Place***</strong></p><p>Eine kleine “Knarre” zum antreiben von ¼" Sechskant Bits sehr klein gut für einen Schlüsselanhänger. <i>(Maße ca. 51 x 20 x 6 mm )</i></p><p>Die Drehrichtung wird durch wechsel der Einsteck-Seite geändert, das Werkzeug dreht sich immer in Pfeilrichtung.</p><p>Bei der Positionierung auf dem Druck-Bett darauf achten das die erhabenen Pfeile nach oben weisen und die Schrift richtig herum <i>(nicht über Kopf)</i> steht.</p><p>Für den Druck empfehle ich PC, PETG, PLA oder ABS <i>(ABS ist vielleicht etwas zu weich und PLA könnte zu brüchig sein.)</i></p><p>Es sollte mit mindestens 30% Füllung, besser 100% gedruckt werden.</p><p>NACHTRAG:</p><p>Das "Print in Place" Teile im Übergangsbereich manchmal ein wenig mit einander verschmelzen ist nicht ungewöhnlich. Dabei hilft normalerweise vorsichtiges "losbrechen" eventuell unter zur Hilfenahme von etwas Flüssig-Seife.</p><p>Print in Place ist immer ein Kompromiss und muss nicht selten "frei gebrochen" werden.</p><p>Ein Kollege hat heute eine gedruckt, drehte sich auch nicht.</p><p>Den “federnden Schenkel” vorsichtig im Schraubstock eingespannt und vorsichtig “losgebrochen”</p><p>Danach einen Bit im Schraubstock eingespannt und unter vorsichtigem seitlichen wackeln in Freilauf-Richtung gedreht, siehe da er “es brach frei” und sie funktioniert.</p><p>Drucker Anicube</p><p>Düse 0,4 mm</p><p>Filament das weiße welches dabei war (PLA)</p><p>Schichthöhe 0,2 mm</p><p>Füllung 40%</p><p>Für alle bei denen “Print in Place” nicht funktioniert hab ich die Teile Aussen und Zentrum nochmal einzeln beigefügt.</p><p>+++++++++++++++++++++++++++++++++++++++++++++++++++++++++</p><p>Google translates:</p><p>Mini ratchet 1/4" hexagon ***Print in Place***</p><p>A small “ratchet” for driving ¼" hex bits, very small, good for a keychain. (Dimensions approx. 51 x 20 x 6 mm)</p><p>The direction of rotation is changed by changing the insertion side, the tool always rotates in the direction of the arrow.<br>When positioning on the printing bed, make sure that the raised arrows point upwards and that the writing is the right way round (not upside down).</p><p>For printing I recommend PC, PETG, PLA or ABS (ABS might be a bit too soft and PLA might be too brittle.)</p><p>It should be printed with at least 30% fill, better 100%.</p><p>ADDENDUM:</p><p>It is not uncommon for the "print in place" parts to sometimes merge a little in the transition area. It usually helps to carefully "break loose" with the help of some liquid soap.</p><p>Print in Place is always a compromise and often has to be "broken free".<br>A colleague printed one today and didn't turn it either.</p><p>Carefully clamp the “springy leg” in the vice and carefully “break loose”</p><p>Then clamp a bit in the vice and turn it in the free-wheeling direction while carefully shaking it sideways, lo and behold it “broke free” and it works.</p><p>Printer Anicube</p><p>nozzle 0,4mm</p><p>Filament the white one that came with it (PLA)</p><p>Layer height 0.2 mm</p><p>filling 40%</p><p>For everyone where "Print in Place" doesn't work, I've attached the parts outside and center again individually.</p>
With this file you will be able to print Mini Knarre / Ratsche 1/4" Sechskant ***Print in Place*** with your 3D printer. Click on the button and save the file on your computer to work, edit or customize your design. You can also find more 3D designs for printers on Mini Knarre / Ratsche 1/4" Sechskant ***Print in Place***.