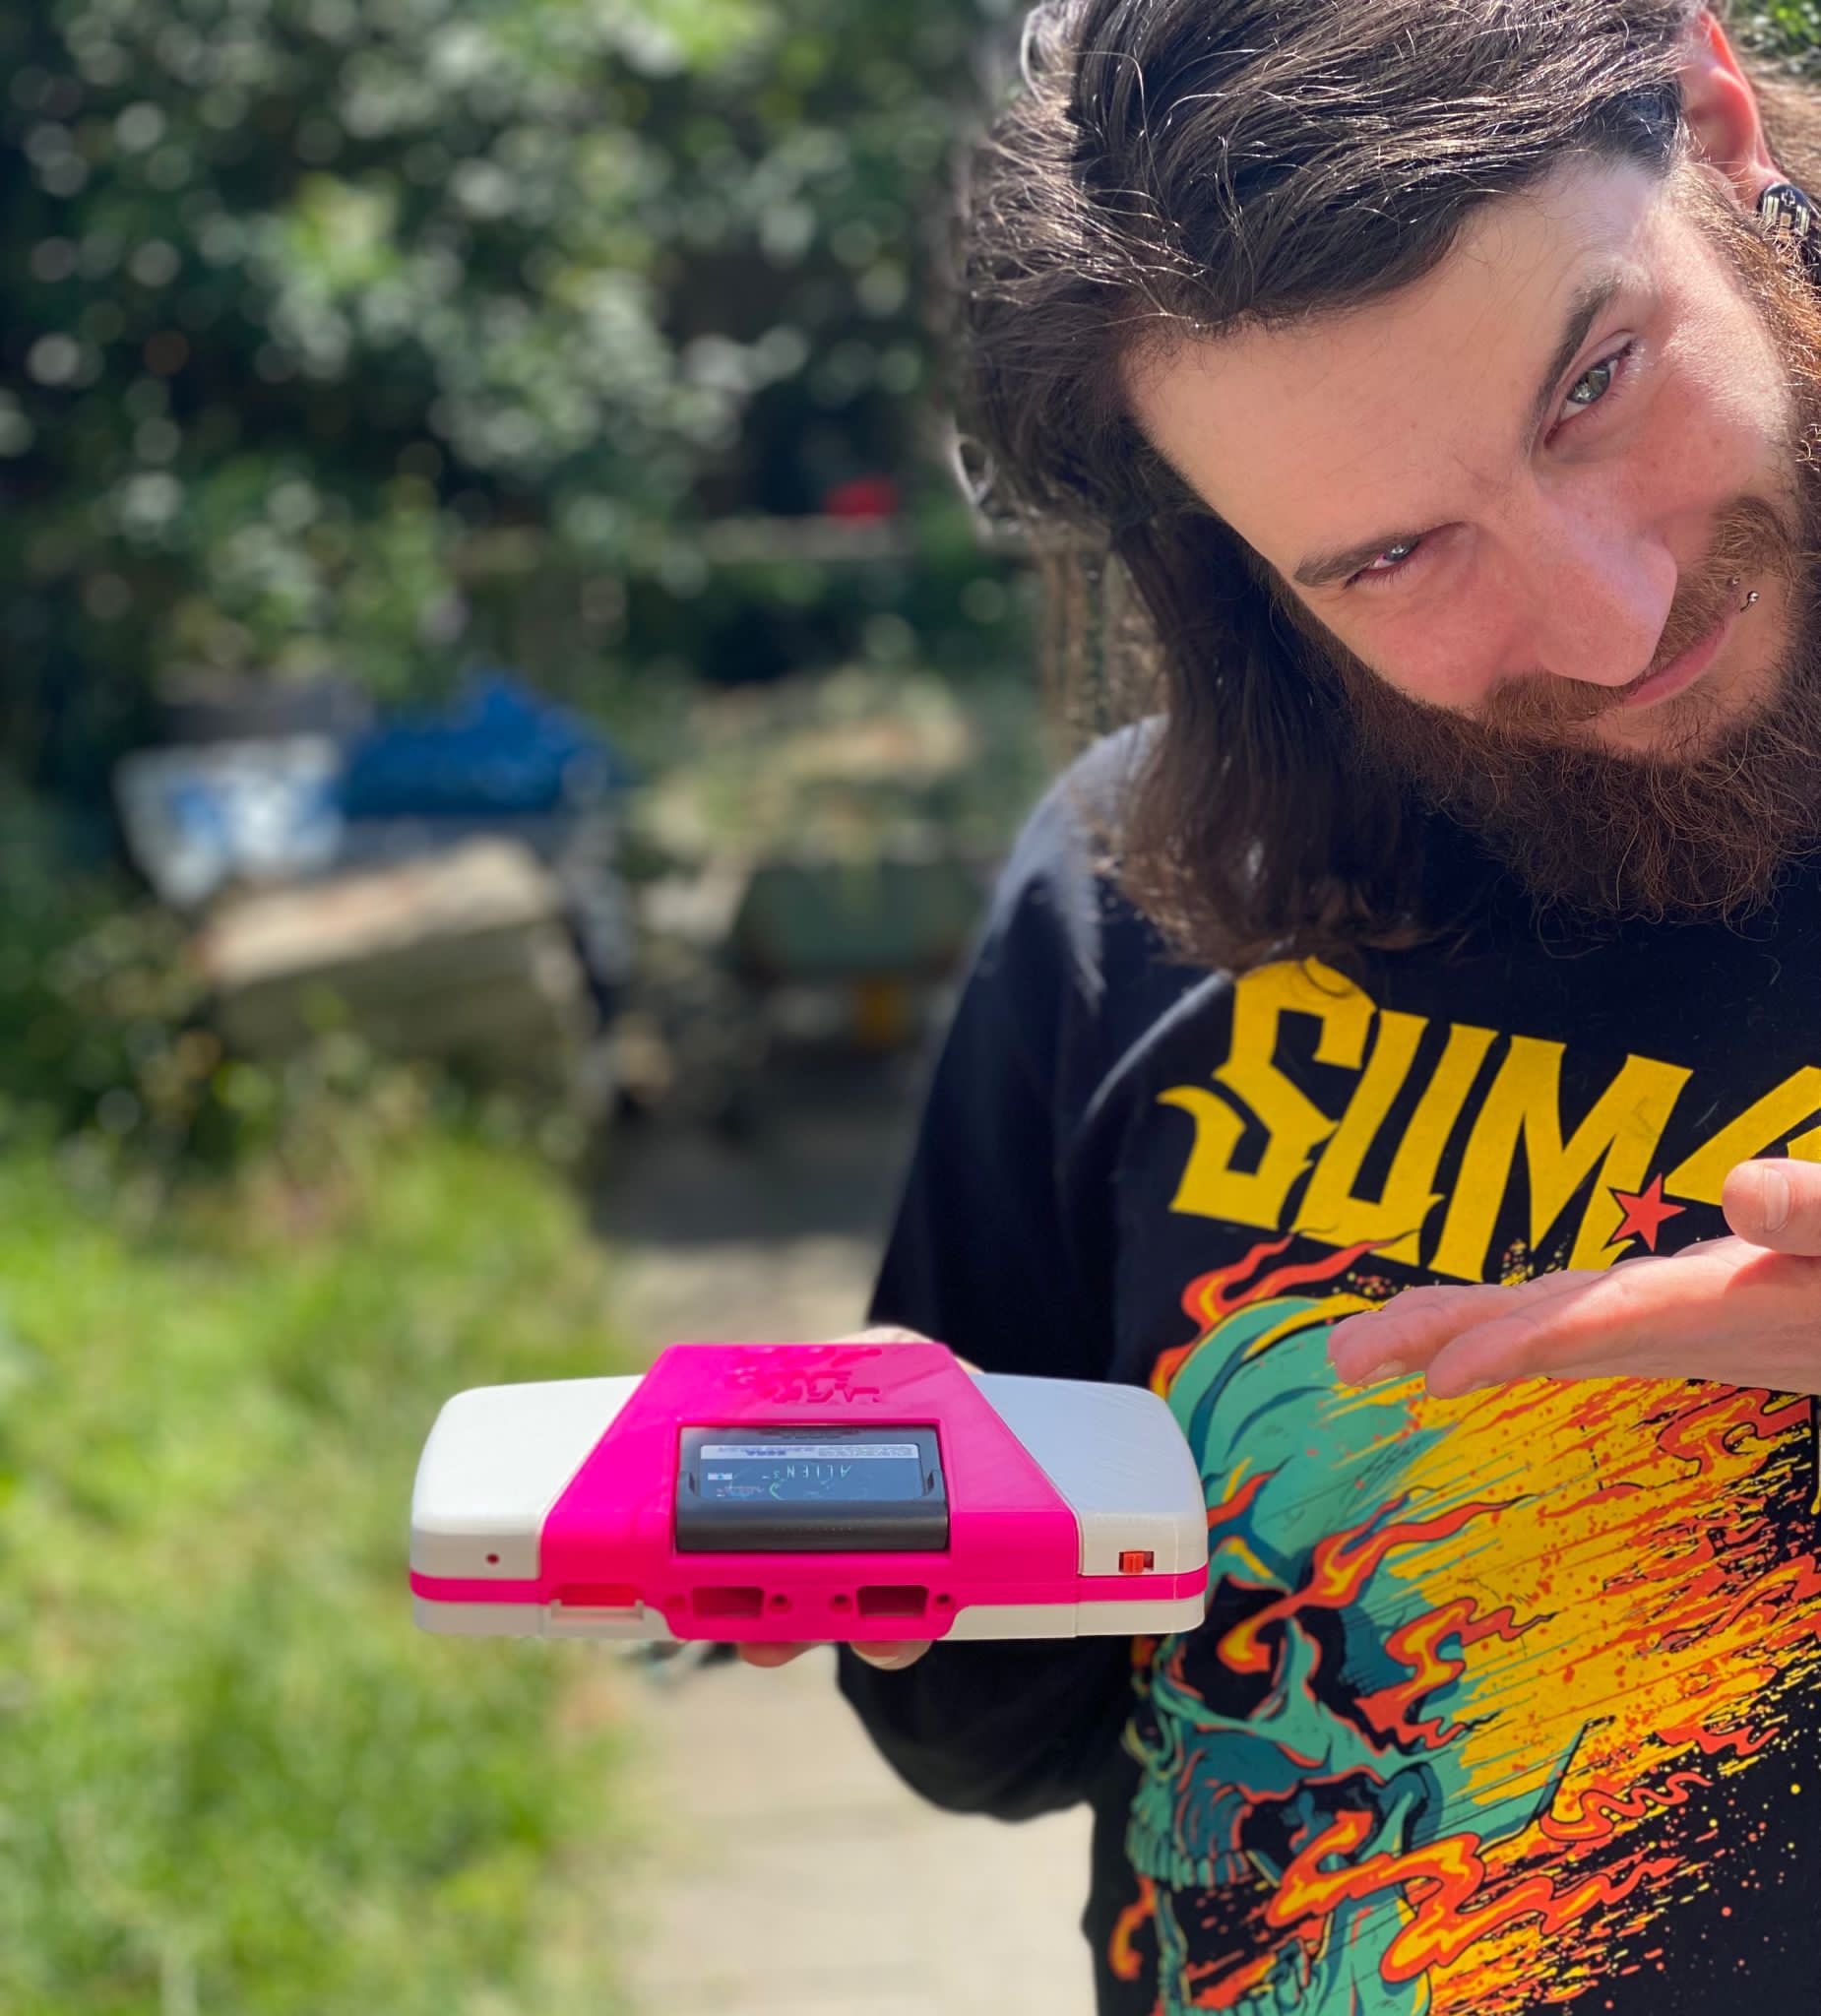
Mini-GG Consolized Game Gear (GGTV)
prusaprinters
<p>This is definitely not an easy print, just be warned!</p><p> </p><h4>Parts required</h4><h5>Electronics</h5><ul><li>Game Gear mainboard</li><li>Game Gear power board</li><li>GGTV (Tim Worthington's)</li><li>pxlmod v1.3 (Genesis / Mega Drive Controller Port Adapter Kit)<ul><li>could be replaced with a different option, I am just using this myself :)</li></ul></li></ul><h5>Hardware</h5><ul><li>Power Jack: <a href="https://nl.aliexpress.com/item/4000470821076.html?spm=a2g0s.8937460.0.0.19922e0ebpxL9D">https://nl.aliexpress.com/item/4000470821076.html?spm=a2g0s.8937460.0.0.19922e0ebpxL9D</a></li><li>Power Switch: <a href="https://nl.aliexpress.com/item/32975535599.html?spm=a2g0s.8937460.pcrcomd.3.70142e0eliwTUv">https://nl.aliexpress.com/item/32975535599.html?spm=a2g0s.8937460.pcrcomd.3.70142e0eliwTUv</a></li><li>SCART connector (I couldnt source that one on Ali): <a href="https://www.conrad.nl/p/tru-components-scart-connector-bus-inbouw-verticaal-zwart-1-stuks-1578891">https://www.conrad.nl/p/tru-components-scart-connector-bus-inbouw-verticaal-zwart-1-stuks-1578891</a></li><li>8x M3x5 screws</li><li>11x M3 square nuts</li><li>2x M3x18 (back side of housing)</li><li>1x M3x16 (front center of housing)</li></ul><p> </p><h4>Assembly</h4><p>Start by assembling the “GG_Top_Shell_L/R” onto the “GG_Top_Shell_Cart” model (may require a bit of force to get them to align perfectly).</p><p>From here you can screw in the power board (make sure to not forget the switch cover).</p><p>Next take the “GG_Bottom_Shell_Base”, and slide the “GG_Bottom_Shell_Trim” in place.</p><p>From here you should be able to screw all the small screws of the GG mainboard in place, along with all the electronics around the trim (the switch on the left backside is not power, but meant to be able to switch between composite/RGB output by toggling the RGB switch on the scart socket).</p><p>before screwing in the 2 big screws for the cartridge socket, make sure to sandwich the “GG_TV_Bracket” in between, this holds the GGTV in place.</p><p>The PXLmod 1.3 I have held in place with some double sided tape in the gap where the screen used to sit inside the housing (I didnt wanna make a bespoke clamp, as they are hard to get hold of nowadays, and people might have other solutions for this instead).</p><p>Dont forget to glue in the letters and logo (which I clearly have not in the photo's, hahaha).</p><p> </p><h4>Missing?</h4><p>I have not fully assembled my own one yet (due to time mostly, maybe a little laziness involved too), so there might be revisions still to come in the future.</p><p>One thing I am aware of, is that this will currently not fit on the official SEGA wireless controller kit - I do plan to make adjustments to cover this.</p><p>I am also not 100% sold on the way the shell clamps, so might in a future revision add another couple of locations where the shells snap together (either printed or screws, not sure yet - or if at all).</p>
With this file you will be able to print Mini-GG Consolized Game Gear (GGTV) with your 3D printer. Click on the button and save the file on your computer to work, edit or customize your design. You can also find more 3D designs for printers on Mini-GG Consolized Game Gear (GGTV).
