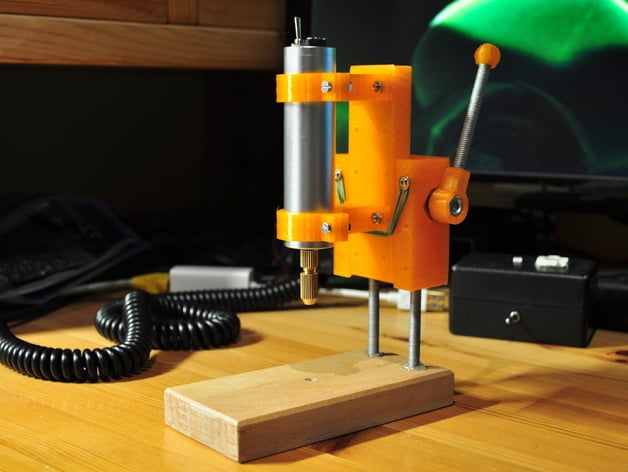
Mini Drill Press for PCB Drill
thingiverse
This is my DIY miniature Drill press project, designed for drilling precise holes in printed circuit boards (PCBs). The sturdy brackets feature an interior diameter of 24mm. Read on for a step-by-step guide to assemble this awesome drill press. This build was inspired by a Thingiverse project but has been completely reimagined with new design elements. Here's what you'll need: * Six M3 x 12 bolts * Six M3 nuts * Approximately 320mm of M6 threaded rod (70mm + two sections of 125mm) * Four M6 nuts * Two M6 washers * A wooden base measuring 125x60x18mm * A 24mm diameter drill motor from eBay Now, let's get to the assembly process. 1. First, print out all the necessary parts and allow them to cool down completely before handling. 2. Ensure that each part is completely cooled down, as any residual heat can cause the plastic to shrink, leading to fitment issues. 3. To prepare the slider, lightly sand it crosswise on a flat surface using sandpaper until it fits snugly into its corresponding groove on the base. 4. Secure the gear rack onto the threaded rod using superglue, doing the same for the lever assembly.
With this file you will be able to print Mini Drill Press for PCB Drill with your 3D printer. Click on the button and save the file on your computer to work, edit or customize your design. You can also find more 3D designs for printers on Mini Drill Press for PCB Drill.
