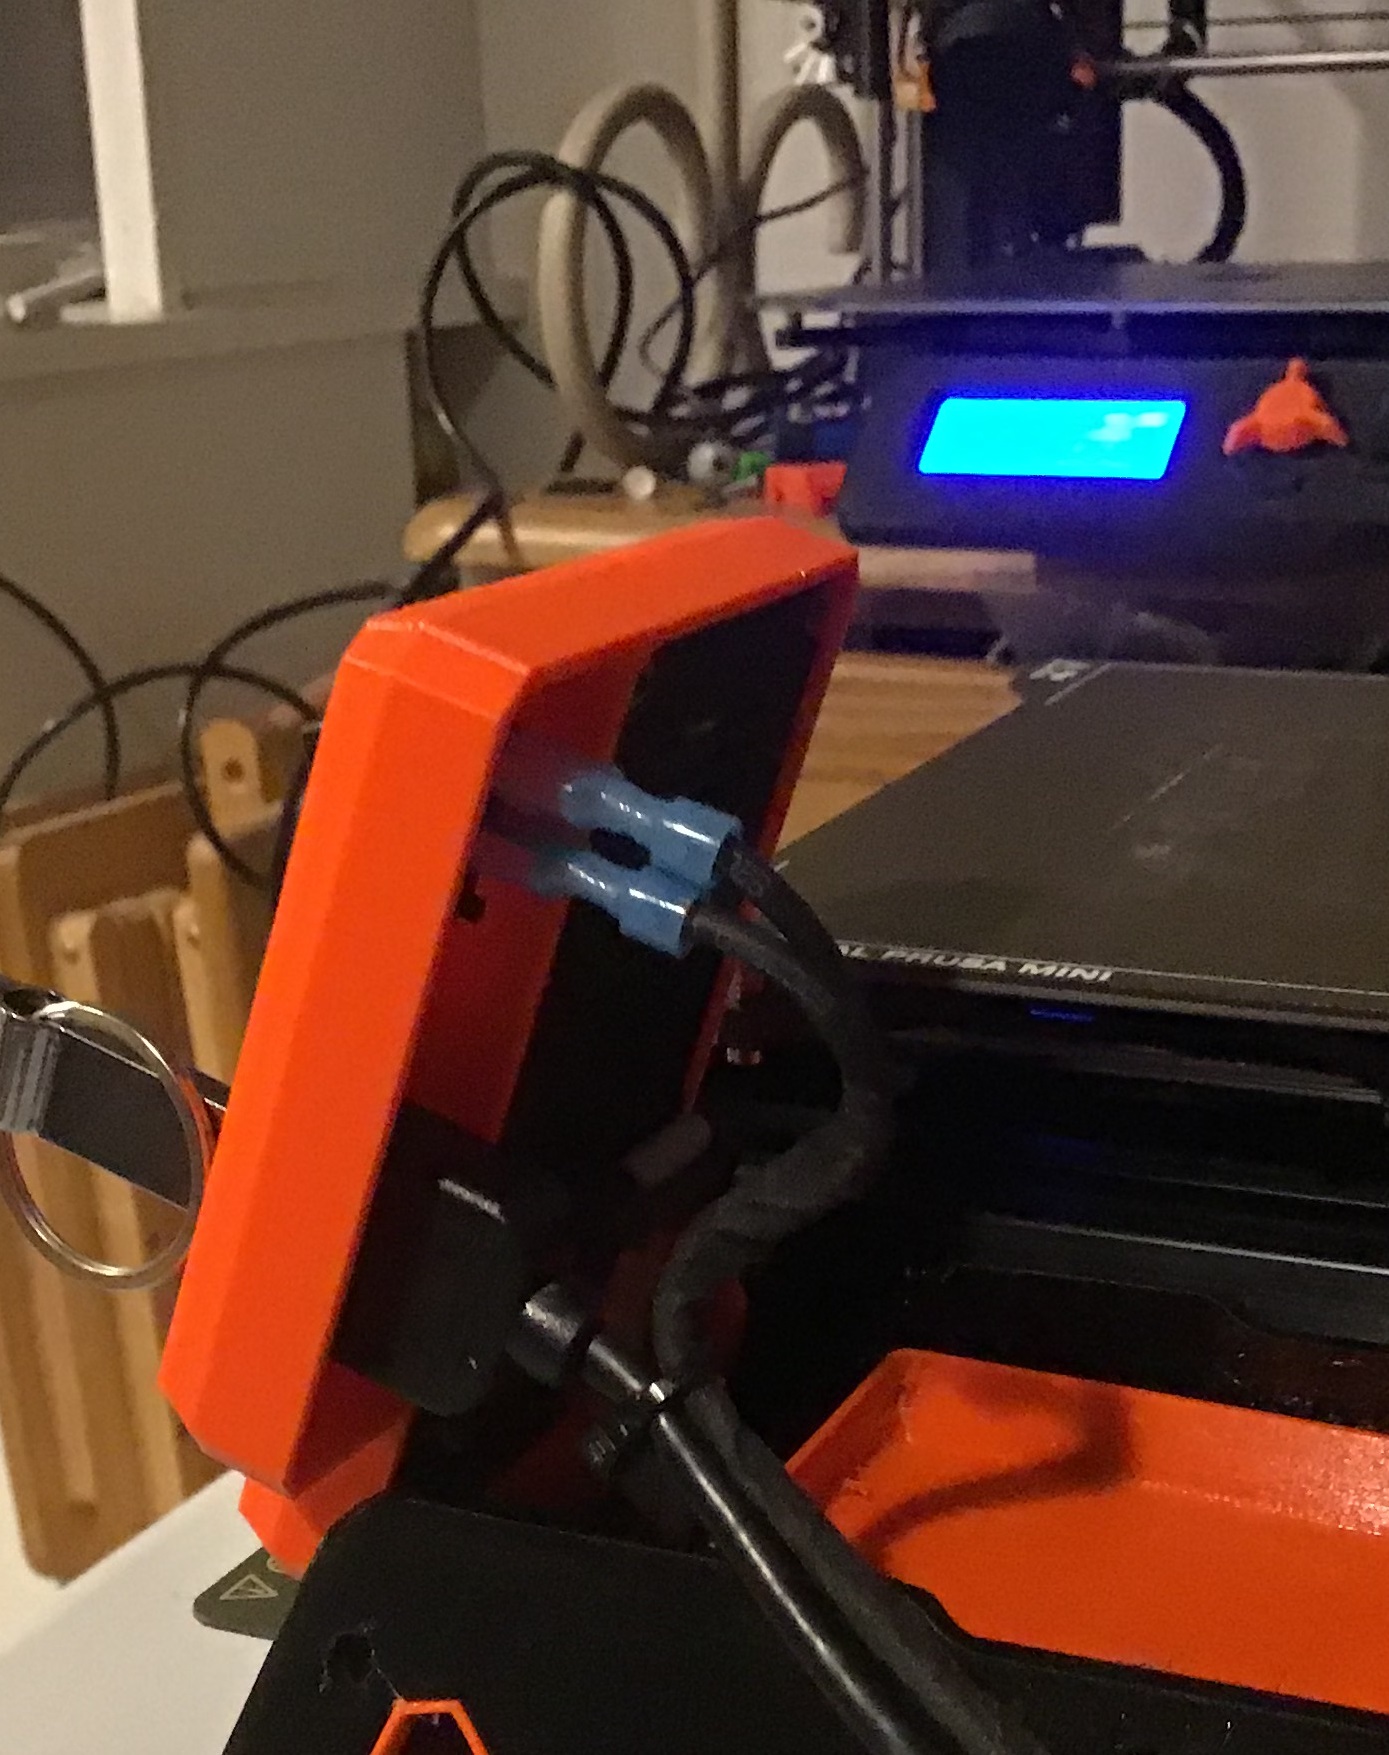
Mini Display Box with Usb & Power
prusaprinters
<p>I wanted to relocate the usb and power switch on my Prusa Mini+ after I installed the Mini Base. I didn't want them in the legs. I wanted to mount them next to the display. Some of the prints already designed don't work with the Mini Base. I found one I liked and I ordered a USB extension from Amazon that I thought would work with it. It turns out the cable I ordered was too short. I decided to make my one from scratch. </p><p>I started with the Prusa R8 print. I used Microsoft 3D Builder to modify the print. By using the original R8 print as a starting point I was able to use <a href="https://www.prusaprinters.org/prints/73003-prusa-mini-display-backplate">Prusa Mini display backplate</a> to cover the back of the LCD display. The other end of the power switch cable entered through the original power switched hole and was dressed up by <a href="https://www.prusaprinters.org/prints/73454-prusa-mini-switch-blanking-panel-with-cable-cutout">Prusa Mini Switch blanking panel with cable cutout</a>.</p><p>I used the following usb extension cable. <a href="https://www.amazon.com/gp/product/B07NXXLBSK/ref=ppx_yo_dt_b_asin_title_o07_s00?ie=UTF8&psc=1">Amazon.com: Panel- Mount USB 3.0 Extension Cable, Haokiang 1 ft/30cm 90 Degree Right Angle USB 3.0 Type A Male to Type A Female with Screw Hole Panel Mount Adapter External Cable (Right Angle) : Electronics</a></p><p> </p>
With this file you will be able to print Mini Display Box with Usb & Power with your 3D printer. Click on the button and save the file on your computer to work, edit or customize your design. You can also find more 3D designs for printers on Mini Display Box with Usb & Power.
