Mini Crossbow
thingiverse
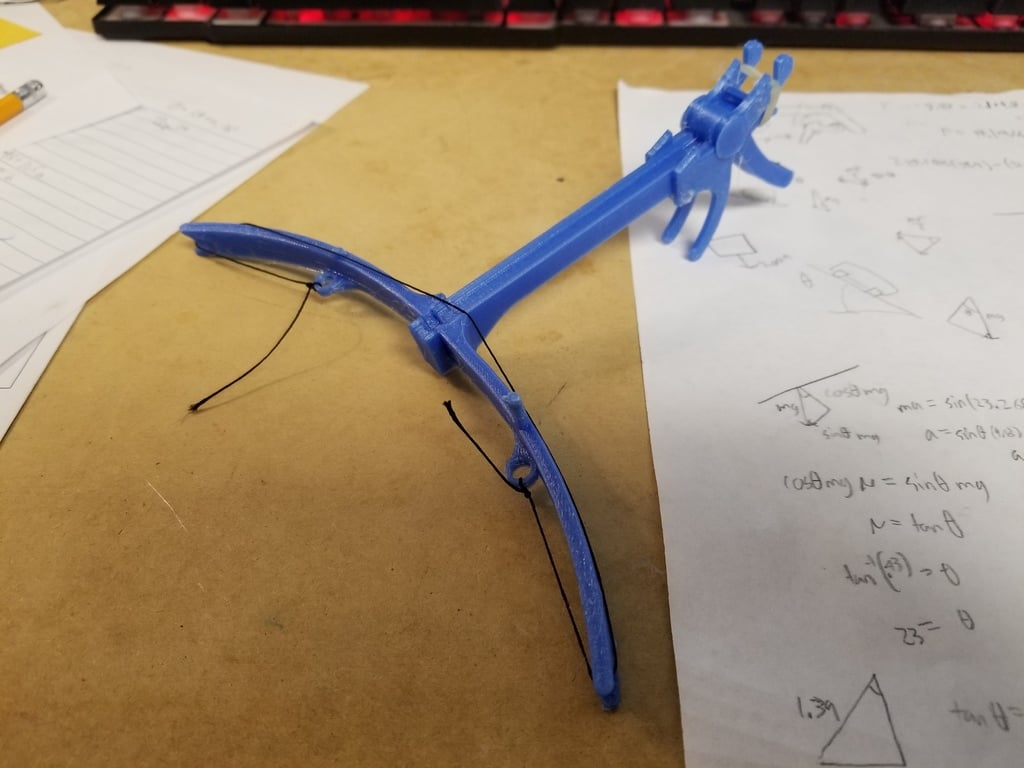
Have you ever had the sudden urge to conquer castles and overthrow empires? Now you can, with this mini crossbow! You won't be able to damage any real castles, though - only those made of sand. This is a fun little weekend project that I've been working on. It launches a bolt across the room and impresses your friends (if you have any). The crossbow prints in several parts. The trigger spacer and trigger files need to be printed twice. Check out the exploded view for assembly instructions. Once assembled, attach a small rubber band from the back part of the trigger to the hook on the main body's back. I used elastic bands, but you can use any kind you like. The trigger snaps together, but it will eventually fall apart, so glue the two trigger spacers to the trigger pieces and the hinge cap to the inside of the hinge. Gluing the bow into the main body is up to you; it fits snugly and makes it easy to remove for carrying. I included two different bow files with different draw weights (don't know what that means, but they're there). I think PETG filament works best because of its flexibility. Print the bow at 100% infill. The hardest part was stringing the bow. You'll need a thin string and patience - especially if you have big hands like me! Once assembled, pull it back and fire the bolt. If using the stronger bow, lightly hold down the bolt to the main body. I found that the string tends to slip around the bolt and not launch it properly. Don't shoot the crossbow without a bolt loaded in it - dry firing will probably break the bow and you'll have to print a new one and restring it (like I did).
With this file you will be able to print Mini Crossbow with your 3D printer. Click on the button and save the file on your computer to work, edit or customize your design. You can also find more 3D designs for printers on Mini Crossbow.
