Mini Cooper Key Fob Button Replacement
pinshape
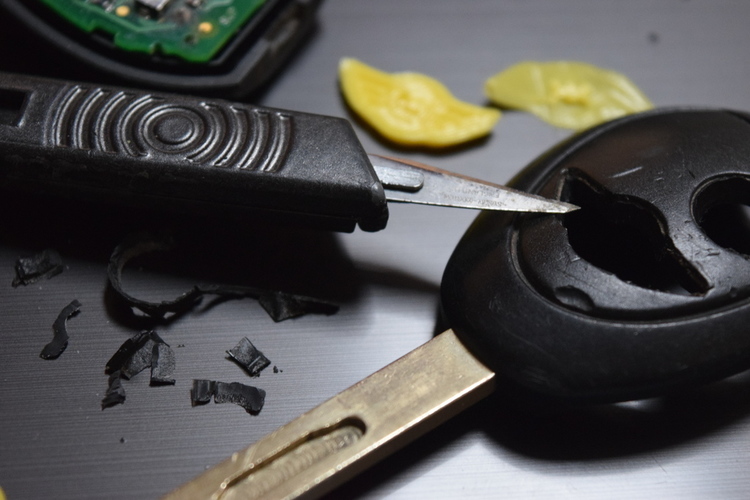
The Keyfob buttons on my central locking remote fell apart last week. I've come up with a solution using two-part replacements that can be printed in flexible materials like flex or TPU. These new buttons will be printed directly onto glass, secured with a thin layer of watered-down Mod Podge matte finish, and then refrigerated to set the adhesive. To ensure a perfect fit, I've uploaded a revised version of the keyfob design, which addresses the issue with the incorrect size in my previous iteration. The new design is now available for everyone's use. Here are the print settings I recommend: Printer: Duplicator i3 Resolution: 0.1 or 0.2 mm Infill: 15% Notes: Consider using a 0.3 nozzle and reducing the print speed to achieve detailed prints. Once your new buttons have been printed, follow these steps to assemble them into your keyfob: Clean up the old button holes with a sharp scalpel blade (as shown in the image). Place the thicker outer button into the top of your keyfob shell. Flip it over and apply a small amount of glue to the button you're mounting. Carefully position the base part of the button onto the now reversed, glue-coated side of the top button, and press down firmly. Allow the assembly to set for 5 minutes before moving on to assemble the rest of the casing and electronics.
With this file you will be able to print Mini Cooper Key Fob Button Replacement with your 3D printer. Click on the button and save the file on your computer to work, edit or customize your design. You can also find more 3D designs for printers on Mini Cooper Key Fob Button Replacement.