Milling Vise
thingiverse
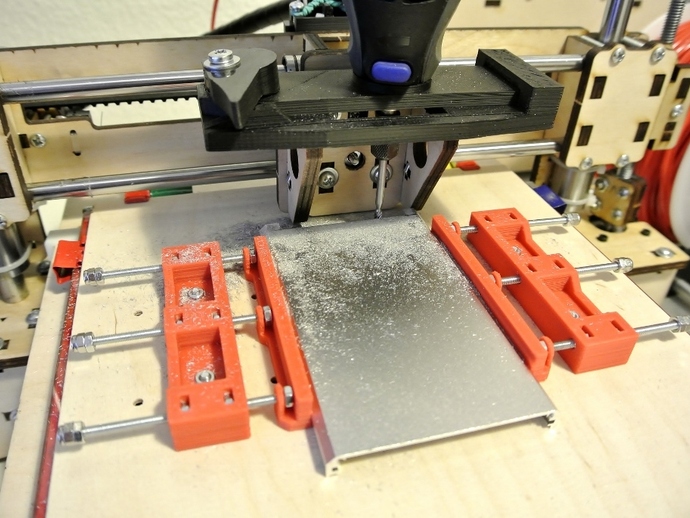
For your first steps using a Printrbot and Dremel mill, you can begin by controlling the printer manually through Pronterface. Your initial results may take longer but will improve over time. The Dremel mount might experience some force issues during milling; initially, maintain a 0.5mm clearance and then gradually reduce it to 0.1mm per round. Use a 3.2mm high-speed cutter as your tool. To assemble your device, print the required parts, drill holes in the base plate (40mm apart), insert nuts into blocks, prepare six nuts with destroyed threads for the jaws, and mount the vices according to the images. The BOM includes two printed blocks, two printed jaws, a plywood base plate, four M3x10mm screws with countersunk heads, 22 nuts, and six M3x60mm screws or threaded bars with nuts and lock nuts as heads.
With this file you will be able to print Milling Vise with your 3D printer. Click on the button and save the file on your computer to work, edit or customize your design. You can also find more 3D designs for printers on Milling Vise.