milk bottle bud vases (vase mode)
prusaprinters
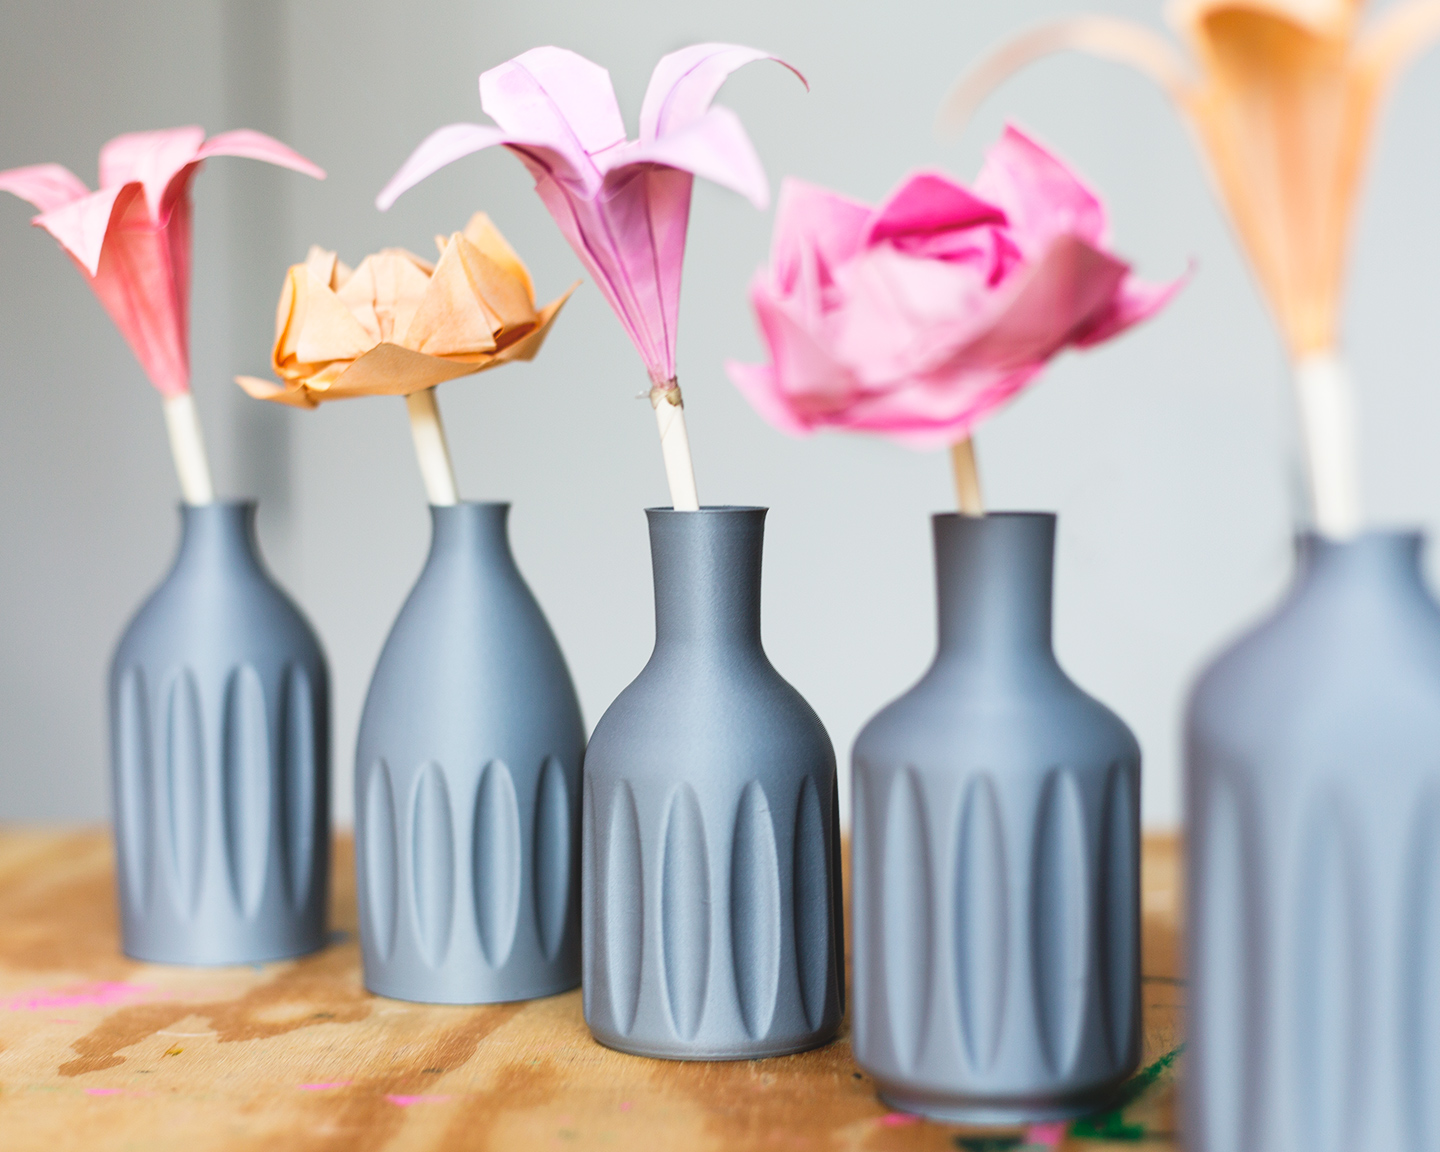
<p>When we met the florist for our wedding, she informed us that her vase suppliers are super back-ordered because <gestures broadly>. My girlfriend quickly, and without consulting with me first, volunteered me to design and print all of our wedding centerpieces and bud vases. The <a href="https://www.printables.com/contest/123-wedding-decorations">Wedding Decorations</a> contest reminded me that I have made absolutely no progress on this task, so… here we go.</p><p>This is my first idea for a bud vase (meant to hold just one or two flowers, as a little accent). I accidentally designed one of these bottles and then just kept playing with the idea. I think it'll look nice to have several different variations of the same theme for all the bud vases.</p><p>Please excuse the gray filament. These were all test prints. I will probably print the final versions in something lighter and neutral, like a marble filament… either that, or I will have no say over the color at all.</p><h3>Print settings</h3><p>These vases print in vase mode (big surprise, I know). Also, I went a little crazy with the overhangs, but trust me, they will print just fine. Here are the settings I used:</p><ul><li>Spiral vase mode / Spiralize outer contour: turn this on, that's what this mode is all about</li><li>Layer height: 0.3mm</li><li>Line width / Extrusion width: 0.8mm</li><li>Bottom thickness / Bottom layers: 1.2mm (<i>that's 4 layers at our layer height</i>)</li><li>Wall speed: 35mm/s (<i>you can bump this up a bit if you are confident in your printer, or if you tested it yourself and found your maximum flow rate to be higher than 10</i>)</li><li>Minimum layer time: 7.5 seconds (<i>note: in Cura, the default is 5, but in PrusaSlicer, the default is 15… make your own judgements based on that</i>)</li><li>Printing temperature: 10 degrees hotter than your usual temperature</li><li>Flow: 110%</li></ul><p>Now, for some of the bottles, these settings will be okay, but for others, you might want to enable variable/adaptive layers in order to help with the steep overhangs.</p><h4>Adaptive layers in Cura</h4><p>In Cura, the setting you'll want to enable is called “Use Adaptive Layers” under the Experimental section. I used the following settings:</p><ul><li>Use Adaptive Layers: on</li><li>Adaptive Layers Maximum Variation: 0.1mm (<i>this means layer heights will be between 0.2mm and 0.4mm, based on the model slope</i>)</li></ul><h4>Variable layers in PrusaSlicer</h4><p>In PrusaSlicer, this setting is in the top toolbar when you select your model. The settings here are more fiddly, as it will not automatically apply or calculate anything for you. I've found that I hit the “Smooth” button once or twice, and then manually adjust the “detail” by clicking on the sidebar. You'll want to “add detail” at areas where the overhangs are steepest on each model. Yes, this is more annoying to do than in Cura. You can read through <a href="https://help.prusa3d.com/article/variable-layer-height-function_1750">this help article</a> for how to use this feature.</p><h3>Notes</h3><p>The bottles in the photos were all printed on an Elegoo Neptune 2 with a 0.4mm nozzle in Overture Matte Gray PLA. The flowers are origami, watercolor on white paper, just for demonstration. I have tested all of these prints and they are watertight with the provided settings.</p>
With this file you will be able to print milk bottle bud vases (vase mode) with your 3D printer. Click on the button and save the file on your computer to work, edit or customize your design. You can also find more 3D designs for printers on milk bottle bud vases (vase mode).