Mike Drozowski
prusaprinters
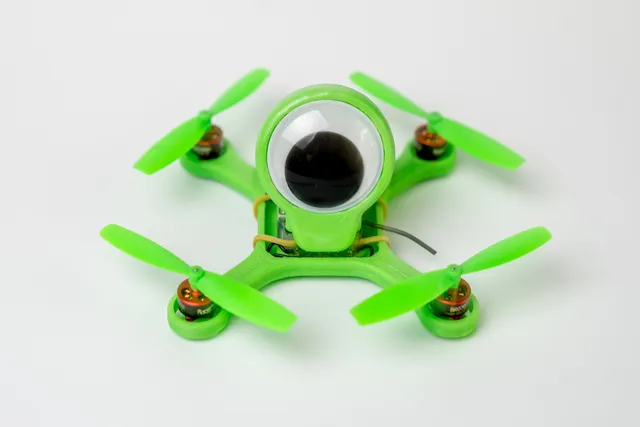
Inspired by a certain green one eyed animated movie character, here we have Mike Drozowski. At just 92mm between motors and designed for only 1S batteries it is really only a novelty for LOS flying. That said the frame is actually very sturdy due to its hollow arm design and is well suited to an FPV setup for these 0703 or 0705 motors. The parts list is quite simple: TinyFISH FC TinyPEPPER 4in1 ESC 4x BR0703 15000KV motors 300mAh 1s battery A set of 60mm QX90 propellers (green to keep with the theme but any will work) 2 pin JST PH2.0 socket & wire for a battery connector 4x M2x12 nylon screws 25mm googly eye If you purchase the Banggood Racestar rip off of the fishPEPPER electronics then they will be supplied with the necessary mounting fasteners. Do note however that their version of the flight controller is an old revision of the TinyFISH design and may have reliability issues when a battery is fully charged. It will still basically work and can be corrected but for a list of more reputable sources that supply the latest revision of the design check the fishPEPPER project pages. Print Settings Resolution: 0.2mm Notes: I have printed the components in ABS however I'm sure that most any rigid filament will work just fine. I use an extrusion width of 0.5mm with a 0.4mm nozzle. As such wall thicknesses are typically a multiple of 0.5mm. The frame must be printed with supports turned off so that the arms remain hollow for the motor wires to pass through. The head must be printed with supports for the eye hole but will not require supports elsewhere. Be sure the screw holes aren't filled with support material. Don't go to crazy with infill on the head as it is all excess weight, keep it as low as your printer will allow whilst maintaining a good print quality. Post-Printing Depending on how well bridging has worked for you the arms may need to be cleared to allow the motor wires to pass easily. A small piece of plastic tube such as an antennae tube pushed in and out will free up any loose strands of plastic. All holes will need to be drilled out to suit their fasteners: Drill 1.6mm motor mounting holes on the frame (or wiggle a 1.5mm drill bit around). Drill 2mm ESC and FC mounting holes on the frame. Drill 1.5mm holes in to the bottom of the head and tap an M2 thread in each. If you don't have an M2 tap then screwing a metal M2 fastener in to the hole should do the trick. Cleanup and deburr all edges as desired. Glue the eye in place with super glue (CA glue). The M2 screws are installed from the bottom and thread in to the head to hold the electronics stack together. Category: R/C Vehicles
With this file you will be able to print Mike Drozowski with your 3D printer. Click on the button and save the file on your computer to work, edit or customize your design. You can also find more 3D designs for printers on Mike Drozowski.
