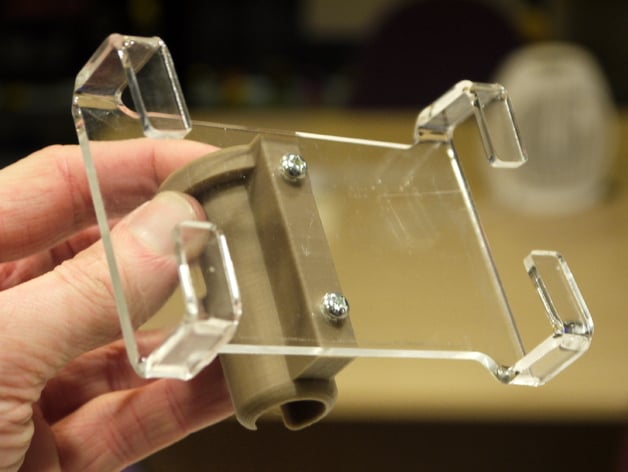
Microphone Stand Phone Holder
thingiverse
Instructions to Build Your Phone Holder First, print the base on your 3D printer to fit snugly into a microphone stand. To get precise results, use our provided STL file. However, if your microphone holder requires unique dimensions, edit our OpenSCAD file and make necessary changes according to variable instructions located at the top. Next, use a laser cutter to precision-cut the mount from 3mm acrylic. Be sure to carefully cut along all edges without any flaws or unevenness. After cutting out the mount, position your phone into it with enough space for its case and screw headroom in mind. Before bending your phone holder fingers, take note of two important details: camera clearance and optimal angle placement. If possible, use a soldering reflow device at 300C to accurately shape the metal components without deforming them. As an alternative, utilize a hot wire machine tailored for this purpose. Make sure not to damage the device. To assemble your device, secure both parts together with four 4MM screws and if desired add additional stability by screwing in a nut from the inside of each component. When attaching cables, insert charge cords and headphones through the central hole for clean appearance while inserted into microphone stand space.
With this file you will be able to print Microphone Stand Phone Holder with your 3D printer. Click on the button and save the file on your computer to work, edit or customize your design. You can also find more 3D designs for printers on Microphone Stand Phone Holder.
