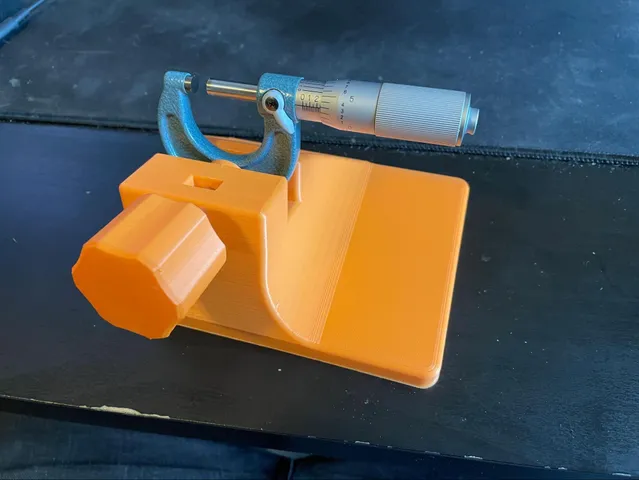
Micrometer Stand
prusaprinters
Building this project requires three printed parts: the base, the knob, and the press head. The non-printed parts are simply two standard 5/16" hex nuts, and one 5/16" x 1.5" long hex bolt.Assembly:Press the bolt head into the knob hex. This should be a tight fit- it should not be easy, in fact, it may feel impossible right before it slips on.Push a hex nut into the slot in the base. This should also be a snug fit, though not as tight as the knob. Push this nut until it bottoms out in the part and the threads are concentric with the holes in the basePress the other nut into the clamp end. This should be a tight fit just like the knob was. Apply a drop of thread-locker to the threads on the nut.Screw the knob/bolt combination into the nut in the base.Finally, spin the clamp end/nut combination onto the bolt. This will be the most difficult part of the assembly, from an alignment point of view. A pair of pliers helps immensely in lining up the threads.Let the assembly sit for the recommended cure time of the thread-locker manufacturer. I used Loctite 271 (Red threadlocker- this is never coming apart!), and as such, I had to let my part sit for 24 hours.https://www.instructables.com/3D-Printable-Micrometer-Stand/
With this file you will be able to print Micrometer Stand with your 3D printer. Click on the button and save the file on your computer to work, edit or customize your design. You can also find more 3D designs for printers on Micrometer Stand.
