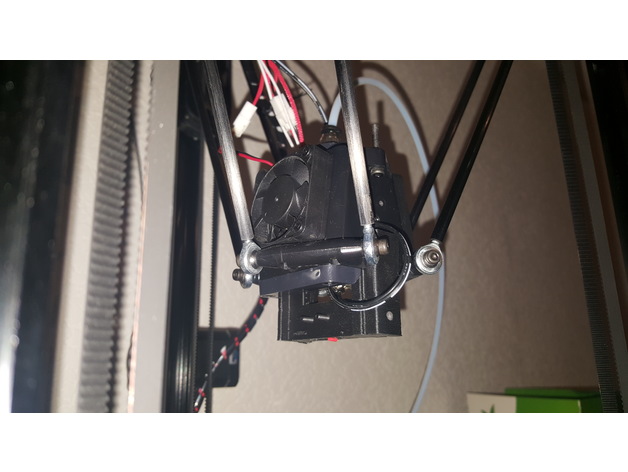
Micromake D1 Z-Probe
thingiverse
Z-PROBE ADJUSTMENTS FOR OPTIMAL RESULTS To achieve accurate automatic leveling, it's essential to set up your z-probe correctly. The limit switch should be free from any mechanical force. Utilize the original switch and secure it with two M3 screws for a precise fit. Do not forget to reverse the endstop configuration from normally closed to normally open. This design ensures that you won't encounter X/Y offset issues with your z-probe. The Z-PROBE was specifically engineered to seamlessly integrate with the Micromake D1 Delta printer's original affector. After calibration, add 17.5mm to your Z-height for optimal performance. PRINT SETTINGS FOR MAXIMUM QUALITY Rafts: Yes, enabled by default. Supports: No, disabled by default. Resolution: 0.2mm, perfect for detailed prints. Infill: 25%, the ideal setting for a balance between speed and density. NOTES AND TIPS If you encounter tight holes during printing, simply use one M3 screw instead of two for a smoother experience.
With this file you will be able to print Micromake D1 Z-Probe with your 3D printer. Click on the button and save the file on your computer to work, edit or customize your design. You can also find more 3D designs for printers on Micromake D1 Z-Probe.
