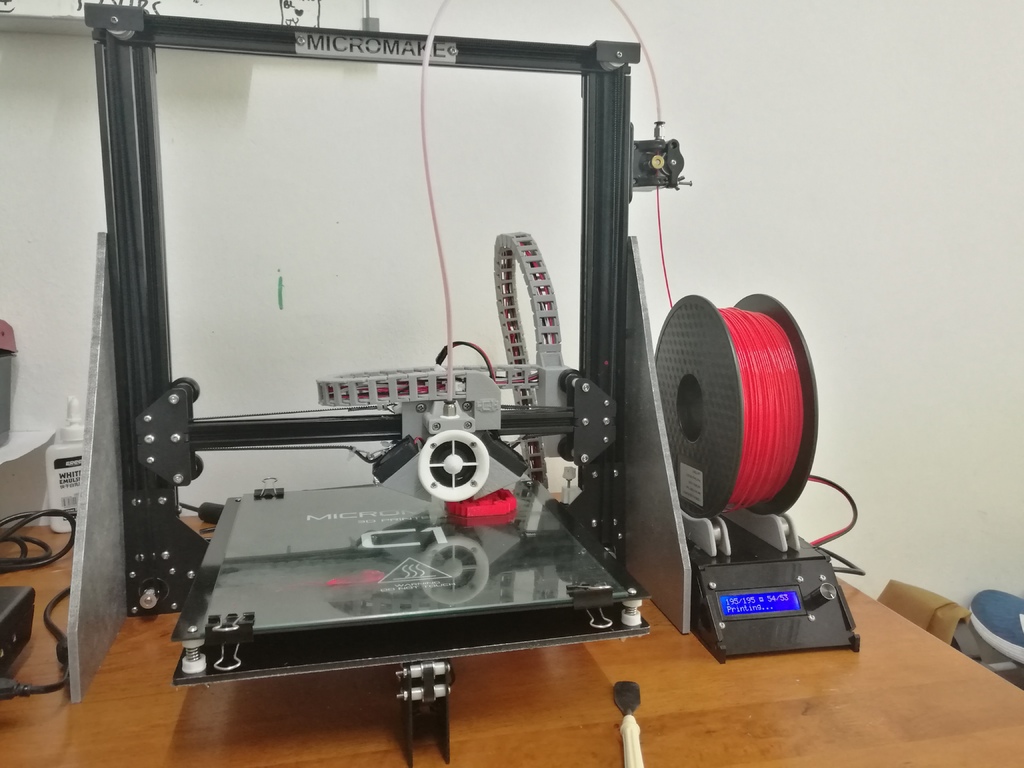
MIcromake C1(metal version) corexy conversion
thingiverse
Thanks to the incredible support from the Micromake C1 community in Google+, I successfully completed my upgrade on my Micromake C1 Metal Edition. The original HBot structure was surprisingly unstable, but after converting to Corexy, I'm thrilled to report that I've achieved a flawless circle every time. Don't forget to tighten those cables! Feel free to ask me any questions about the upgrade process and how the parts are assembled. Here are some key takeaways: * Be sure to secure the double GT2 wheel pulley on top using T-nuts; you'll need two M6x25 nuts for this purpose. If, like me, you can't find them, consider cutting your own. * To upgrade to a chain system, remember to print the spring cap; it's essential that you have one with the same thickness as the Y-end chain and those other spring caps. * For added stability, I cut two MDF pieces, drilled holes in them, and attached them to the frame's side. This modification also allowed me to relocate the spool holder on top of the control box, which has significantly reduced vibration. * To further enhance the stability of my Y-axis bed, I've ordered a set of linear rails; stay tuned for an update on this exciting development!
With this file you will be able to print MIcromake C1(metal version) corexy conversion with your 3D printer. Click on the button and save the file on your computer to work, edit or customize your design. You can also find more 3D designs for printers on MIcromake C1(metal version) corexy conversion.
