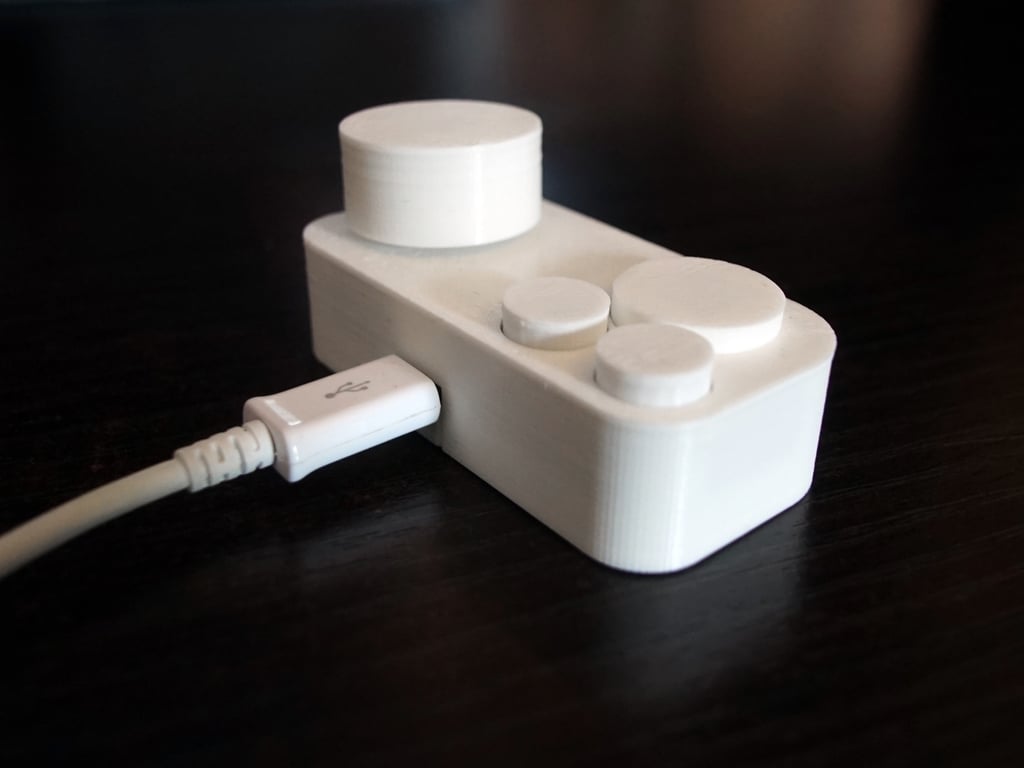
Micro USB Media Controller (Arduino Pro Micro)
thingiverse
Small, affordable media controller that plugs into your computer, phone, tablet or any other device that supports USB media controls. I've personally tested it with Windows 10 and Android 6; if you test it with anything else, please share your results. **Functions** Knob: Turn to adjust **volume**, press to **mute** Big button: **Play/pause** Small buttons: **Previous** & **Next** track These can all be changed in the included source. Uses a standard Micro USB cable. Basic soldering required, nothing complicated. **Hardware** * Arduino Pro Micro 5V/16Mhz, cost 3-10 € * KY-040 rotary encoder, cost 1-5 € * Standard PC power/reset buttons salvaged from pretty much any computer case made in the last 25 years. Or pick up for pennies online. **Note:** Price range varies greatly between eBay/Ali and local stores. But even at its most expensive, shouldn't be more than 15 € combined. I opted for the latter instead of having to wait several weeks just to save a few €. To make the controller as compact as possible and to minimize the amount of soldering, straighten the pins on the rotary controller if angled and place the Pro Micro upside down in the corresponding place (pinout included in source code). Place them in position in the Bottom print and make sure they are fully seated before you begin soldering. Once done, you can snip off the extending length of the pins. Depending on your printer's overhang capabilities, you may need supports for the bottom part. Make sure to preview the supports in your slicer and verify that the button bridges are supported. You may have to rotate the part 45 degrees in your slicer for them to actually appear. Everything should be a press fit, but since this is based on open hardware, different manufacturers may have slightly different tolerances. To tackle the common differences: * There are sometimes tiny bumps or imperfections on the side of the boards, which is a result of the manufacturing process. This can leave the boards slightly too big to press in place. If that happens, sand down the edges with a small file - a cheap paper nail file works well. * If you're able to pull the encoder shaft up a millimeter or so when the Shell is in place, add a thin washer in between. If you don't have one in the right thickness, you can even make a few out of stiff paper. These will only be used as standoffs and will not be rotated. If you want to permanently seal the Bottom and Shell parts (after you test that it's fully functioning), put some glue/silicone/sugru on the outsides walls of the Bottom part, then place the shell on it and clamp in place until dry. You may also want to do this with the pushbuttons if they tend to come up. Want an even smaller (and cheaper) version? Check out my other controller [**The Knob**](https://www.thingiverse.com/thing:2970774)!
With this file you will be able to print Micro USB Media Controller (Arduino Pro Micro) with your 3D printer. Click on the button and save the file on your computer to work, edit or customize your design. You can also find more 3D designs for printers on Micro USB Media Controller (Arduino Pro Micro).
