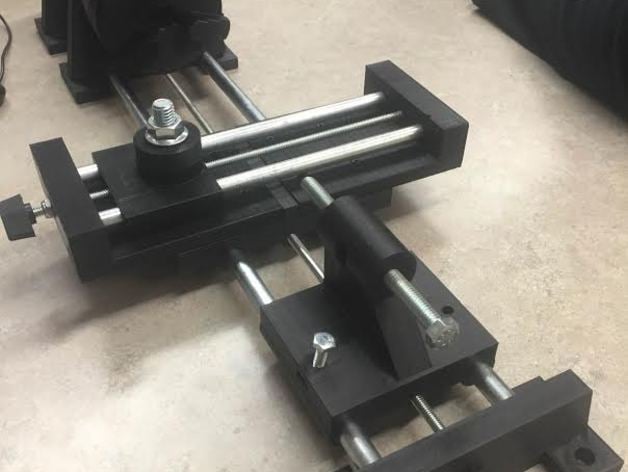
Micro Lathe Frame
thingiverse
NEW UPDATE: 1/5/2016 Beta 1.2 I've tweaked the Tool Holder, ensuring the cutting edge of your tool is accurately aligned with the center of the part being turned. However, I intentionally left it slightly low to prevent it from rubbing against the post. If necessary, simply add a shim to bring it back into place. Assembling this design requires careful planning - rather than raising the post itself, you should adjust the tool holder instead. With the changes implemented, the Micro Lathe Frame Beta 1.2 is now good to go! Give it a spin and see how it performs for yourself. Make sure to provide your feedback - I want to hear about any improvements that need to be made! Update: 12/9/15 I've finalized Beta 1.1 of my Micro Lathe Frame. Here's what you can print right now: Everything except the Tool Holder (top and bottom), which will be updated shortly. Default Headstock height has been increased to 175mm for improved chuck jaw clearance. Tailstock centering adjustments have also been made to accommodate this change. To avoid complications with Cross Slide assembly, I've adjusted cap nut positioning so they no longer overlap the rods. Print and play! The tolerances are set for ease of use - just print as is without worrying about tweaks. However, for the primary guide rod holes, you may need to include a handful of bushings (1/2 inch or 3/8 inch for Cross Slide). You can find the right sizes by modifying the SCAD files. Don't worry if it takes some effort - with print settings in hand (just scroll down), these tweaks will come in handy. Speaking of tweaks, be sure to give Bob Womble's Three Jaw Chuck a shot! While it may need some sanding to work perfectly, it gets the job done - unless you want to buy the real deal. Stay tuned for an upcoming BOM and Parts list! Print Settings: Printer Brand: Deltaprintr Printer: Assembled Rafts: None needed Supports: Nope Resolution: 0.25mm Infill: %25 (it's plenty strong) Notes: Headstock parts are good to go as-is. Major through-hole components (Cross Slide, Tailstock Wings, and more) print their holes facing upwards for precision perfection. When the tool holder gets its own update, face the opening upward - supports should help keep it solid. And yes, you need about half a body length of 'supporting friends' under this baby! Make sure to leave at least 2mm of shell during printing to reduce wobbles and quakes! After Print Take some extra time to ream those holes - with any luck, you'll be smooth sailing.
With this file you will be able to print Micro Lathe Frame with your 3D printer. Click on the button and save the file on your computer to work, edit or customize your design. You can also find more 3D designs for printers on Micro Lathe Frame.
