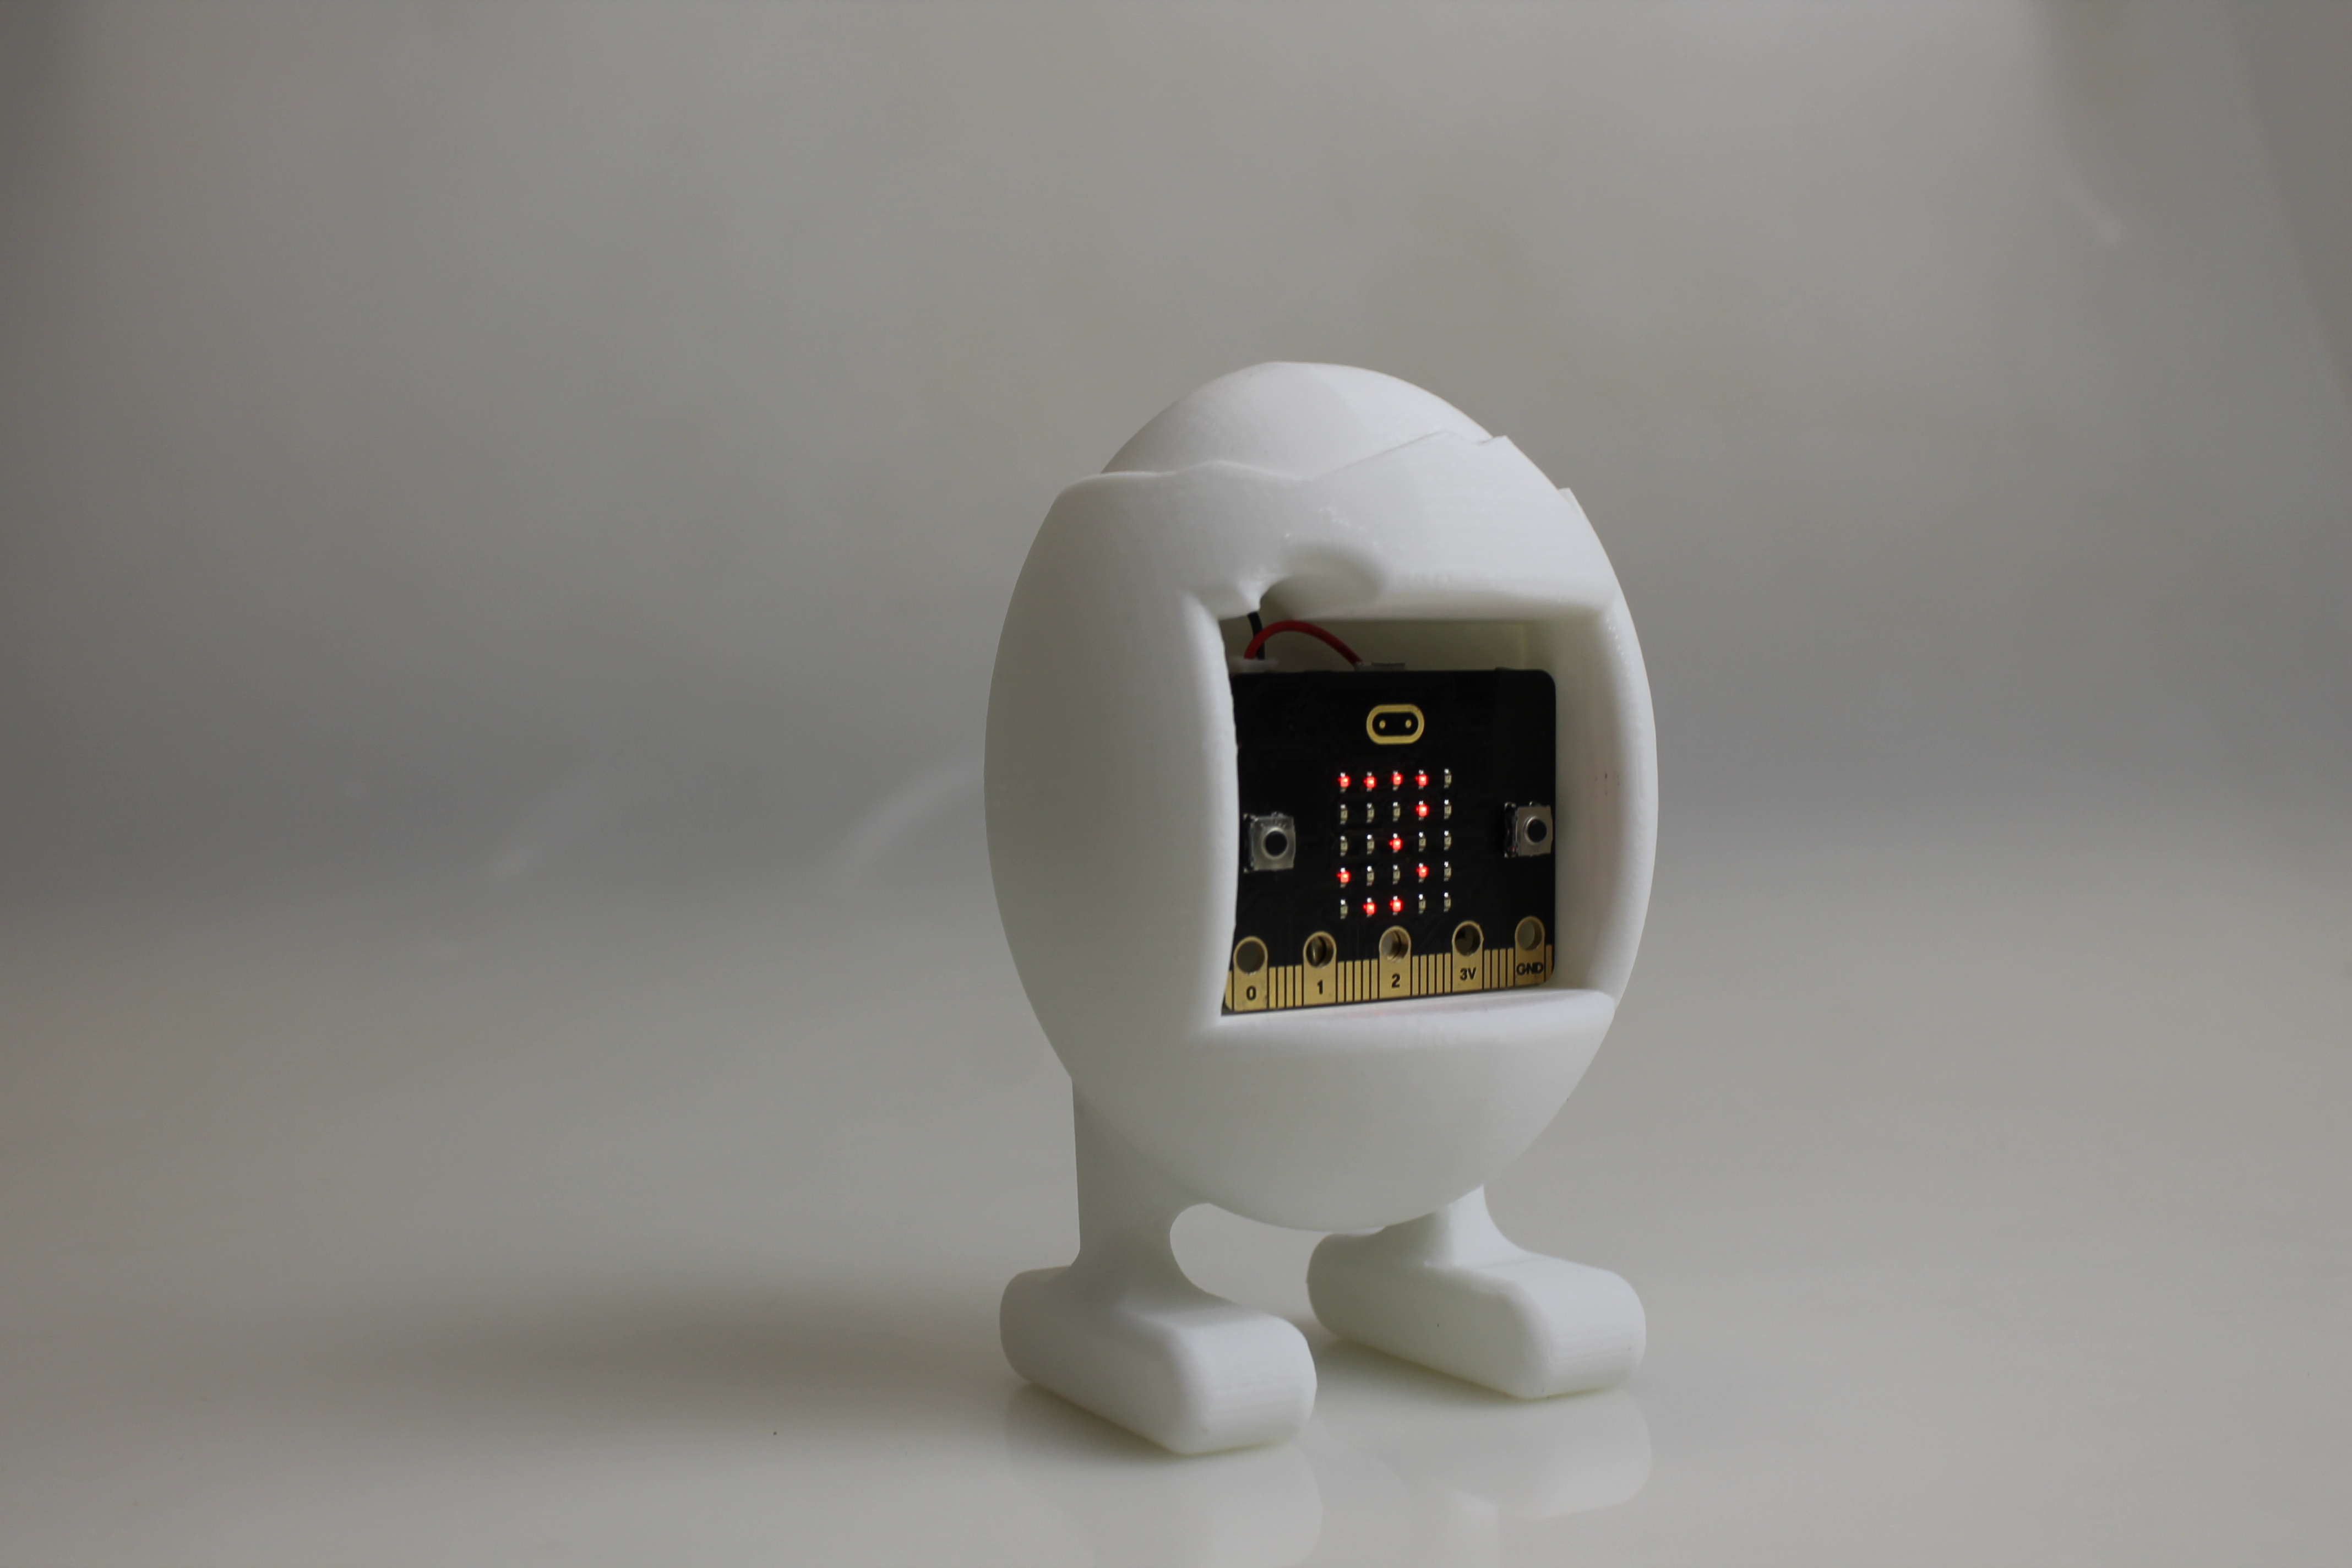
Micro:bit Egg Timer
myminifactory
TUTORIAL Get Cooking Eggs Like a Pro Without the Fuss of Timing! Are you tired of scrambling with different cooking times for eggs? Relax, this fun timer has got your back! With it, you can guarantee perfectly cooked eggs every time. Plus, you can customize it to fit your style by adjusting the cooking time and adding a special tone. You'll need: 1 3D printer + filament 2 AAA 1.5V Batteries + Battery holder 1 BBC Micro:bit Step 1: Print Your Egg Timer Download the STL file of the timer from this page. Next, slice the parts by generating code that your 3D printer can understand. This process is called "slicing" because your printer prints layer by layer, and the software calculates the path for the nozzle. Use the right slicer for your printer, or ask a teacher for help if you need it! To print your timer, set speed to 70 mm/s, layer height to 0.2mm, infill to 10%, and temperature between 200°C and 240°C. Step 2: Flash Your Micro:bit! Download the code by clicking on the link below or downloading the zip file from this page. Click "Compile" to download the code onto your computer, then drag and drop it into the micro:bit icon in your computer's section. You can find explanations of the code attached, so feel free to customize it to personalize your timer! Enjoy!
With this file you will be able to print Micro:bit Egg Timer with your 3D printer. Click on the button and save the file on your computer to work, edit or customize your design. You can also find more 3D designs for printers on Micro:bit Egg Timer.
