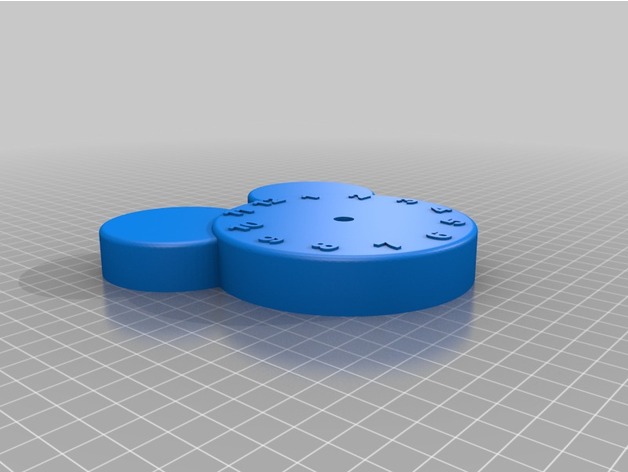
Mickey Clock
thingiverse
A whimsical timepiece in the iconic shape of Mickey Mouse is crafted with precision and ingenuity. To bring this creative project to life, one must first acquire a motor from Hobby Lobby's impressive collection of crafting supplies. http://www.hobbylobby.com/Crafts-Hobbies/Wood-Crafting/Clock-Making/3/8%22-Mini-Quartz-Clock-Movement/p/26203 Printer Settings Printer Brand: SeeMeCNC Printer Model: Rostock MAX Printing Parameters Rafts: Not Required Supports: Essential for a successful print Infill Density: 20% Post-Printing Procedures Carefully remove the support material from the back of the clock, making way for the installation of the motor. With the motor now flush with the back of the clock, secure it in place using the provided nuts. Next, attach the included clock hands, following the detailed instructions found on the back of the clock motor kit. For optimal visual impact, consider trimming the clock hands to prevent them from extending too far beyond the face of the clock. The clock was printed with black PLA due to its immediate availability in my printer at the time. To enhance the visibility of the numbers, a coat of paint may be applied to draw attention to this essential element of the design.
With this file you will be able to print Mickey Clock with your 3D printer. Click on the button and save the file on your computer to work, edit or customize your design. You can also find more 3D designs for printers on Mickey Clock.
