Meßsuhr V1 (10mm) NUR FÜR RESIN-DRUCKER
prusaprinters
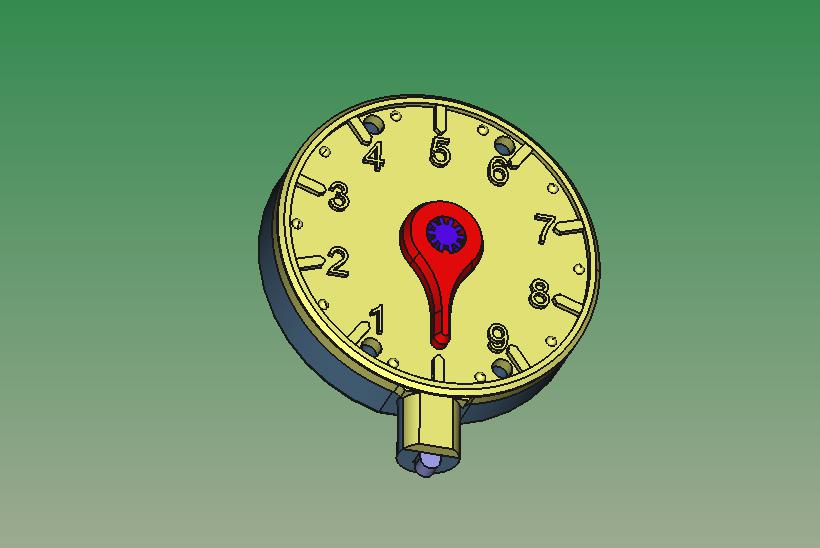
<p><strong>Messuhr 10mm</strong> NUR FÜR RESIN-DRUCKER</p><p>In dieser Dimension leider nur für Resin-Drucker geeignet, <i>(Gehäuse D 32mm)</i></p><p>Die schmalsten <i>“Spurbreiten”</i> sind <strong>0,2mm</strong> daher mit einer 0,4mm Düse nicht machbar.</p><p>Wenn Ihr einen FDM-Drucker mit sehr kleiner Düse (max. ca. 0.2 mm) habt könnte man das versuchen. <strong>Für die meist Standard-Düse 0,4mm sind die Details zu klein.</strong></p><p><strong>Montage:</strong></p><p>Nach dem Druck werden Messstab und Achse in den Körper eingesetzt.</p><p>Anschließend die Skala über die Achse auf den Körper gesetzt, die beweglichen Teile können mit etwas Flüssigseife “gefettet” werden und ein wenig <i>Cyanacrylat</i>-<i>Klebstoff</i> links und rechts zwischen die Gehäuse hälften zur Verbindung dieser.</p><p>Die 2mm Löcher können bei der Positionierung helfen in dem ein Stück Filament eingesetzt wird.</p><p>Wenn die Montage fertig ist und der Klebstoff getrocknet wird ein kurzes Stück Haushalts-Gummi (<i>zerschnitten, nicht doppelt</i>.) mit zwei Knoten versehen (<i>Abstand zwischen den Knoten ca.17 bis 20 mm</i>.)</p><p>Der eine Knoten wird in die kleine Tasche hinter den Schlitz (Rückseite) gedrückt und der andere Knoten bei eingeschobenem Messstab eine halbe Umdrehung um die Welle gezogen und dann durch die Nut in der Welle.</p><p>Jetzt sollte das Teil bereit sein einen Weg von bis 10mm zu messen.</p><p>----------------------------------------------------------------------------------------------------------</p><p>Google translates.</p><p><strong>Dial indicator 10mm</strong> ONLY FOR RESIN PRINTERS</p><p>In this dimension unfortunately only suitable for resin printers (housing D 32mm)</p><p>The narrowest "track widths" are 0.2mm, therefore not feasible with a 0.4mm nozzle.</p><p>If you have an FDM printer with a very small nozzle (max. approx. 0.2 mm) you could try that. <strong>For most standard nozzle 0,4mm the details are too small.</strong></p><p><strong>Assembly</strong>:</p><p>After printing, the dipstick and axle are inserted into the body.</p><p>Then put the scale over the axis on the body, the moving parts can be "greased" with some liquid soap and a little cyanoacrylate glue left and right between the housing halves to connect them.<br>The 2mm holes can help with positioning by inserting a piece of filament.</p><p>When the assembly is complete and the glue has dried, tie a short piece of household rubber (cut, not doubled) with two knots (distance between knots about 17 to 20mm.)<br>One knot is pushed into the small pocket behind the slot (back) and the other knot, with the dipstick inserted, pulled half a turn around the shaft and then through the groove in the shaft.</p><p>Now the part should be ready to measure a travel of up to 10mm.</p>
With this file you will be able to print Meßsuhr V1 (10mm) NUR FÜR RESIN-DRUCKER with your 3D printer. Click on the button and save the file on your computer to work, edit or customize your design. You can also find more 3D designs for printers on Meßsuhr V1 (10mm) NUR FÜR RESIN-DRUCKER.