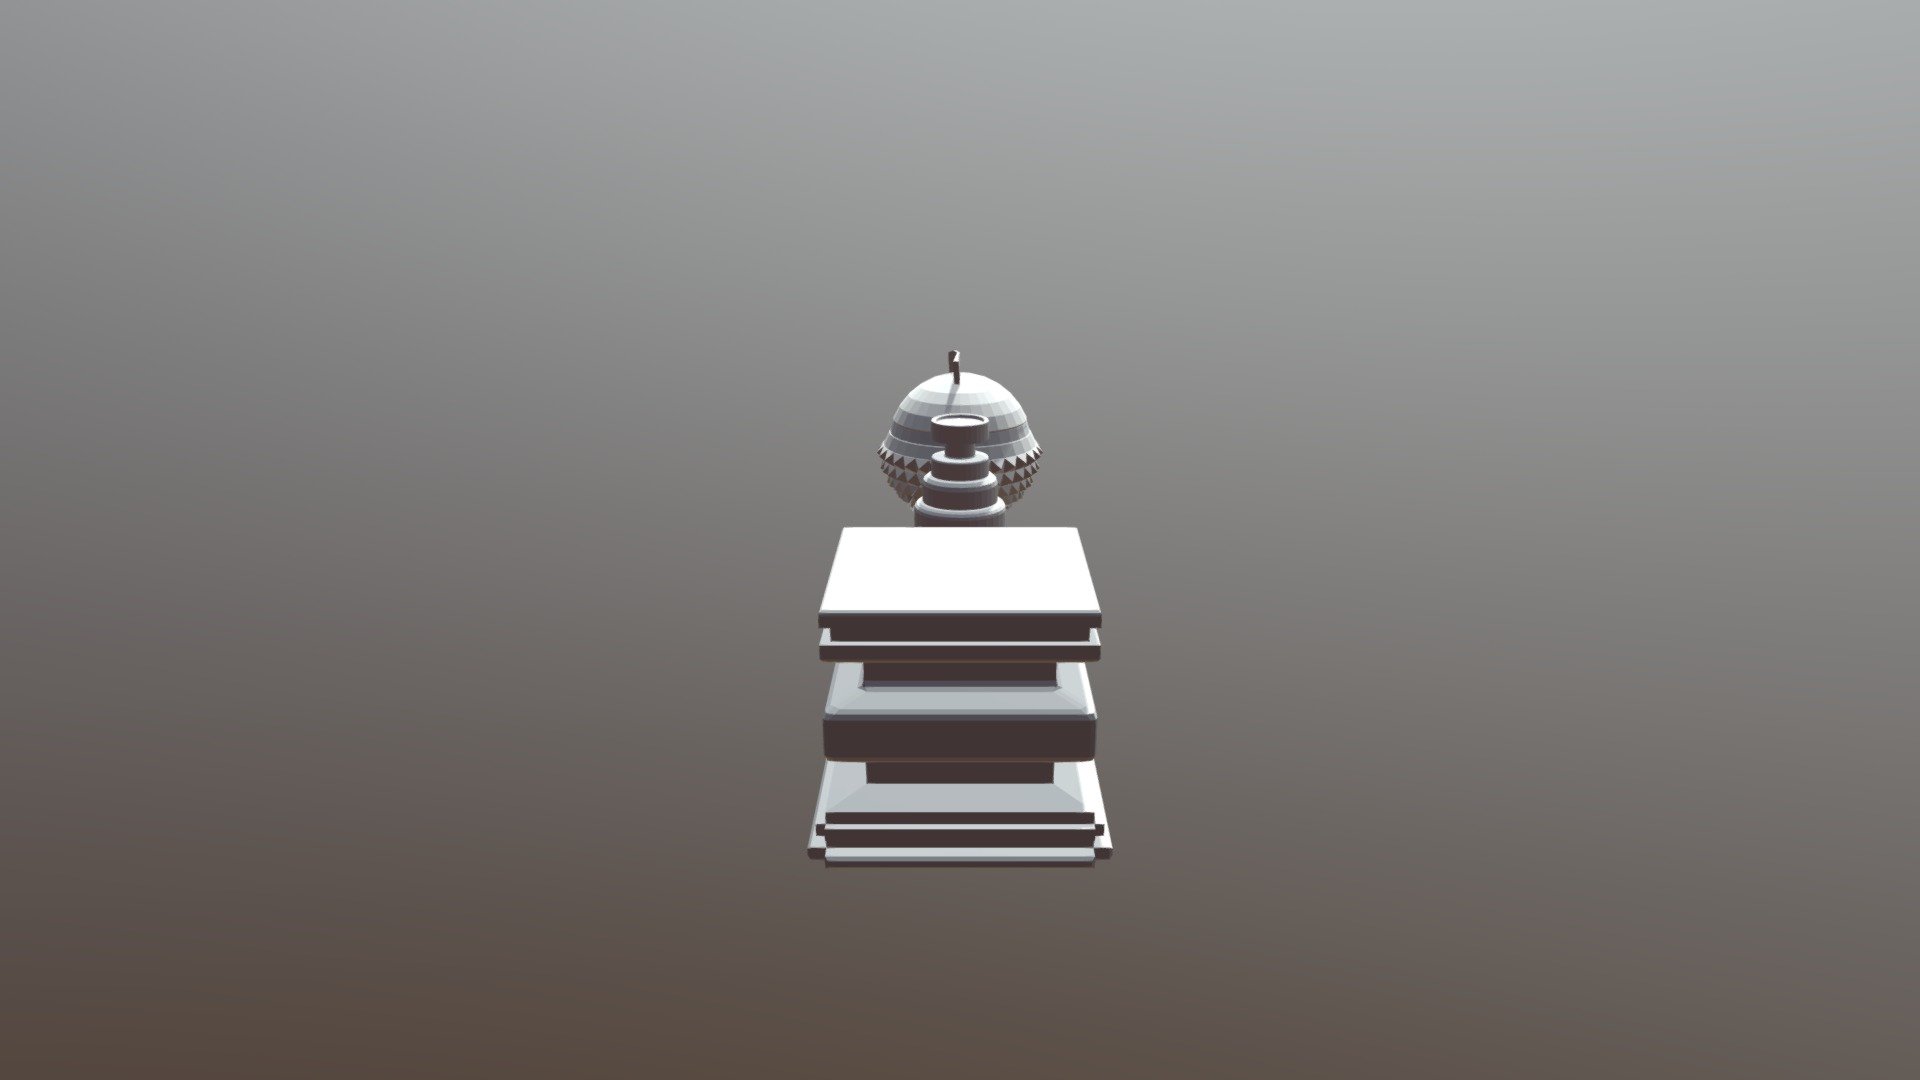
Mesh-modeling-submission
sketchfab
3D Art Project: Model a Basic Cube Objective: Create a simple cube using mesh modeling techniques to get familiar with the software. Step 1: Launch the Software and Set Up the Workspace Open the 3D art software of your choice, such as Blender or Maya, and set up the workspace for a new project. Ensure that you are in the correct mode for mesh modeling, which is usually "Object Mode." Step 2: Create a New Mesh Object Create a new mesh object by clicking on the appropriate button in the toolbar or using a keyboard shortcut. This will create an empty mesh object with no faces or edges. Step 3: Extrude a Face to Create the Cube Base Click and drag the mouse to select one of the faces of the mesh object, then click and hold down the mouse button while dragging it upwards to extrude a new face. Release the mouse button when you reach the desired height for the cube base. Step 4: Extrude Additional Faces to Complete the Cube Repeat Step 3 for each face of the mesh object to create the remaining faces of the cube. Make sure to adjust the size and position of each new face as needed to maintain a perfect cube shape. Step 5: Refine the Mesh Object (Optional) If desired, you can refine the mesh object by adding or removing vertices, edges, or faces. This will help create a more detailed and realistic model. Step 6: Export the Model Once you are satisfied with your cube model, export it in a suitable format for use in other software or as a standalone model.
With this file you will be able to print Mesh-modeling-submission with your 3D printer. Click on the button and save the file on your computer to work, edit or customize your design. You can also find more 3D designs for printers on Mesh-modeling-submission.
