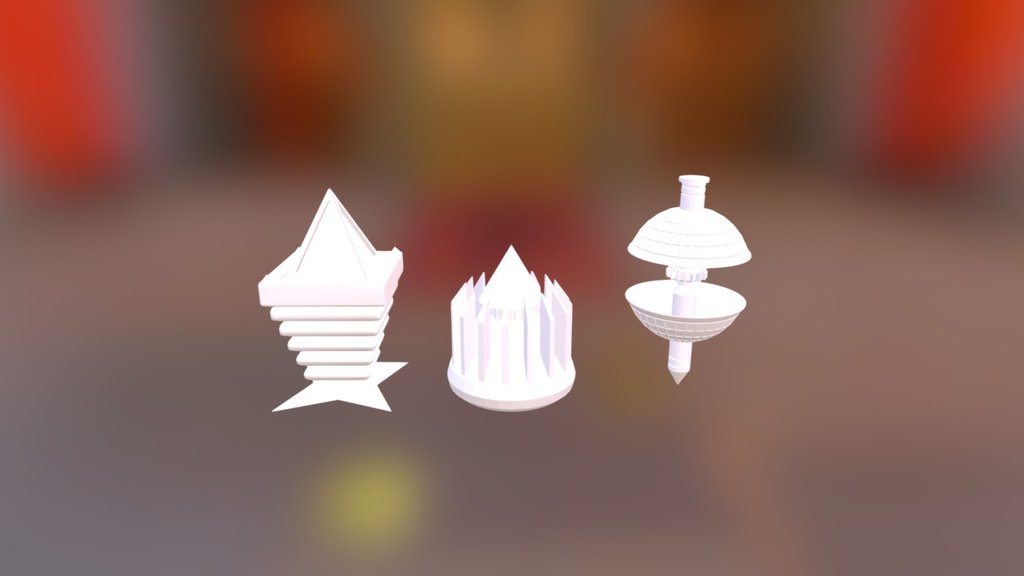
Mesh-modeling Fundamentals Exercise01c
sketchfab
Blender's Mesh Modeling Fundamentals Get Started with Exercise 1 In this exercise, we'll explore the basics of mesh modeling using Blender, a free and powerful 3D creation software. Our goal is to create a simple cube, understanding how to manipulate its vertices, edges, and faces. First, let's launch Blender and get familiar with its interface. The workspace consists of several panels, including the 3D Viewport, where we'll be working on our mesh model. The Toolbox panel contains various tools for modeling, such as the Select tool, Move tool, Scale tool, and Rotate tool. To create a new mesh, navigate to the "Object" menu in the top toolbar and select "Mesh" > "Cube." This will add a cube to the 3D Viewport. With the cube selected, we can now use the various tools in the Toolbox panel to manipulate its vertices, edges, and faces. The Select tool allows us to choose individual vertices or entire faces of the cube. We can also use it to select multiple elements at once by holding down the Shift key while clicking on them. The Move tool enables us to drag selected vertices or faces to new locations in 3D space. The Scale tool stretches or shrinks selected elements, while the Rotate tool rotates them around a chosen axis. Now that we've covered the basics of mesh modeling with Blender, it's time to put our knowledge into practice. Let's move on to Exercise 2 and learn how to create more complex shapes using the software.
With this file you will be able to print Mesh-modeling Fundamentals Exercise01c with your 3D printer. Click on the button and save the file on your computer to work, edit or customize your design. You can also find more 3D designs for printers on Mesh-modeling Fundamentals Exercise01c.
