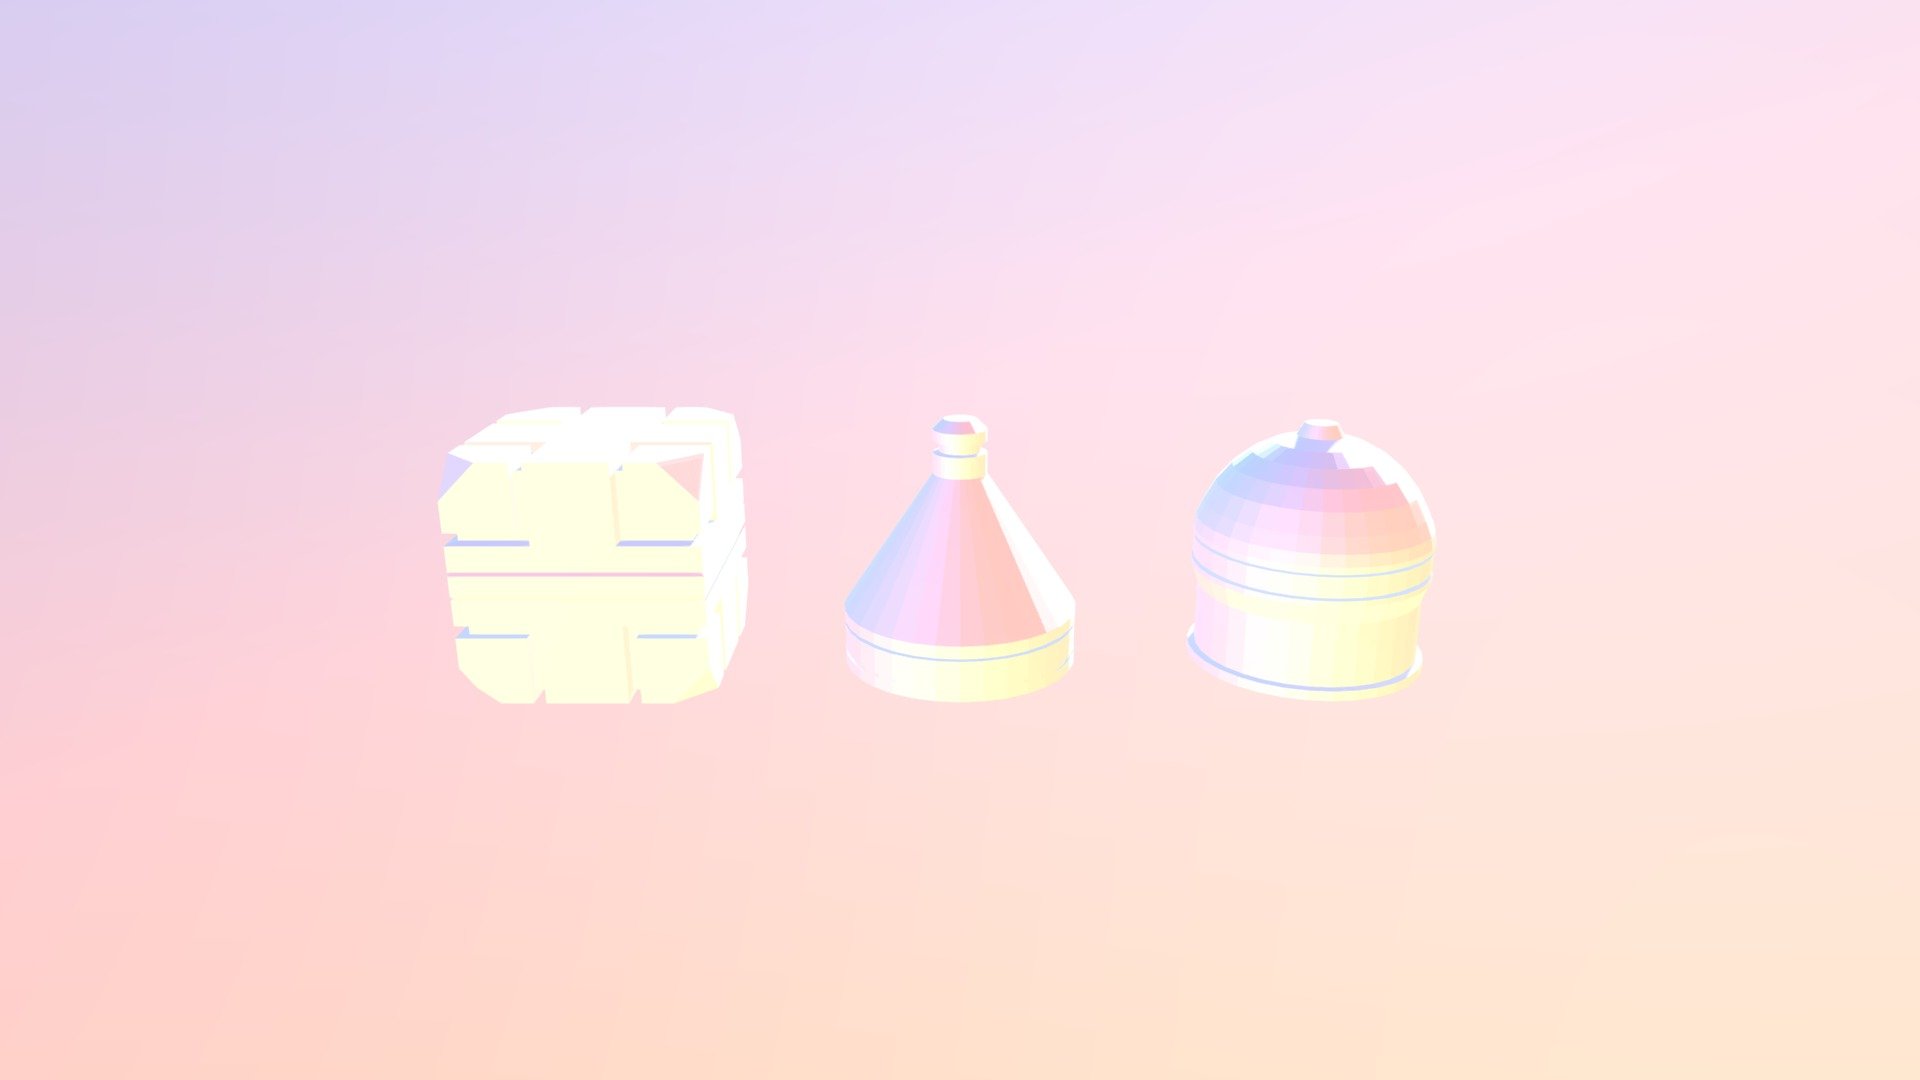
mesh-modeling_fundamentals_exercise01
sketchfab
Welcome to the CGCookie Mesh Modeling Fundamentals course! In this exercise, we'll be creating a simple mesh model from scratch. Our goal is to create a basic cube mesh that can be used as a starting point for more complex models. First, let's create a new project in Blender by going to File > New > Project. Name your project "Cube Mesh" and select the units and scale settings you prefer. Next, we'll switch to Edit Mode by pressing Tab on your keyboard. In Edit Mode, we can add or remove vertices, edges, and faces from our mesh. To create a cube mesh, we need to add 8 vertices: 4 in the x-axis, 4 in the y-axis. We can do this by clicking on the 3D viewport and then using the Vertex tool (Shortcut key V) to place the first vertex at the origin (0,0,0). Then, we'll use the Extrude tool (Shortcut key E) to add more vertices along the x and y axes. After extruding the vertices, we should have a total of 8 vertices. Now it's time to connect them with edges. To do this, select all the vertices by pressing Ctrl+A on Windows or Command+A on Mac, then press F to face them. Now that our mesh is complete, let's move on to some more advanced techniques in the next exercise!
With this file you will be able to print mesh-modeling_fundamentals_exercise01 with your 3D printer. Click on the button and save the file on your computer to work, edit or customize your design. You can also find more 3D designs for printers on mesh-modeling_fundamentals_exercise01.
