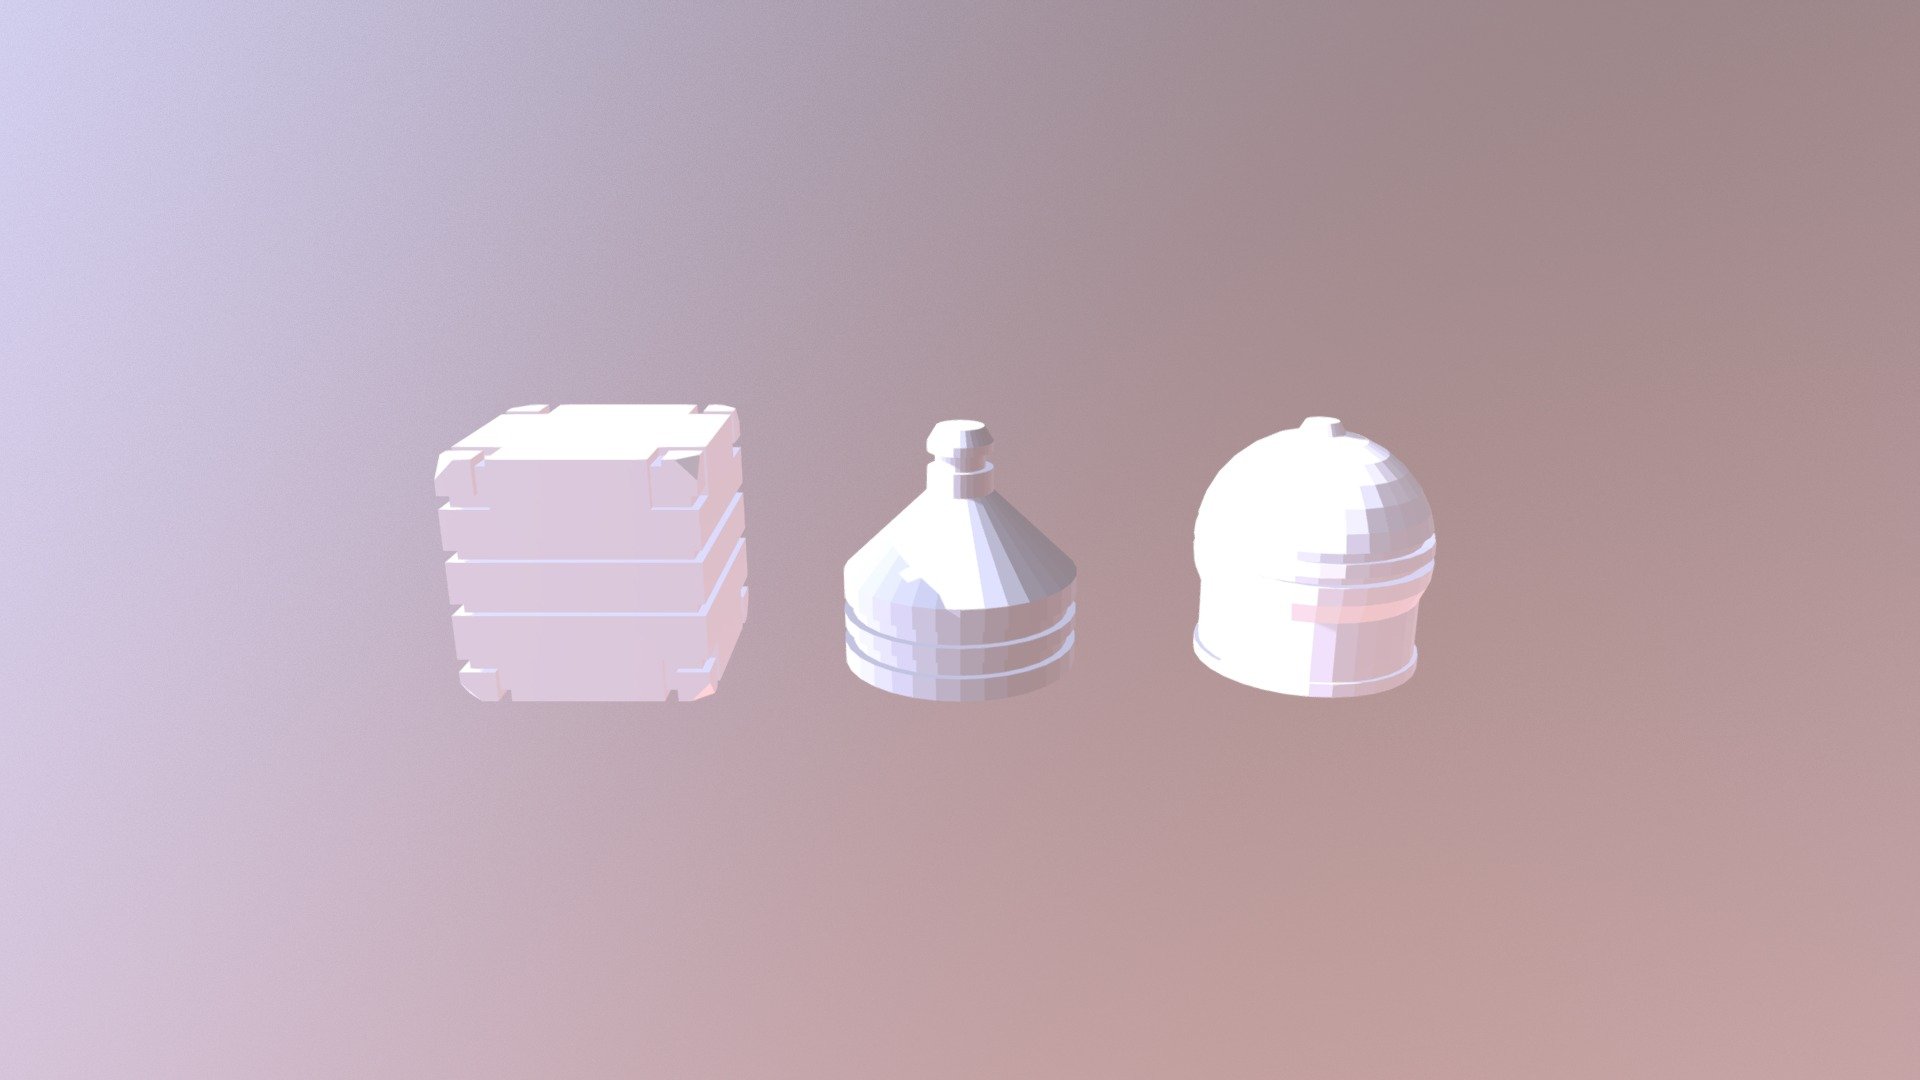
Mesh-modeling Fundamentals Exercise01
sketchfab
Here's a solid introduction to mesh modeling with Blender. We'll be walking through a simple exercise designed to help you get familiar with this powerful tool. Step One: Creating a Plane -------------------------------- First things first, let's create a plane to work from. To do this, navigate over to the 3D view and click on the "Cube" button in the top left corner of the screen. This will bring up a simple cube that we can then use as our starting point. Step Two: Subdividing Faces ----------------------------- Next, we're going to subdivide some faces. To do this, select one face of the cube by clicking on it with your mouse. Then, go ahead and click on the "Subdivide" button in the toolbar at the top of the screen. This will break up the selected face into smaller pieces. Step Three: Loop Cutting ------------------------- Now that we have our faces subdivided, let's loop cut them. To do this, select a vertex by clicking on it with your mouse. Then, go ahead and click on the "Loop Cut" button in the toolbar at the top of the screen. This will create a new edge connecting two vertices. Step Four: Extruding Edges --------------------------- Next up, let's extrude some edges. To do this, select an edge by clicking on it with your mouse. Then, go ahead and click on the "Extrude" button in the toolbar at the top of the screen. This will create a new face connected to the selected edge. Step Five: Creating a Hole --------------------------- Now that we have our edges extruded, let's create a hole. To do this, select an edge by clicking on it with your mouse. Then, go ahead and click on the "Extrude" button in the toolbar at the top of the screen again. This time, however, we want to extrude inwards instead of outwards. To do this, simply hold down the Ctrl key while clicking on the "Extrude" button. Step Six: Loop Cutting Again ----------------------------- Now that we have our hole created, let's loop cut some more edges. To do this, select an edge by clicking on it with your mouse. Then, go ahead and click on the "Loop Cut" button in the toolbar at the top of the screen again. This will create a new edge connecting two vertices. Step Seven: Extruding Edges Again --------------------------------- Next up, let's extrude some more edges. To do this, select an edge by clicking on it with your mouse. Then, go ahead and click on the "Extrude" button in the toolbar at the top of the screen again. This will create a new face connected to the selected edge. Step Eight: Creating Another Hole --------------------------------- Now that we have our edges extruded, let's create another hole. To do this, select an edge by clicking on it with your mouse. Then, go ahead and click on the "Extrude" button in the toolbar at the top of the screen again. This time, however, we want to extrude inwards instead of outwards. To do this, simply hold down the Ctrl key while clicking on the "Extrude" button. Step Nine: Loop Cutting Again ----------------------------- Now that we have our second hole created, let's loop cut some more edges. To do this, select an edge by clicking on it with your mouse. Then, go ahead and click on the "Loop Cut" button in the toolbar at the top of the screen again. This will create a new edge connecting two vertices. Step Ten: Extruding Edges Again -------------------------------- Next up, let's extrude some more edges. To do this, select an edge by clicking on it with your mouse. Then, go ahead and click on the "Extrude" button in the toolbar at the top of the screen again. This will create a new face connected to the selected edge. You've now completed mesh modeling exercise 01!
With this file you will be able to print Mesh-modeling Fundamentals Exercise01 with your 3D printer. Click on the button and save the file on your computer to work, edit or customize your design. You can also find more 3D designs for printers on Mesh-modeling Fundamentals Exercise01.
