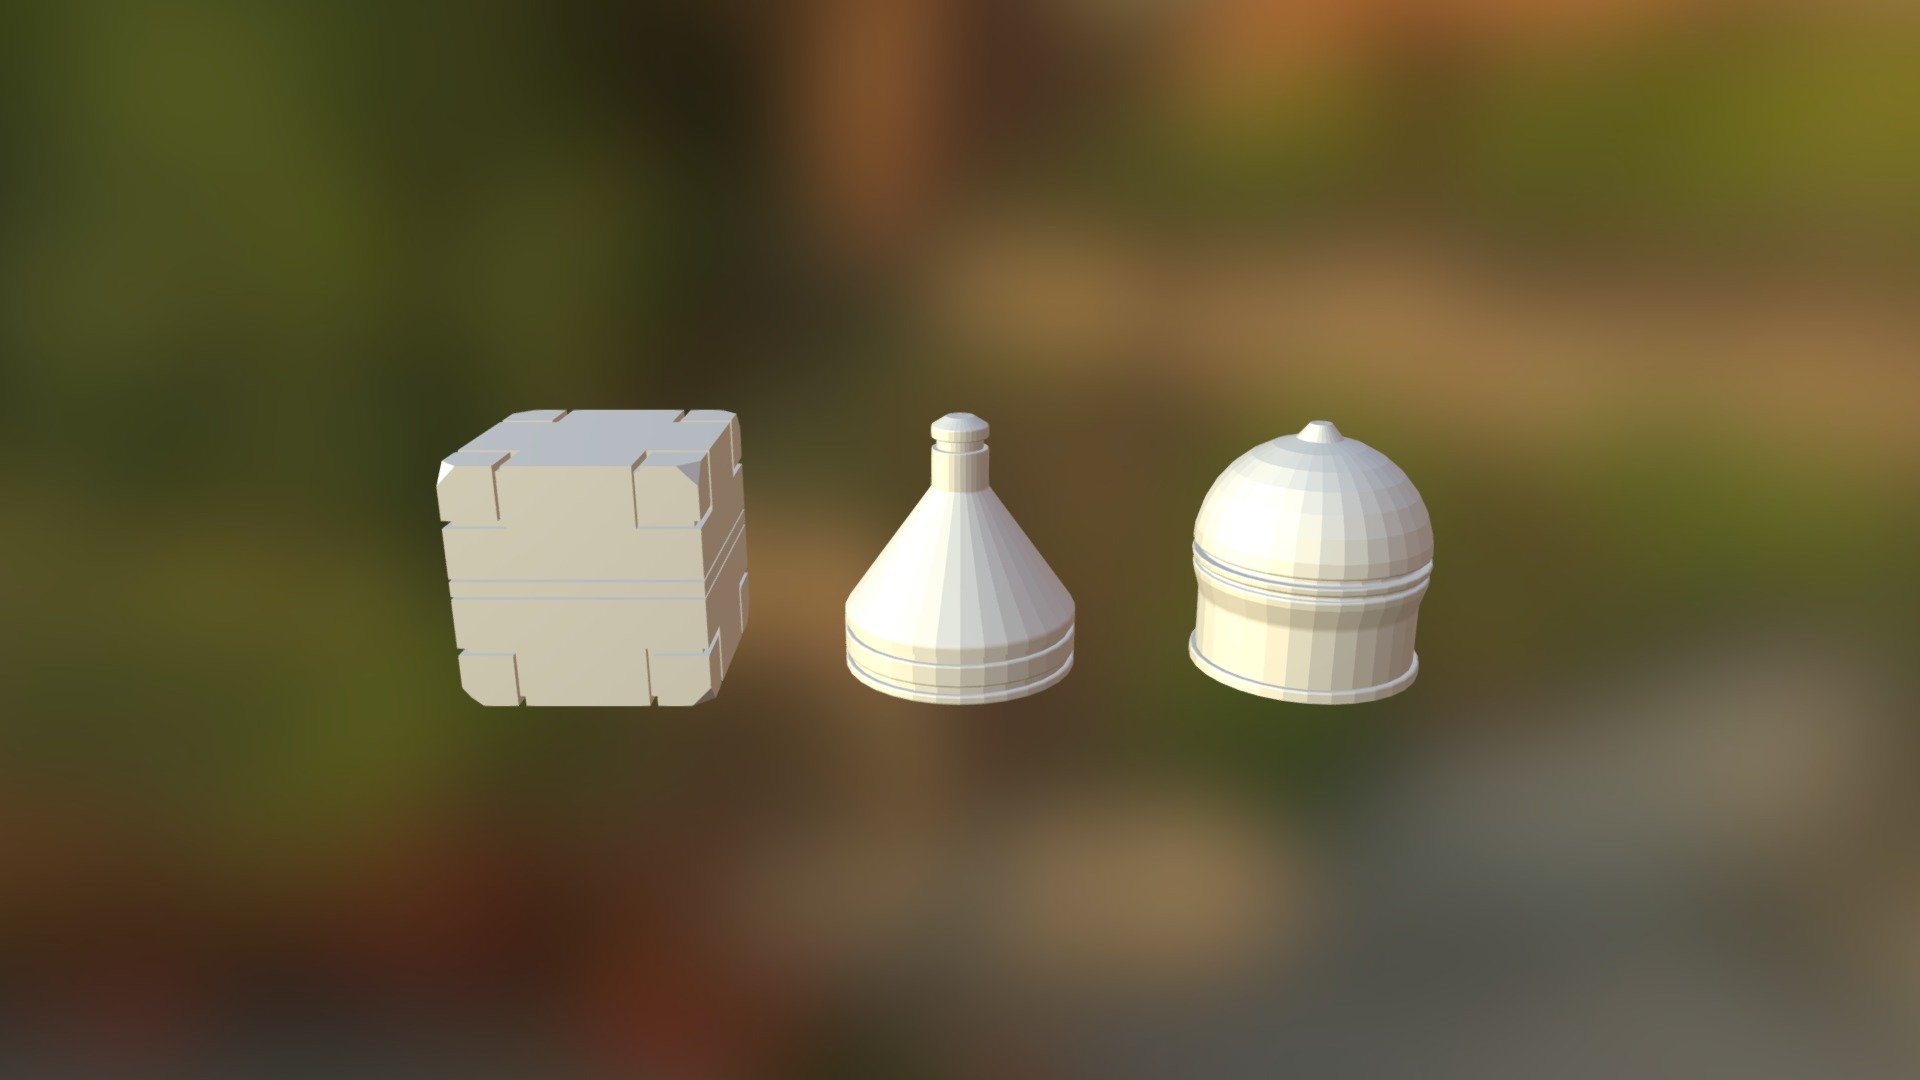
Mesh-modeling Fundamentals Exercise01_Jarrod
sketchfab
First Step to Mastering Blender Cookies: A Beginner's Guide Welcome to the world of 3D modeling and animation! In this tutorial, we'll take you by the hand and guide you through your very first exercise using Blender, a free and open-source 3D creation software. Don't worry if you're new to Blender or 3D modeling; our goal is to help you get started with confidence. **Objective:** Create a simple cookie using Blender's built-in tools. **Materials Needed:** * A computer with Blender installed * A web browser (for online resources and tutorials) * Patience and curiosity! **Step 1: Launching Blender** First, let's launch Blender on your computer. You can do this by searching for "Blender" in your start menu or by navigating to the installation directory and clicking on the executable file. Once launched, you'll see a blank workspace with various tools and panels. **Step 2: Creating a New Project** Click on "File" > "New" to create a new project. This will open a dialog box where you can set your project's resolution, frame rate, and other settings. For this exercise, let's stick with the default settings. **Step 3: Creating a Cookie Mesh** In the 3D Viewport, click on "Mesh" > "UV Sphere" to create a new mesh object. This will give us a basic shape that we can modify later. Scale and move the sphere to your liking, but don't worry too much about it – we'll get to tweaking soon! **Step 4: Adding Materials** Click on "Materials" in the Properties panel and add a new material by clicking the "+" button. Name this material "Cookie Dough." Set its color to a warm brown tone using the color picker. You can also adjust the texture settings if you like. **Step 5: Adding Texture** With your material selected, click on the "Texture" tab in the Properties panel and add a new texture by clicking the "+" button. Name this texture "Cookie Crumbs." Set its image to a simple texture of cookie crumbs (you can find these online or create your own). **Step 6: Final Touches** Use the various tools in Blender to refine your cookie mesh, adding details like cracks and crevices as needed. You can also experiment with different materials and textures to give your cookie some personality. **Conclusion:** Congratulations! You've completed your first exercise using Blender cookies. Pat yourself on the back – you're one step closer to mastering this powerful 3D creation software. Remember, practice makes perfect, so don't be afraid to experiment and try new things in future exercises. Happy modeling!
With this file you will be able to print Mesh-modeling Fundamentals Exercise01_Jarrod with your 3D printer. Click on the button and save the file on your computer to work, edit or customize your design. You can also find more 3D designs for printers on Mesh-modeling Fundamentals Exercise01_Jarrod.
