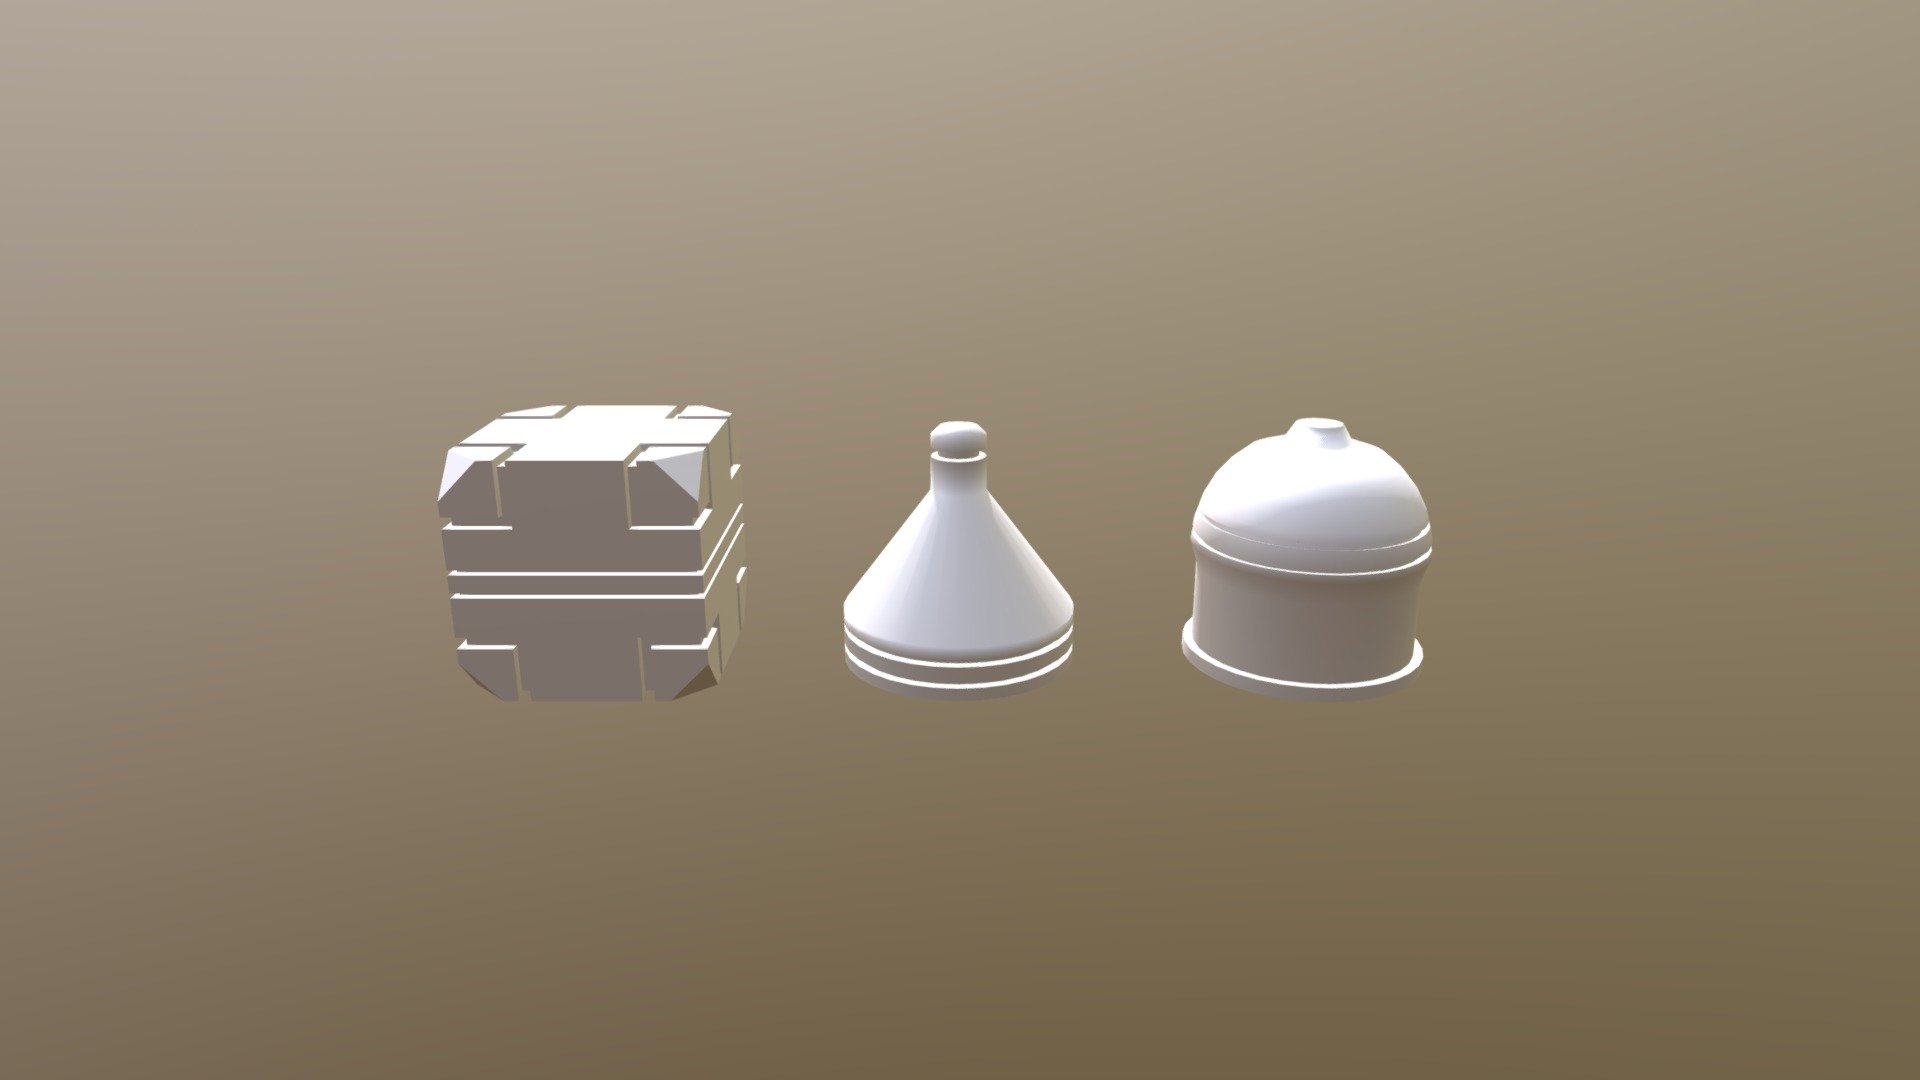
Mesh-modeling Fundamentals Exercise01
sketchfab
Creating a 3D Model of a Simple Object To get started with Blender, let's make a simple cube. This will help you understand how to navigate through the user interface and interact with your objects. Follow these steps: 1. Open up Blender by clicking on its icon or searching for it in your computer's start menu. 2. Once you're inside Blender, click on the "Create" button at the top right corner of the screen. 3. In the "Add Mesh" panel that appears, select "Cube." 4. Click and drag the cube to position it where you want it to be in your scene. You can also use the arrow keys on your keyboard to move it. 5. To rotate the cube, click and hold the left mouse button while moving the mouse. This will allow you to look at the object from different angles. 6. When you're done manipulating the object, press the "Tab" key to switch between object mode and edit mode.
With this file you will be able to print Mesh-modeling Fundamentals Exercise01 with your 3D printer. Click on the button and save the file on your computer to work, edit or customize your design. You can also find more 3D designs for printers on Mesh-modeling Fundamentals Exercise01.
