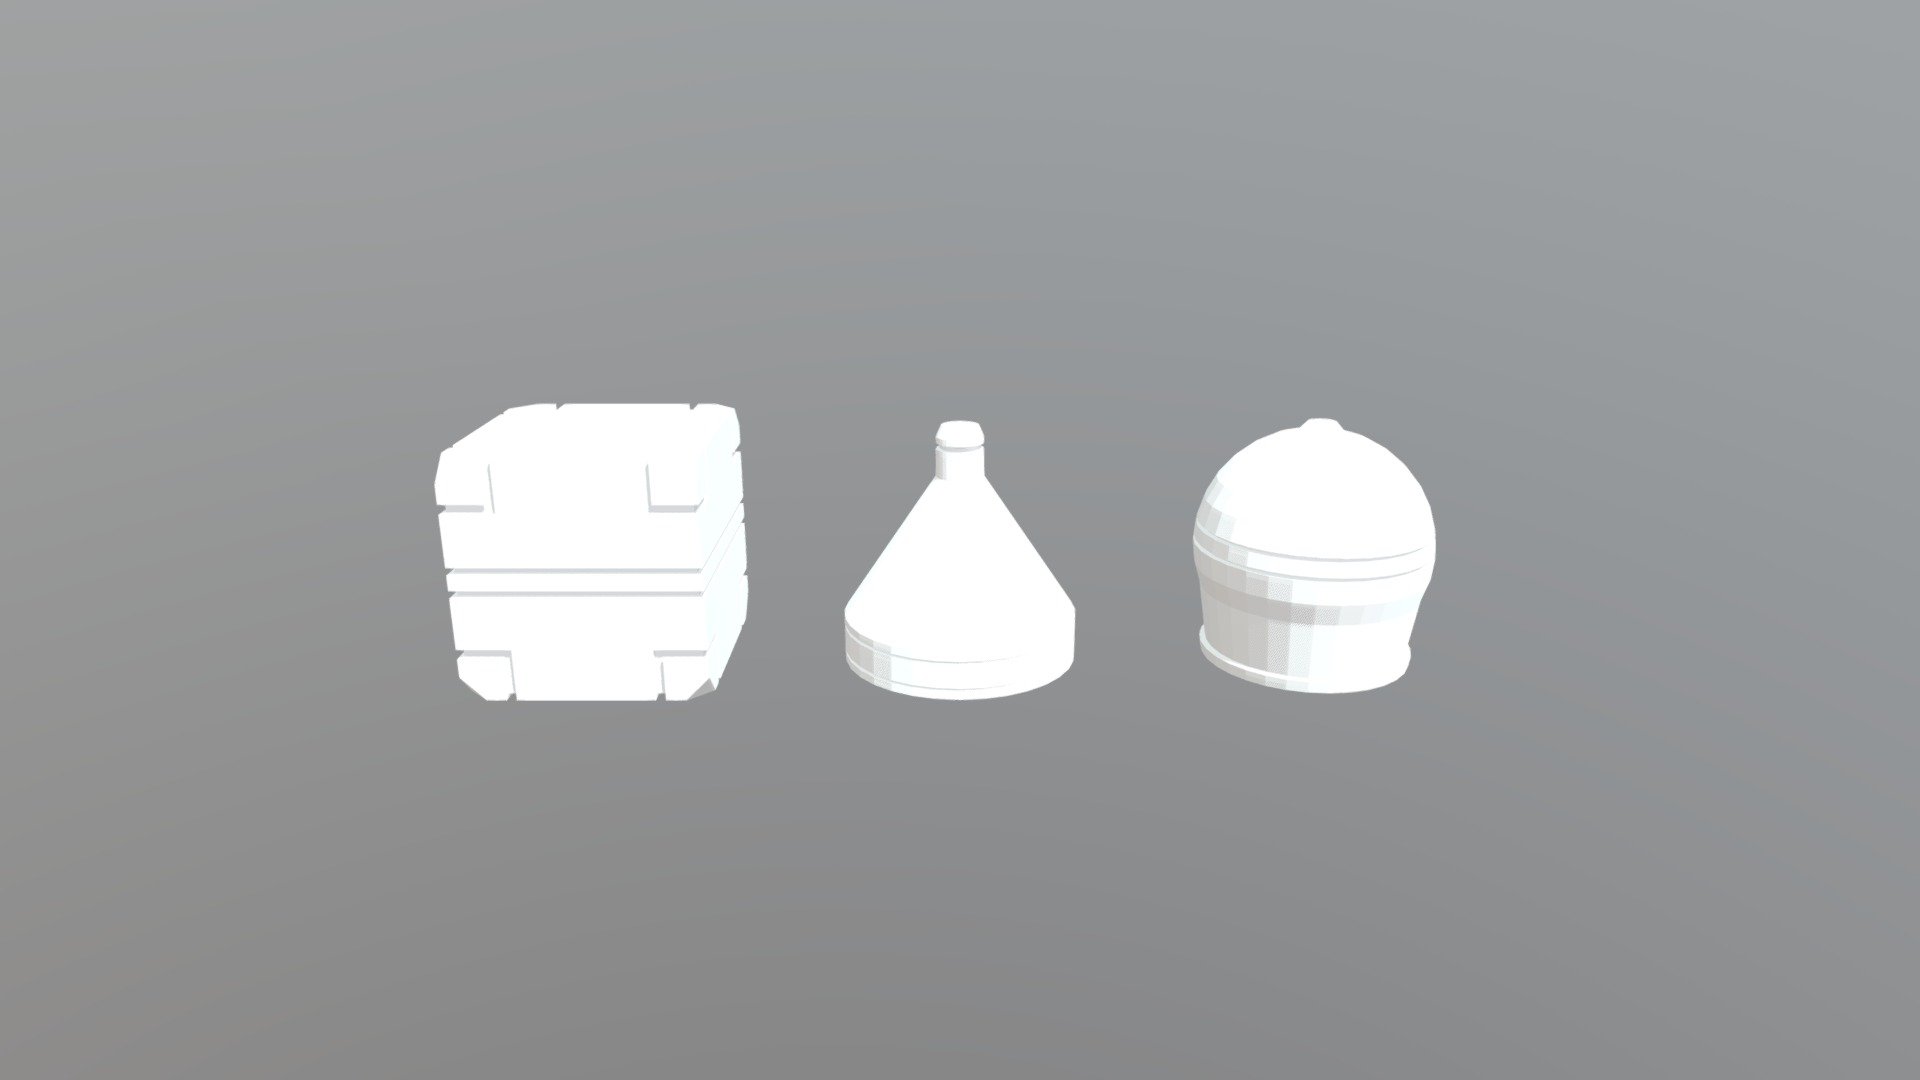
Mesh-modeling Fundamentals Exercise01
sketchfab
Creating a 3D mesh from scratch is an essential skill to master in computer-generated imagery (CGI). This exercise will help you build your foundation in mesh modeling by guiding you through creating a simple, yet elegant, cube. To begin, open Blender and set up a new project with the units set to "Metric" and the scale set to 1:100. You can then select "Empty" under the "Scene" menu to create an empty scene. Now that your workspace is ready, it's time to get started on modeling your cube. First, navigate to the "3D View" panel by pressing "Numpad 5". This will allow you to view and manipulate your mesh in a more intuitive way. Next, click the "Cube" button under the "Create" menu or press "Shift + A", then select "Mesh" > "Cube" from the dropdown menu. You can now use the mouse to move, rotate, and scale your cube as desired. To add some depth to your model, you'll need to create a second face for each side of the cube. To do this, select one of the faces by clicking on it, then press "Ctrl + Shift + R" to enter edge-select mode. This will allow you to choose individual edges instead of faces. With edge-select mode activated, use your mouse to click and drag on the edges of the selected face. As you move the cursor away from the center of the cube, a new face will be created.
With this file you will be able to print Mesh-modeling Fundamentals Exercise01 with your 3D printer. Click on the button and save the file on your computer to work, edit or customize your design. You can also find more 3D designs for printers on Mesh-modeling Fundamentals Exercise01.
