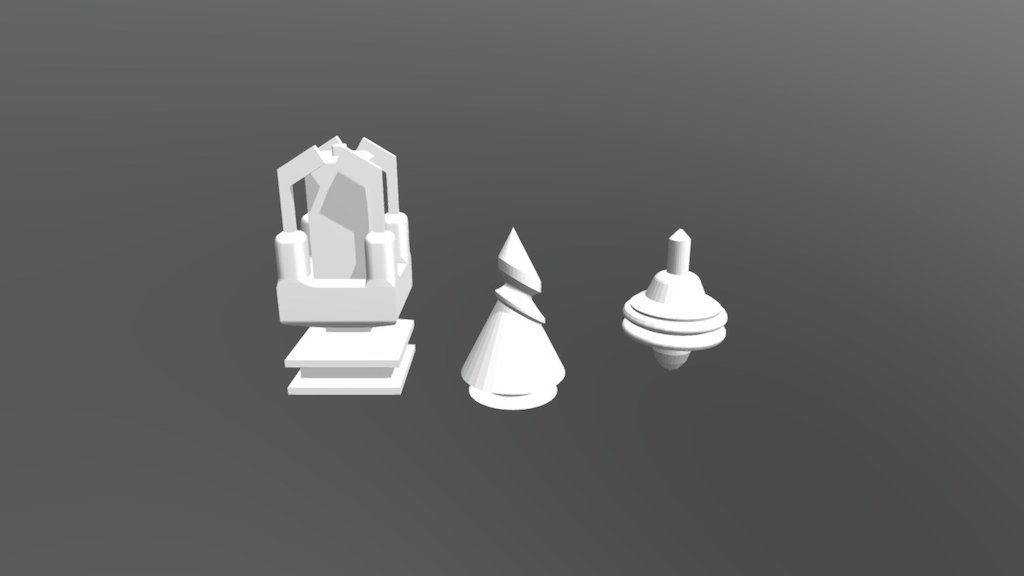
Mesh-modeling Fundamentals Exercise01
sketchfab
Mesh Modeling Exercise 01: Create a simple mesh model of a cube using the default settings and tools provided by your chosen software. The goal is to get familiar with the basic functionality of the program. 1. Launch your preferred modeling software and start a new project. 2. Create a new cube in the scene by clicking on the "Cube" button or selecting it from the menu. 3. Observe the mesh's properties, such as its vertices, edges, and faces, in the object tree or viewport. 4. Modify the cube's dimensions to create a 1:5 aspect ratio by adjusting the length, width, and height values in the "Properties" panel. 5. Change the color of the mesh by selecting it and choosing a new material from the "Material Editor." 6. Apply a texture to the mesh by creating a new image file and assigning it as the texture map for the material. 7. Experiment with different mesh editing tools, such as extrusion, beveling, or subdivision, to add detail to your model. 8. Save the project as you progress through these steps. This exercise will help you understand how to create basic 3D models and become more comfortable working with mesh modeling software.
With this file you will be able to print Mesh-modeling Fundamentals Exercise01 with your 3D printer. Click on the button and save the file on your computer to work, edit or customize your design. You can also find more 3D designs for printers on Mesh-modeling Fundamentals Exercise01.
