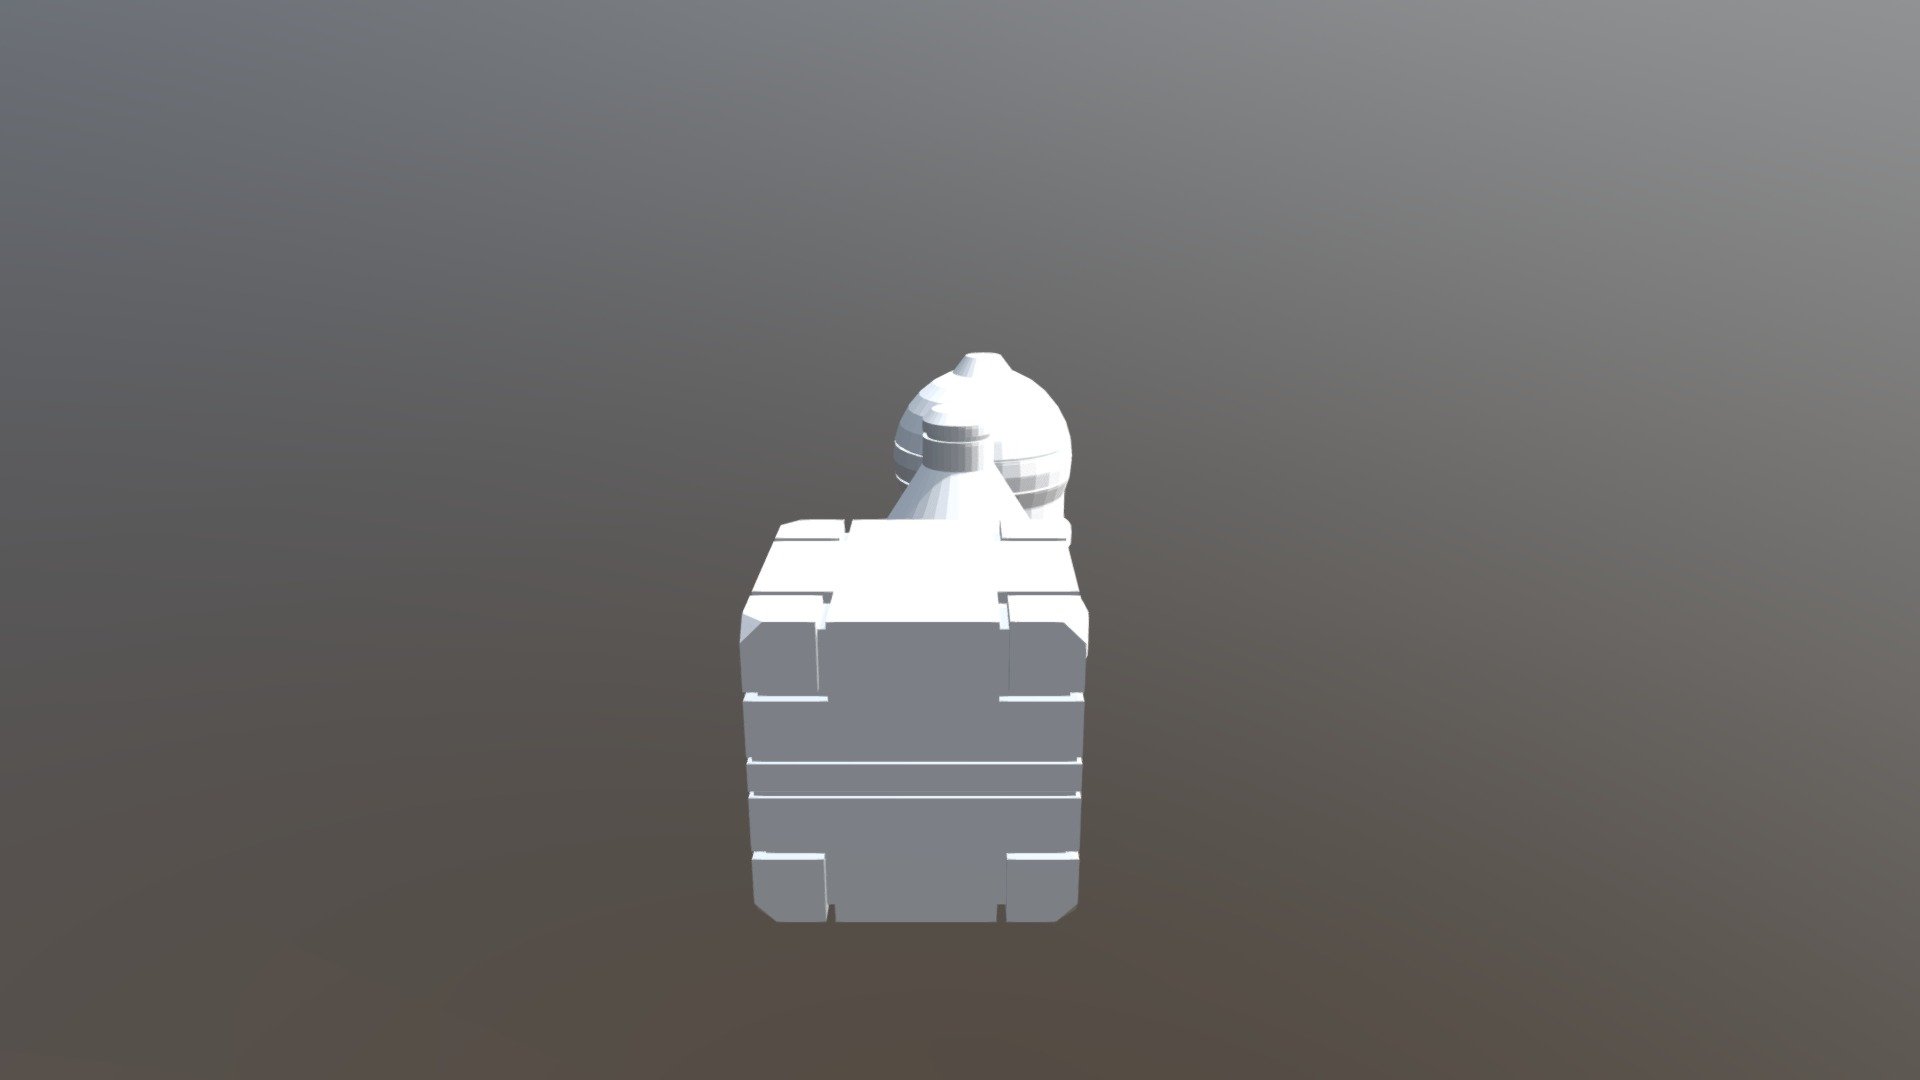
Mesh Modeling Exercise01
sketchfab
Learning to model a low-poly mesh is an essential skill in 3D computer graphics. In this exercise, we will create a simple mesh using Blender, a free and open-source 3D creation software. Our goal is to create a mesh that has as few faces as possible while still maintaining the overall shape of our object. Here's the step-by-step guide: 1. Open Blender and go to Edit Mode by pressing Tab on your keyboard. 2. Create a new mesh by going to Mesh > Cylinder (or press Ctrl + Shift + C). 3. In Edit Mode, select all vertices by pressing A on your keyboard, then move them down by 10 units using the Z-axis by pressing S > Z > -10. 4. Now we need to add more detail to our mesh, so let's subdivide it into smaller faces. To do this, go to Subdivide > Simple (or press Ctrl + R). 5. We can now see that our mesh has more detail and a better representation of the object's shape. This exercise is great for learning how to model a low-poly mesh in Blender, and we hope you found it helpful!
With this file you will be able to print Mesh Modeling Exercise01 with your 3D printer. Click on the button and save the file on your computer to work, edit or customize your design. You can also find more 3D designs for printers on Mesh Modeling Exercise01.
