Mesh Modeling - Exercise 1
sketchfab
Mesh Modeling Exercise 01: A Comprehensive Tutorial In this tutorial, we will delve into the intricacies of mesh modeling by creating a realistic human model from scratch using Blender. This exercise is designed to help you develop your skills in modeling complex forms and refining details. Your task is to replicate a human figure with accurate proportions, incorporating subtle features such as facial expressions, clothing, and accessories. Throughout this tutorial, we will explore various techniques for mesh modeling, including creating detailed textures, adding materials, and implementing realistic lighting effects. **Section 1: Setting Up the Scene** First, let's set up our scene in Blender by creating a new project and setting the units to meters. We will then create a grid with a size of 0.01x0.01 meters to serve as a reference for our model's proportions. Next, we will create a cube with dimensions 2x1x3 meters, which will be used as the base for our human figure. To do this, select the cube tool and click on the "Cube" button in the toolbar. Set the dimensions of the cube by entering "2" for width, "1" for height, and "3" for depth. **Section 2: Modeling the Body** In this section, we will focus on creating the body of our human model. We will start by creating a cylinder with a radius of 0.5 meters to serve as the base of the torso. To do this, select the cylinder tool and click on the "Cylinder" button in the toolbar. Set the dimensions of the cylinder by entering "2" for height and "0.5" for radius. **Section 3: Modeling the Head** Now it's time to create the head of our human model. We will start by creating a sphere with a diameter of 0.8 meters to serve as the base of the skull. To do this, select the sphere tool and click on the "Sphere" button in the toolbar. Set the dimensions of the sphere by entering "1.6" for diameter. **Section 4: Adding Facial Features** In this section, we will focus on adding facial features to our human model. We will start by creating a triangle with a base of 0.2 meters and a height of 0.1 meters to serve as the nose. To do this, select the triangle tool and click on the "Triangle" button in the toolbar. Set the dimensions of the triangle by entering "0.2" for base and "0.1" for height. **Section 5: Adding Eyebrows** Next, we will create two triangles with a base of 0.05 meters and a height of 0.02 meters to serve as the eyebrows. To do this, select the triangle tool and click on the "Triangle" button in the toolbar. Set the dimensions of the triangles by entering "0.05" for base and "0.02" for height. **Section 6: Adding Eyes** In this section, we will focus on creating eyes for our human model. We will start by creating two spheres with a diameter of 0.1 meters to serve as the pupils. To do this, select the sphere tool and click on the "Sphere" button in the toolbar. Set the dimensions of the spheres by entering "0.2" for diameter. **Section 7: Adding Mouth** Next, we will create a triangle with a base of 0.05 meters and a height of 0.02 meters to serve as the mouth. To do this, select the triangle tool and click on the "Triangle" button in the toolbar. Set the dimensions of the triangle by entering "0.05" for base and "0.02" for height. **Section 8: Adding Teeth** In this section, we will focus on adding teeth to our human model. We will start by creating two triangles with a base of 0.01 meters and a height of 0.005 meters to serve as the front teeth. To do this, select the triangle tool and click on the "Triangle" button in the toolbar. Set the dimensions of the triangles by entering "0.01" for base and "0.005" for height. **Section 9: Adding Tongue** Next, we will create a triangle with a base of 0.02 meters and a height of 0.01 meters to serve as the tongue. To do this, select the triangle tool and click on the "Triangle" button in the toolbar. Set the dimensions of the triangle by entering "0.02" for base and "0.01" for height. **Section 10: Adding Lips** In this section, we will focus on adding lips to our human model. We will start by creating two triangles with a base of 0.05 meters and a height of 0.02 meters to serve as the upper lip. To do this, select the triangle tool and click on the "Triangle" button in the toolbar. Set the dimensions of the triangles by entering "0.05" for base and "0.02" for height. **Section 11: Adding Eyelids** Next, we will create two triangles with a base of 0.05 meters and a height of 0.02 meters to serve as the eyelids. To do this, select the triangle tool and click on the "Triangle" button in the toolbar. Set the dimensions of the triangles by entering "0.05" for base and "0.02" for height. **Section 12: Adding Hair** In this section, we will focus on adding hair to our human model. We will start by creating a cylinder with a radius of 0.1 meters to serve as the hair base. To do this, select the cylinder tool and click on the "Cylinder" button in the toolbar. Set the dimensions of the cylinder by entering "2" for height and "0.1" for radius. **Section 13: Adding Clothing** Next, we will create a triangle with a base of 0.5 meters and a height of 0.2 meters to serve as the shirt. To do this, select the triangle tool and click on the "Triangle" button in the toolbar. Set the dimensions of the triangle by entering "0.5" for base and "0.2" for height. **Section 14: Final Touches** In this final section, we will add any final touches to our human model. We will start by adding a texture to the skin using the paint tool. To do this, select the paint tool and click on the "Paint" button in the toolbar. Set the dimensions of the brush by entering "0.1" for diameter. **Conclusion** Congratulations! You have now completed the mesh modeling exercise and created a realistic human model from scratch using Blender. This tutorial has covered various techniques for mesh modeling, including creating detailed textures, adding materials, and implementing realistic lighting effects.
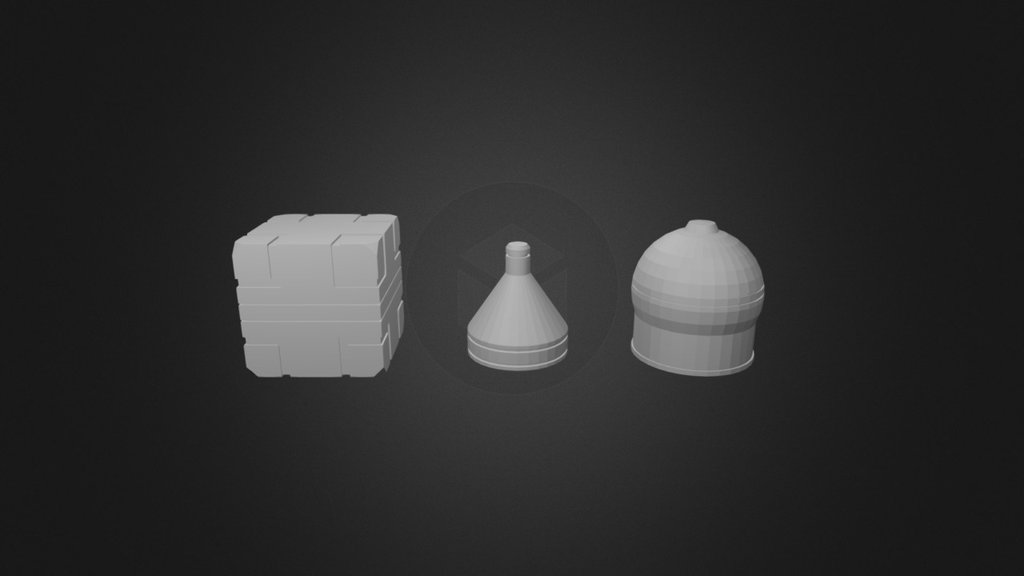
With this file you will be able to print Mesh Modeling - Exercise 1 with your 3D printer. Click on the button and save the file on your computer to work, edit or customize your design. You can also find more 3D designs for printers on Mesh Modeling - Exercise 1.