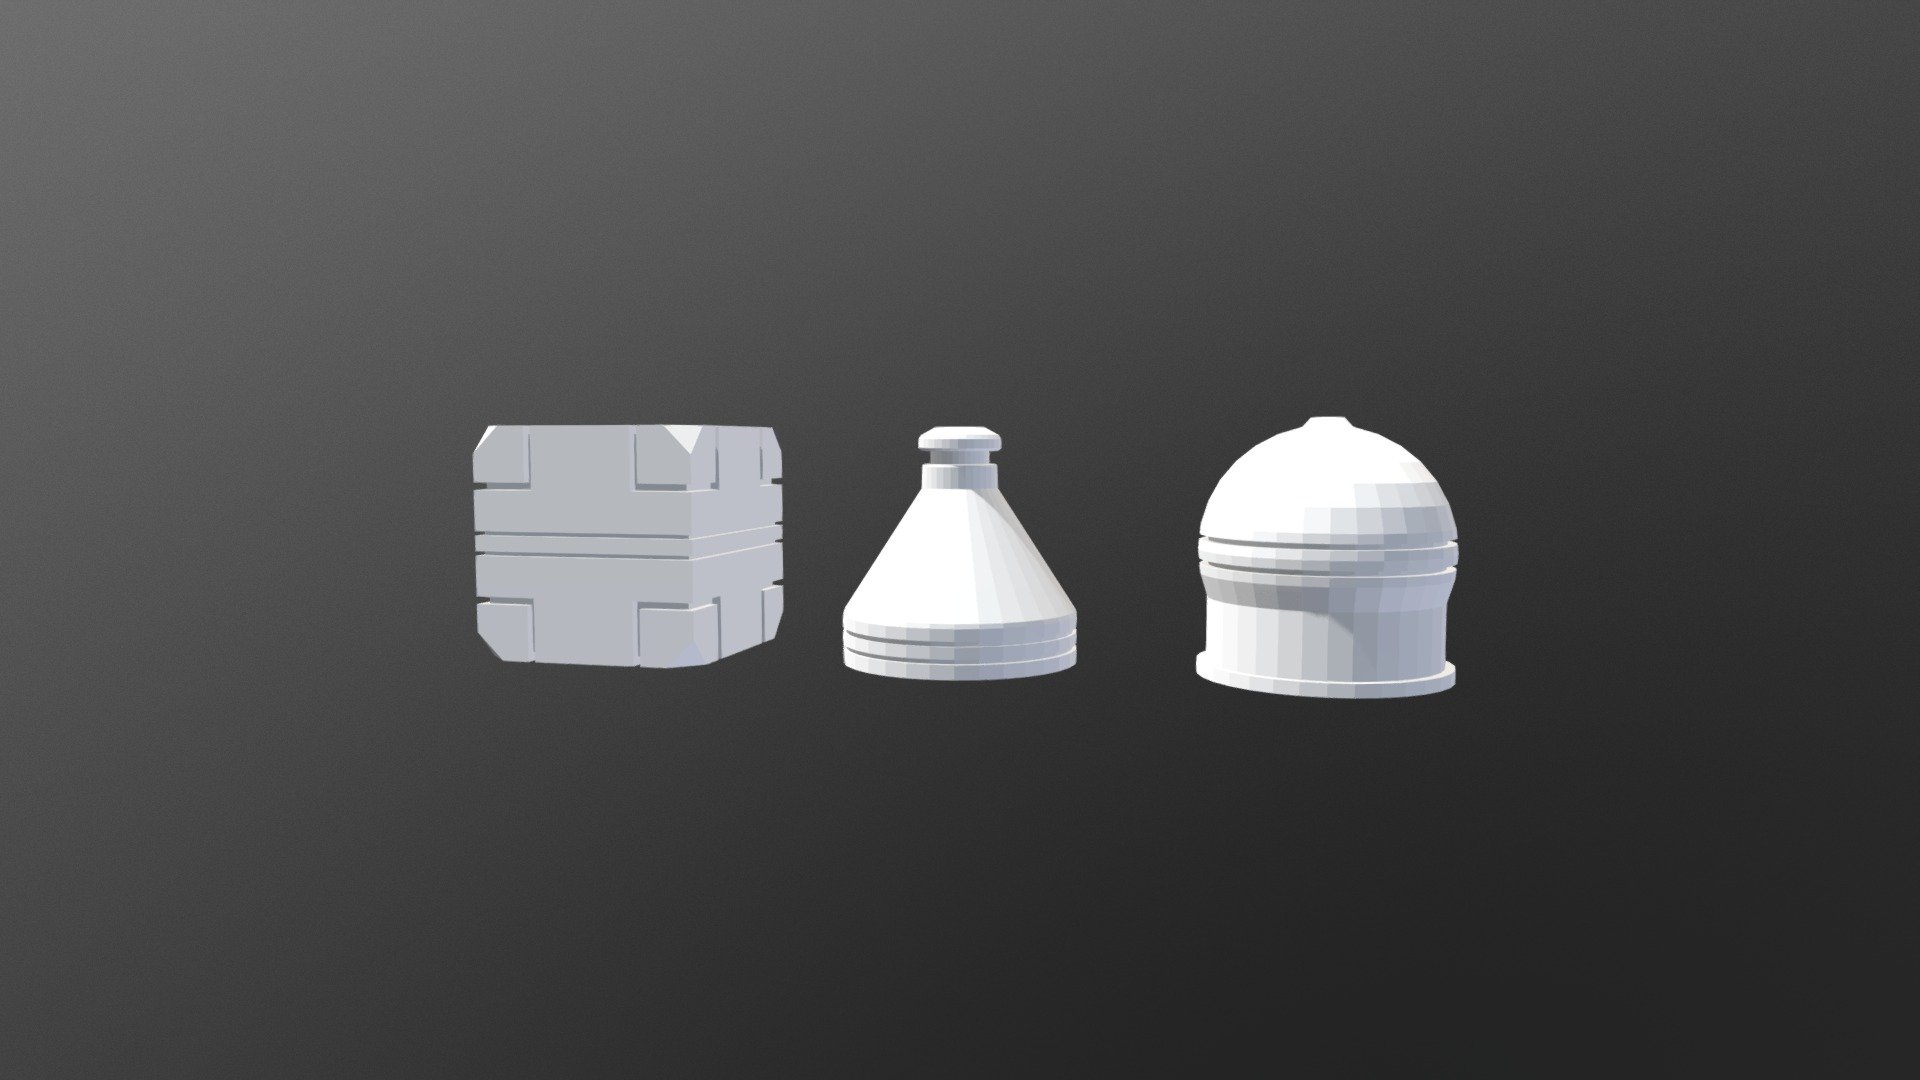
Mesh Modeling Exercice 01
sketchfab
I'm excited to share this exercise from CG Cookie, a platform that offers expert-led tutorials and projects to help users improve their skills in computer-generated imagery (CGI). The exercise involves creating a 3D model of a chair using Blender, a popular open-source 3D creation software. First, I need to create a new project in Blender by going to File > New > Blank Project. Then, I'll navigate to the Outliner panel and click on the "Cube" object to select it. Next, I'll press the "Delete" key to remove the default cube that comes with every new project. Now, let's start building our chair. I'll switch to the Object Mode and go to Edit Mode by pressing Tab. In Edit Mode, I can use various tools like Extrude, Bevel, and Loop Cut to shape my 3D model. For this exercise, I'm focusing on creating a simple chair with a flat seat and four legs. First, I'll create the base of the chair by extruding a rectangle from the original cube. Then, I'll add some curves to give it a more organic look. After that, I'll create the backrest by extruding another rectangle and shaping it into a curved shape using the Loop Cut tool. Next, I'll add four legs to the bottom of the chair by creating new cylinders and positioning them equally apart from each other. Finally, let's add some texture to our chair model by going to Materials tab and selecting a basic material with a wood grain pattern. This will give our chair that authentic look and feel. That's it! I've completed this exercise from CG Cookie and created a simple 3D chair using Blender. With practice and patience, anyone can master the art of creating stunning CGI models like this one.
With this file you will be able to print Mesh Modeling Exercice 01 with your 3D printer. Click on the button and save the file on your computer to work, edit or customize your design. You can also find more 3D designs for printers on Mesh Modeling Exercice 01.
