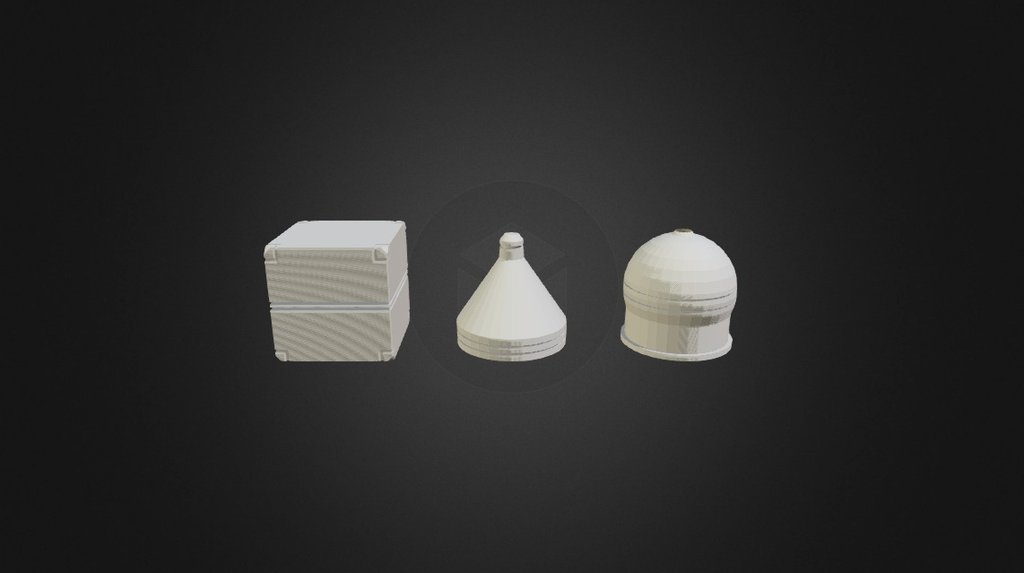
Mesh Modeling 1
sketchfab
Here's a Step-by-Step Guide to Mastering Blender's Mesh Modeling: Welcome to Blender's Mesh Modeling Tutorial, where you'll learn the Fundamentals of Creating and Editing 3D Models! In this comprehensive guide, we'll take it one step at a time, covering all the Essential Skills You Need to Get Started with Blender. **Exercise 1: Basic Shapes** Your first task is to Create a Simple Cube using Blender's Built-in Shape Tools. To do this: 1. Launch Blender and Click on "Cube" in the Top-Bar Menu. 2. Press Tab to Enter Edit Mode, where you can Manipulate your Object's Geometry. 3. Select one of the faces by clicking on it, then press F6 to bring up the "Vertex Selection" panel. 4. Use the "Loop Cut" tool (Ctrl+R) to Create a New Edge Loop around the selected face. 5. With the edge loop selected, click and Drag on any vertex to Move it along the Loop. **Tips and Tricks:** * To Select all Vertices of an Object, Press Ctrl+A. * To Enter Edit Mode for an Object, Press Tab while the Object is Selected. * Use the "Mirror" tool (Ctrl+M) to Create Symmetrical Edges and Faces. Now that you've Created a Simple Cube, it's time to move on to more Complex Shapes. In the next Exercise, we'll explore How to Create a Pyramid using Blender's Mesh Modeling Tools!
With this file you will be able to print Mesh Modeling 1 with your 3D printer. Click on the button and save the file on your computer to work, edit or customize your design. You can also find more 3D designs for printers on Mesh Modeling 1.
