Mercury X Wash Base Weights
thingiverse
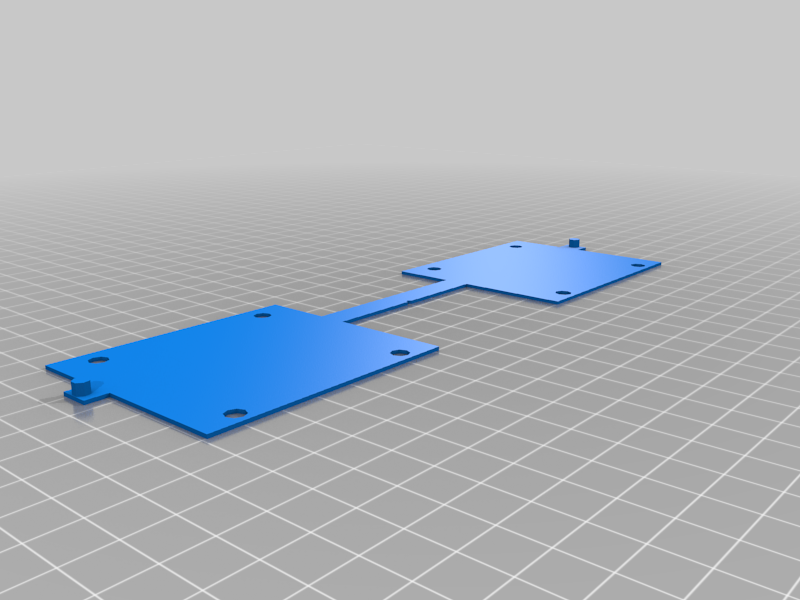
These are boxes that you can mount inside the base of your Elegoo Mercury X wash station. Filled with lead shot, they add about 3 pounds, which is more than enough to keep the base from lifting when you try to remove the bucket. I used these screws for assembly: https://www.amazon.com/dp/B00GDYW2TY One pack is enough - you need 16 screws total. Other #8 3/4" screws might work, but the model has been tweaked to fit these screws exactly. You will also need about three pounds of lead shot. Just about any shot should work. If you don't already have shot, you probably want to buy #8 or #9 bird shot or a similar size - avoid large buckshot. You will also need a 5mm drill, a set of metric hex wrenches (Allen wrenches) and a T-20 driver (or whatever fits the screws you use). Two boxes can fit inside the base if you rotate the motor by 90 degrees. If you don't want to dismount your motor, you can fit one box. 1.5 pounds might be enough - I haven't tried it. I printed this on a Prusa Mk3, using PETG. On a filament printer, all parts should print in the model orientation without support. If there is any doubt, the two small studs on the drill guide should be up, the open part of the box should be up, and the lid should be flat (either side up). I use 4 perimeters to strengthen the threads. That seems to be enough, but I've also included a model of the screw mounts in case you want to use it as a modifier in your slicer. For resin printing, I've included a box with drain holes to prevent pressure buildup while printing. Print it, and the lid, flat on the build plate. I'm still a bit new to resin printing, so it is probably pretty far from ideal, but I've tested it on my Saturn, and it works. The drill guide can also be printed on a Saturn with some rotation and an obscene amount of support. If you want to skip the drill guide, it should be possible to mark and drill the base without it, if you are careful. The screwholes are in a square pattern, 50mm on a side. The boxes should be pretty much centered front to back (be careful of the power jack wiring) and you have some wiggle room side to side as long as you clear the motor and the side screw bolsters. Print the guide and as many boxes and lids as you need. Remove the base of your wash station - 7 screws. The boxes will be screwed through the base, resting on the hump, on either side of the motor. To accurately drill the holes, the studs on the guide will fit in the mounting holes on the hump. There is a small notch on the guide which should point towards the 7th screw of the base. Try to keep the guide flat and straight when you drill the holes. With a 5mm drill, you'll have some wiggle room, but you want the holes to be as accurate as you can get them. Deburr the edges. If you are adding two boxes, remove the motor from the base, remove the magnet wheel, remove the motor from the motor mounting plate. Turn the motor 90 degrees and reassemble with the wires pointing towards the front of the case (towards the circuit board). The boxes are slightly longer in one direction. Be sure that the long side is perpendicular to the hump when you assemble - they should overhang the hump on both sides. I attach the lids with one screw before filling. Tighten everything well, then re-assemble the wash base.
With this file you will be able to print Mercury X Wash Base Weights with your 3D printer. Click on the button and save the file on your computer to work, edit or customize your design. You can also find more 3D designs for printers on Mercury X Wash Base Weights.
