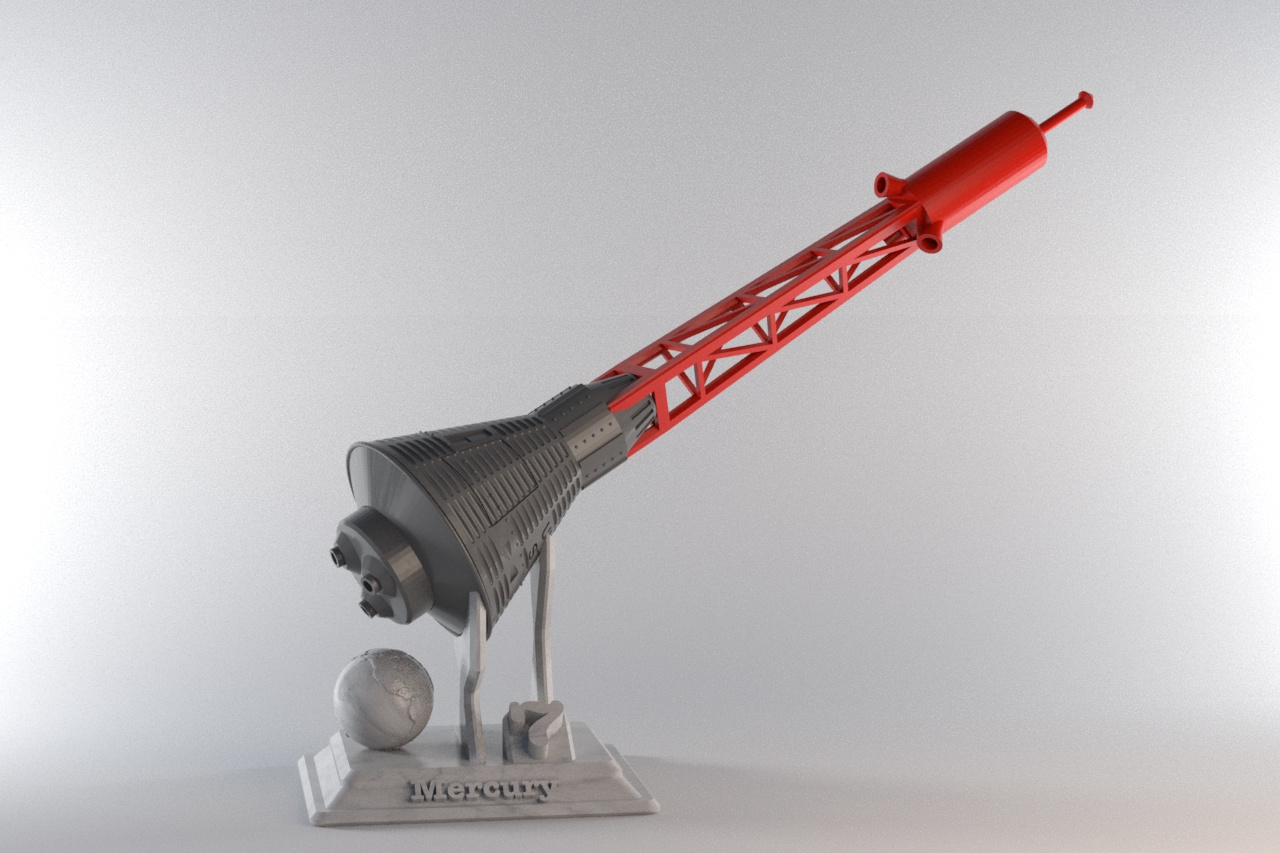
Mercury Capsule
prusaprinters
<p>60 years ago this year (2021) humans began flying in space. In April of 1961 Yuri Gagarin of The Soviet Union Air Force was the first followed by Alan Shepard of The United States Navy in May.</p> <p>Shepard flew in a Mercury capsule on top of a Redstone rocket which helped pave the way to people walking on the moon in 1969 (Shepard later being one of them in 1971.)</p> <p>This is a "3D printer friendly interpretation" of the Mercury Capsule. This does not require any supports and is not a very difficult print. I designed this in Fusion 360.</p> <p>The first image is a render in Cinema4D with the Arnold Renderer. The second image is a photo of an actual print. The remaining images are renders done in Fusion 360, with the last three helping with assembly.</p> <h3>Print instructions</h3><p>Everything is properly oriented for printing. I used Prusament Gentleman's Grey PLA for the capsule and heat shield/retro pack, 3DFuel Iron Red PLA for the escape tower, and I printed the stand in Atomic Filament Marble PLA. All prints were at a layer hight of 0.15mm. Infill was at 15%, seven top and five bottom solid layers, and shell parimeters were left at two.</p> <p><b>Assembly</b><br/> Screw the <i>ScrewPlate</i> into the <i>HeatShieldRetroPack</i> with the handles on the <i>ScrewPlate</i> facing up. Then screw the <i>Capsule</i> to the <i>HeatShieldRetroPack</i>. The Capsule assembly is complete.</p> <p>The assembly of the Escape Tower requires a little bit of glueing. I used 3D Gloop for PLA which is amazing stuff! But superglue will work perfectly. A little goes a long way, so take care not to over do the glue!</p> <p>First, glue the <i>EscapeFuelTank</i> to the top (flat part) of the <i>EscapeTower</i>. Make sure it is centered and the engines are aligned properly (please look at the images.)</p> <p>Next, glue the small <i>EscapeRocketTop</i> to the top of the <i>EscapeFuelTank</i>. As unintuitive as this is, the <i>EscapeRocketTop</i> is NOT centered, but near the side. Again, please reference one of the images. The Escape Tower assembly is complete.</p> <p>Finally, using small amount of glue, attach the Escape Tower assembly to the top of the Capsule assembly. Again, please reference one of the images.</p> <p>Once the glue has completely dried, you can place the completed assembly on the optional stand. The capsule will NOT stay in place if you do not have the Escape Tower attached to the Capsule because it will not balance correctly on the stand. But if you have the Escape Tower attached to the Capsule, it will stay in place. Just reposition the Capsule until it correctly positioned. You can use a small amount of glue if that helps.</p> <p>Good luck and let me know if there is anything I can do to improve this.</p>
With this file you will be able to print Mercury Capsule with your 3D printer. Click on the button and save the file on your computer to work, edit or customize your design. You can also find more 3D designs for printers on Mercury Capsule.
