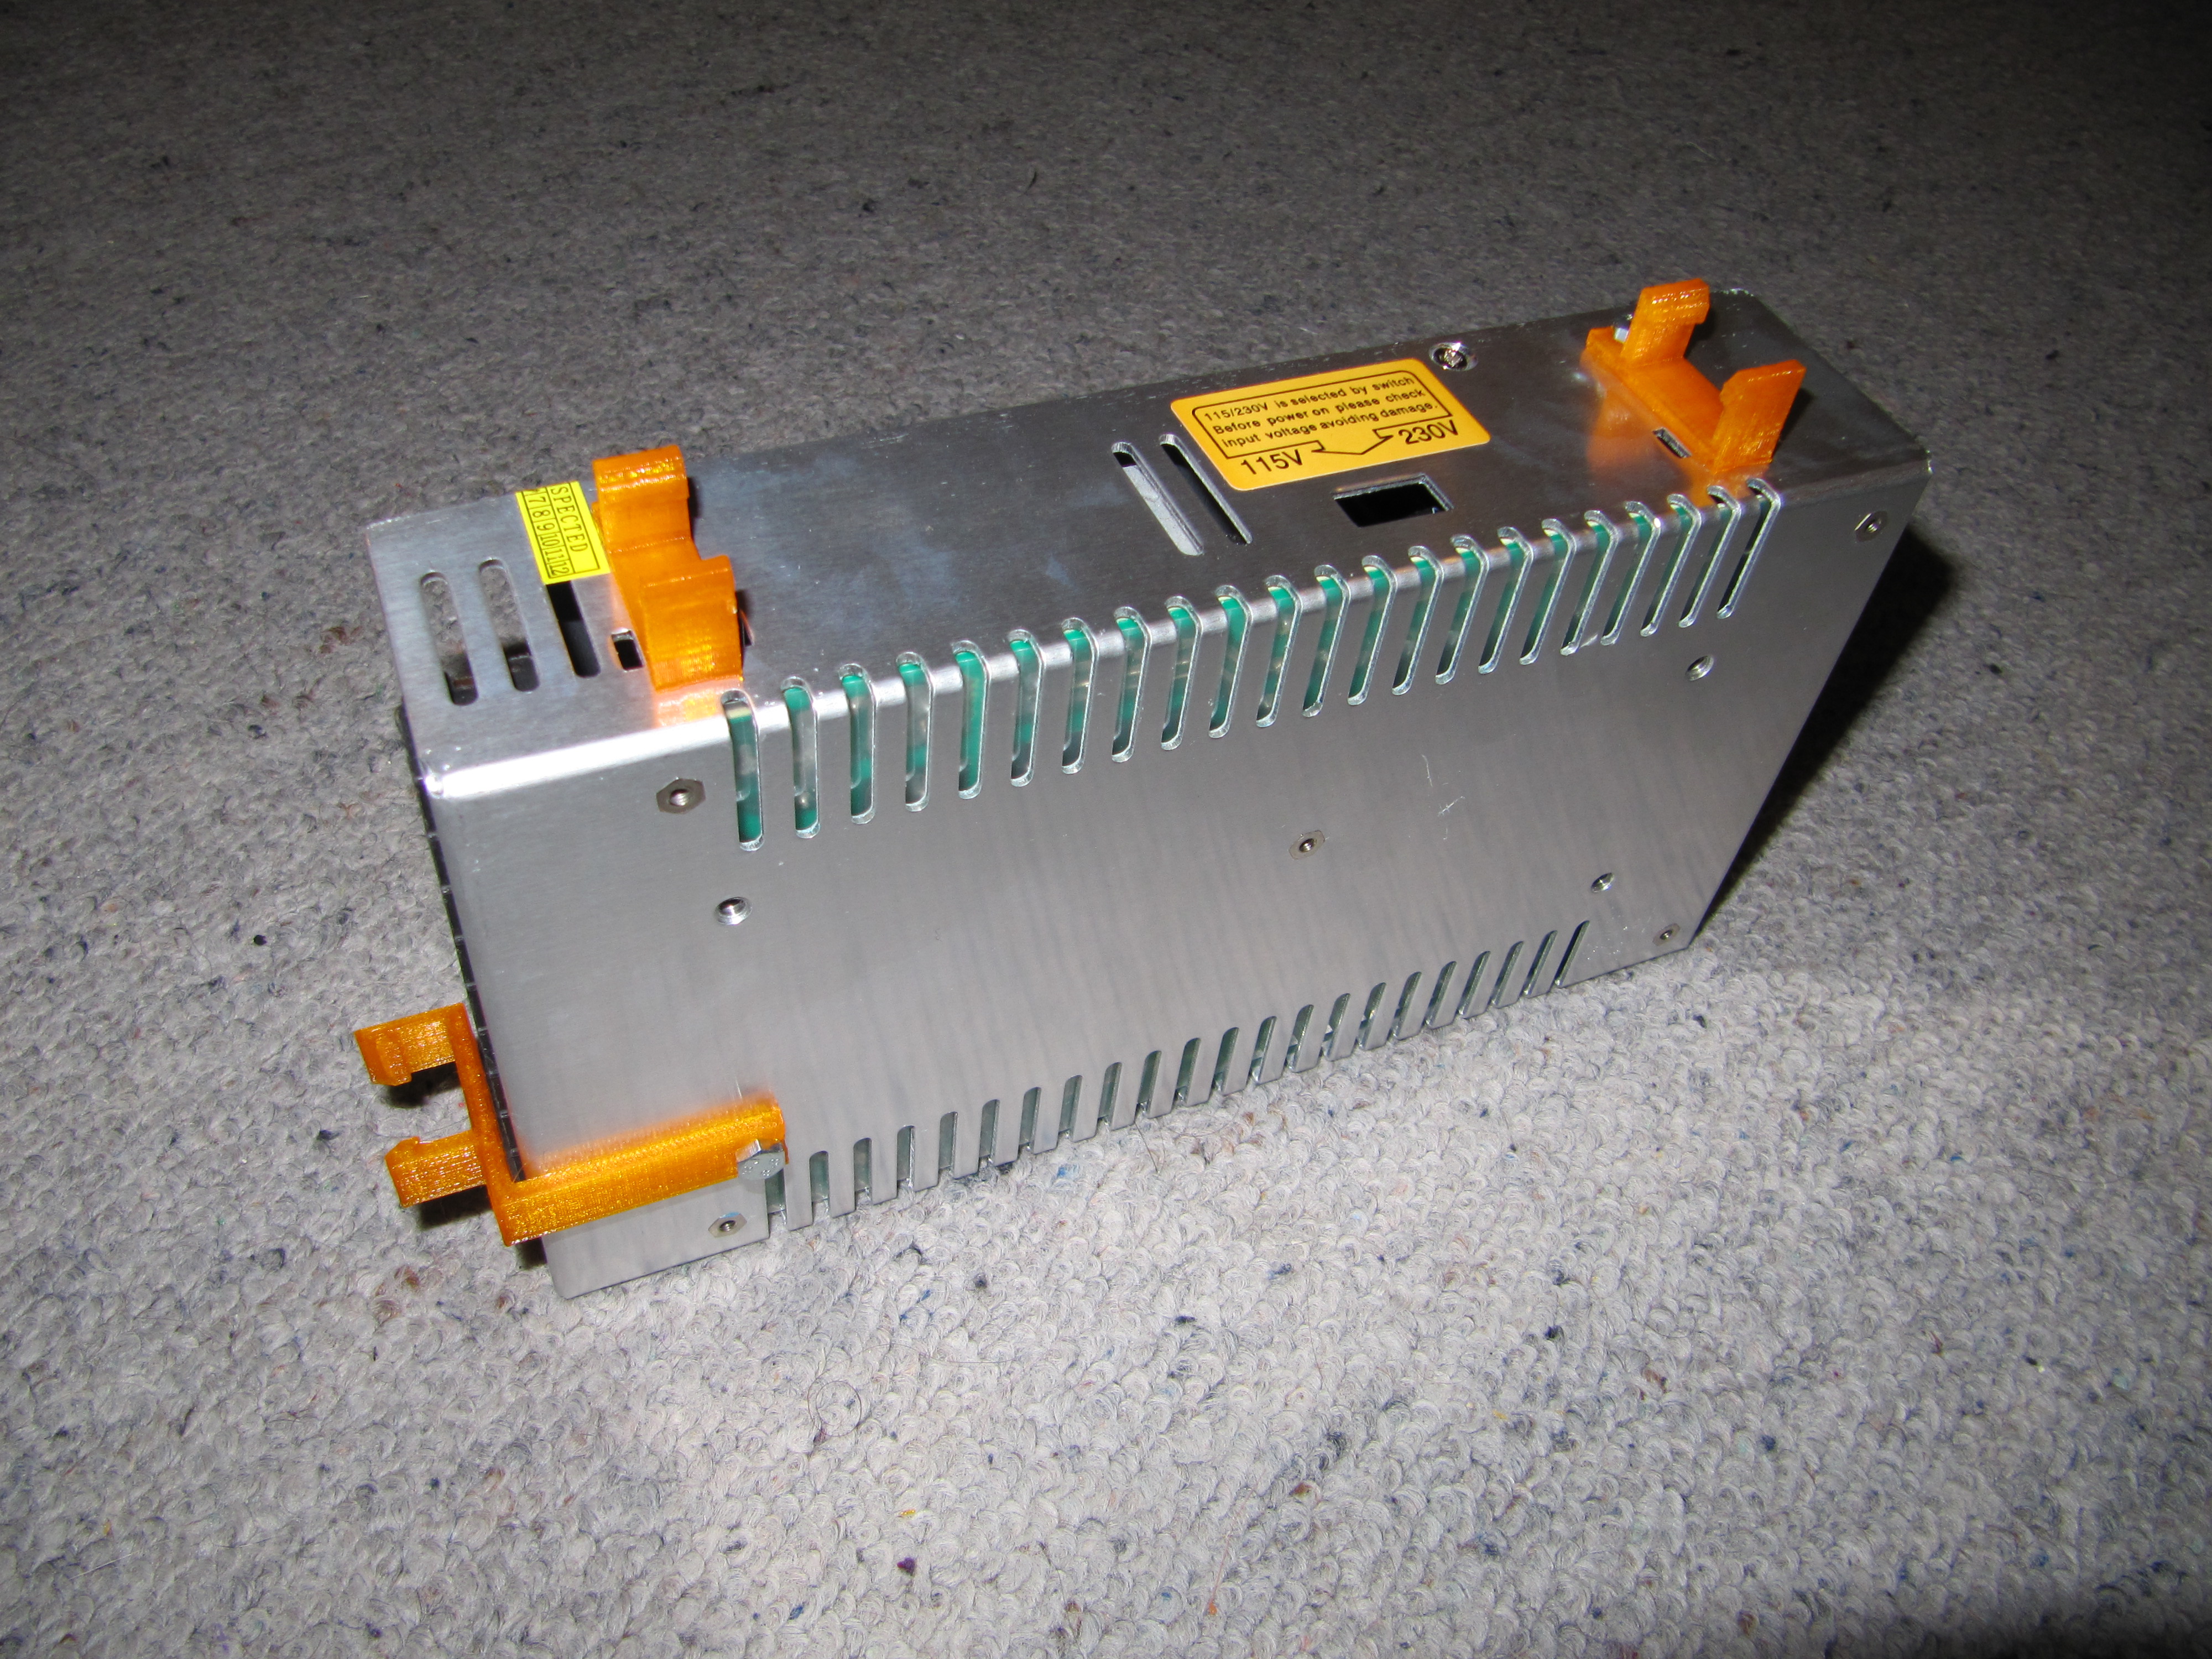
Mendelmax under carriage power supply mount
prusaprinters
<p>A few mounting clips to clip a common 12 power supply to the inside of the mendelmax frame under the carriage<br/> NB this protrudes 10mm under the Mendelmax. You need to raise your mendelmax on feet of some type.<br/> I used <a href="https://www.thingiverse.com/thing:15880">http://www.thingiverse.com/thing:15880</a></p> <p>I have added 'Fixed' stl files, these have been passed threw netfab</p> <h3>Print instructions</h3><h3>Category: 3D Printer Parts Instructions</h3> <p>This is designed to clip onto the Mendelmax t-slot, no nut insertions are required.</p> <p>The power supply is like this one on e-bay <a href="http://www.ebay.com/itm/High-Quality-12V-30A-360W-Switch-Power-Supply-Driver-LED-Lights-Strips-/150790646680?pt=LH_DefaultDomain_0&hash=item231bd2ab98">http://www.ebay.com/itm/High-Quality-12V-30A-360W-Switch-Power-Supply-Driver-LED-Lights-Strips-/150790646680?pt=LH\_DefaultDomain\_0&hash=item231bd2ab98</a></p> <p>Power Supply Dimensions 215 x 113 x 50 mm</p> <p>Print two side clips and one end clip.</p> <p>Screw the side clips to the side of the power supply in the highest set of holes (only on one side of my power supply)</p> <p>Place the power supply on the side it is going to clip onto away from the end where it will finish up.</p> <p>Angle the power supply so the lower clips clip into place solidly. Tilt power supply to level position and top clip into place.</p> <p>Clip end clip into t-slot using same lower then level out technique.</p> <p>Slide power supply down to correct position to attach end clip and screw in place.</p>
With this file you will be able to print Mendelmax under carriage power supply mount with your 3D printer. Click on the button and save the file on your computer to work, edit or customize your design. You can also find more 3D designs for printers on Mendelmax under carriage power supply mount.
