Melvin Sculpt
sketchfab
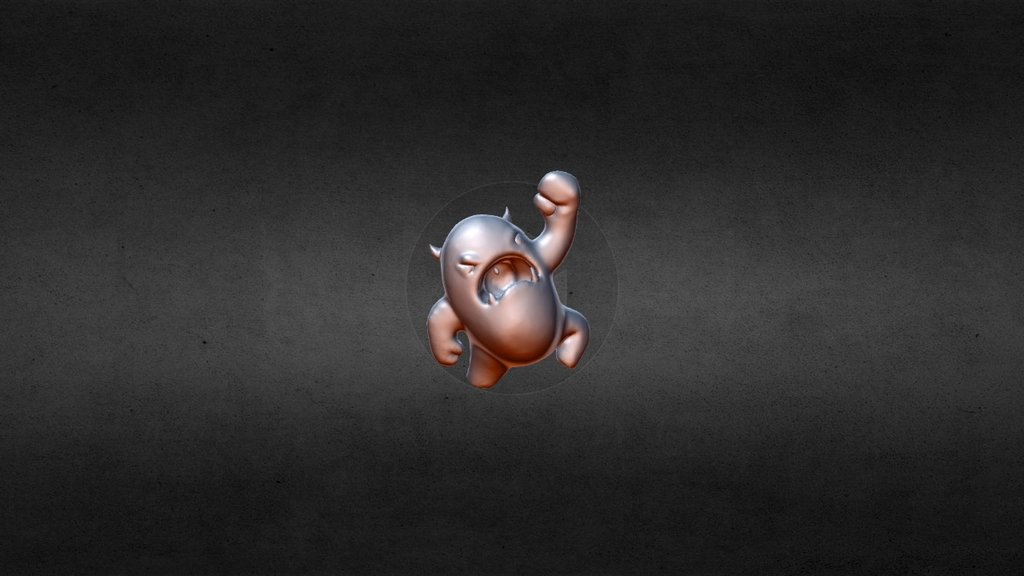
Melvin is a simple human mesh object that comes with Blender. To sculpt him into a more realistic character, follow this exercise from cgcookie.com. First, unwrap Melvin to get an idea of his topology and texture layout. Then, select the Loop Cut Tool and subdivide his face to create more details. After that, use the Extrude tool to add some volume to his cheekbones and jawline. Next, use the Inflate tool to give Melvin some definition on his head and body. You can also use the Sculpt Brush to add some texture to his skin. To refine your sculpture, switch to Edit Mode and select only the face of Melvin. Use the Loop Cut Tool again to subdivide his facial features and then use the Extrude tool to add more detail to his eyes, nose, and mouth. Finally, switch back to Object Mode and render a final image of Melvin with some basic lighting set up. You can also experiment with different poses and expressions to see how they affect the overall look of your sculpture.
With this file you will be able to print Melvin Sculpt with your 3D printer. Click on the button and save the file on your computer to work, edit or customize your design. You can also find more 3D designs for printers on Melvin Sculpt.