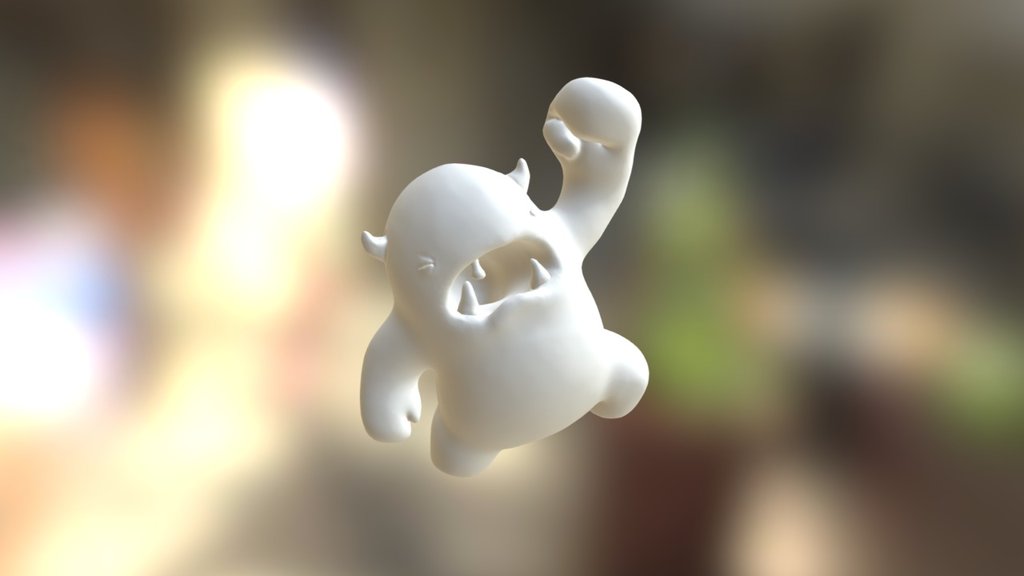
Melvin Sculpt 11
sketchfab
Create a low-poly 3D model of Melvin by sculpting it from scratch using Blender's sculpting tools. Start by creating a new project and setting up your workspace. Choose a default cube as the base object for your sculpture, then switch to Sculpt mode. Use the Grab brush to reshape the cube into a rough approximation of Melvin's head. Next, use the Pinch brush to add some texture and detail to the surface of the model. Focus on creating a smooth, rounded shape with a subtle gradient of curvature from the forehead down to the chin. Now, switch back to Object mode and select all vertices of the mesh. Use the Subdivide tool to create more detailed geometry throughout the model. This will help you refine the shape and add more definition to the features. With the subdivided mesh selected, switch back to Sculpt mode and use the Inflate brush to add some volume to the cheeks and nose area. Be careful not to over-inflate the areas, as this can lead to a bloated or unnatural appearance. To define the eyes, use the Push Loop tool to create a small indentation in the center of each eye socket. Then, use the Extrude Edge Loops tool to add some detail to the eyelids and lashes. Finally, switch back to Object mode and select all vertices again. Use the Subdivide tool once more to refine the geometry even further, then bake the sculpted details into a high-poly model using the Baking settings in Blender's Physics tab. Once baked, you can use the resulting high-poly mesh as a starting point for further modeling or texturing work.
With this file you will be able to print Melvin Sculpt 11 with your 3D printer. Click on the button and save the file on your computer to work, edit or customize your design. You can also find more 3D designs for printers on Melvin Sculpt 11.