meepo remote toggle -for V1 remote only.
thingiverse
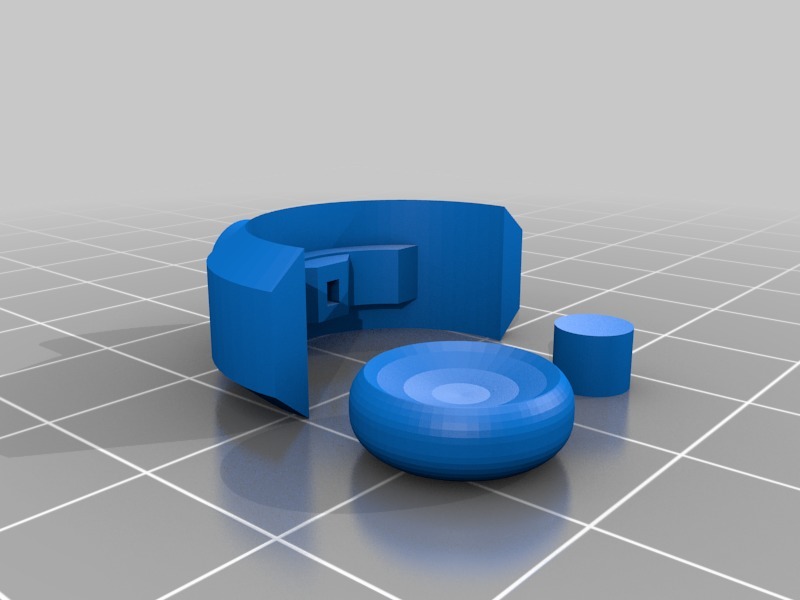
IMPORTANT PLEASE READ BEFORE PRINTING! This upgraded part is designed as a direct replacement for the version 1 meepo remote only. It will not fit the V2 remote. To determine which remote you have, follow these steps: Check if your remote has a 2-position speed switch (fast and slow) or a 3-position speed switch (low, medium, and high). If it's a V1 remote, the reverse button sits proud of the housing. If it's a V2 remote, the reverse button is flush with the casing. This part was not printed or tested by me personally since I don't have a V1 remote to test with, but it has been kindly tested by a 3rd party who reports that it fits well. This design can be printed in ABS but also works fine with PLA. The dowel is slightly oversized on purpose so it still fits tightly when acetone welded. For PLA prints, you will need to use cyanocrylate or another adhesive of your choice. Through the design phase, I made numerous attempts to get this part to print correctly with a good finish in one piece but unfortunately, the prints either failed or gave an unsatisfactory finish. I decided to compromise and print it in 3 separate sections which worked perfectly (albeit at the cost of having to weld/glue parts together). Print Instructions: Print at a layer height of 0.1-0.2mm with supports and 100% infill. If printing in ABS, you may need to add 1-2% scale increase to account for shrinkage depending on your print temperature and filament. Fitment Instructions: Sand/file the dowel and mating holes in the knob and toggle until all three fit together very tightly and there is no gap between the toggle and the knob. PLA prints - glue parts together and give plenty of time to cure. ABS prints - using an ear bud, wipe a small amount of acetone into one of the mating hole and half of the dowel. Quickly press them together before it all evaporates off. Do the same for the other side and give it a twist while still wet (this will remove any air gaps and ensure the melted plastic is spread evenly all the way around). Leave to cure. Take out the 3 screws on the remote, flip it over, and carefully remove the top cover. Gently pry the original toggle from the potentiometer arm and slide the new one in place (do not use too much force; if it doesn't want to fit, print the part again but increase the scale slightly). Ensure the potentiometer is seated correctly in the housing, replace the top cover (do not screw it down yet), and test the toggle to ensure it is not binding and gives a full range of movements. File and adjust where necessary if required, and once you're happy, replace the three screws and go for a ride!
With this file you will be able to print meepo remote toggle -for V1 remote only. with your 3D printer. Click on the button and save the file on your computer to work, edit or customize your design. You can also find more 3D designs for printers on meepo remote toggle -for V1 remote only..
