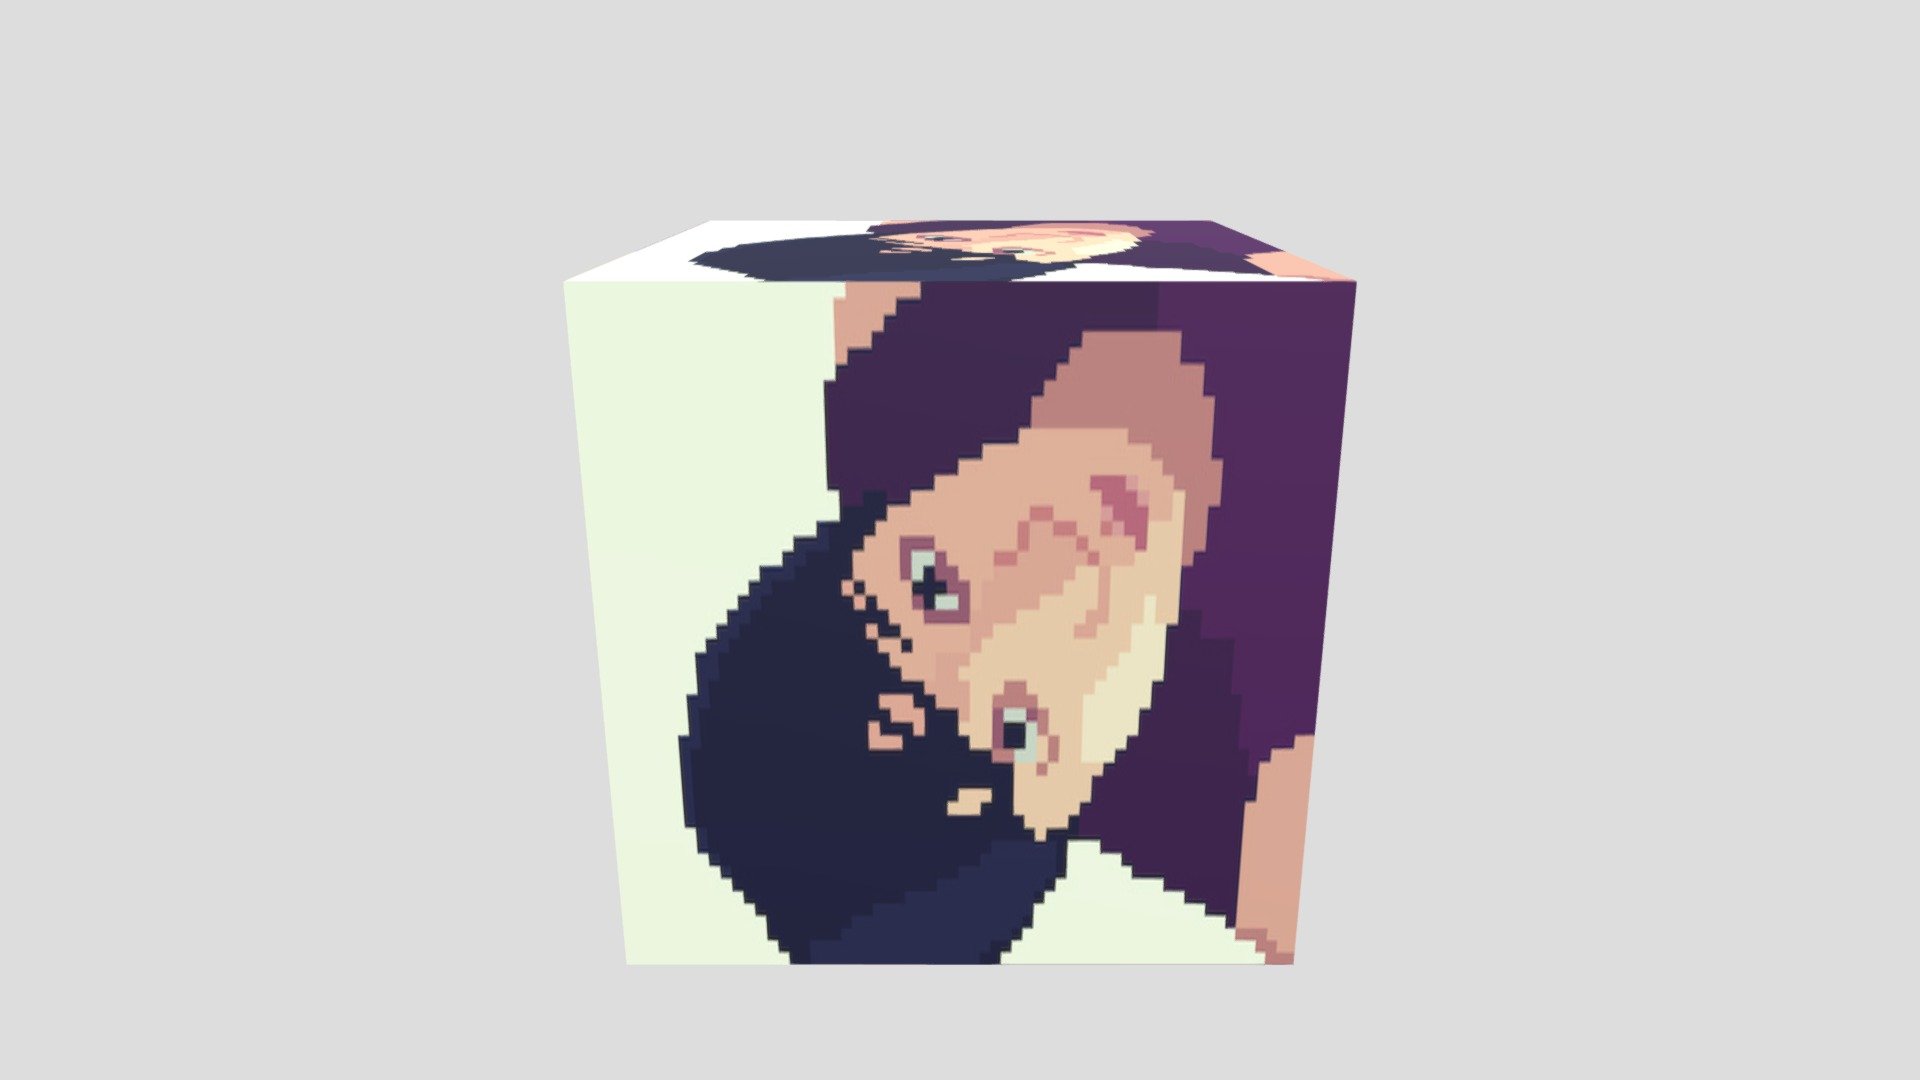
MeCube
sketchfab
I'm excited to dive into this project and bring it to life! To get started, I'll be using Blender, a powerful 3D creation software that's perfect for modeling, rigging, animation, rendering, and even video editing. First things first, let's create a simple cube - the ultimate test subject for any texture mapping operation. Now, let's talk about texture mapping. This process involves assigning a two-dimensional image to a three-dimensional object, which in this case is our trusty cube. The goal here is to make it look like my pixel portrait has been painted directly onto its surface. Sounds easy enough, right? To achieve this effect, we'll need to create a UV map for our cube. Think of it as an invisible grid that outlines the 2D image we want to project onto our 3D model. The key is to make sure the texture fits snugly over every nook and cranny of the cube without any awkward overlaps or gaps. Once I've got my UV map set up, it's time to assign the actual texture - in this case, my pixel portrait. I'll load it into Blender and adjust its settings to ensure it's properly aligned with our cube's surface. The result should be a seamless integration of my digital face onto this 3D object. To further enhance the realism of this effect, we can experiment with some advanced techniques like normal mapping or displacement mapping. These methods allow us to add depth and texture to our model without affecting its overall shape, making it look even more convincing. With these tools at our disposal, I'm confident that we can create a truly striking image that showcases the power of texture mapping in 3D modeling. So, let's get started and see what kind of amazing results we can achieve!
With this file you will be able to print MeCube with your 3D printer. Click on the button and save the file on your computer to work, edit or customize your design. You can also find more 3D designs for printers on MeCube.
