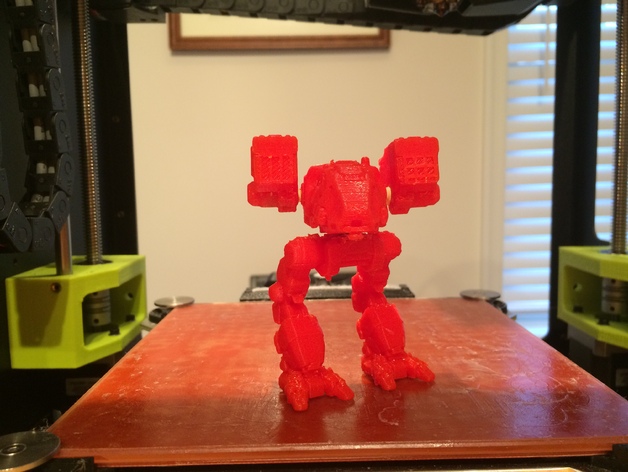
MechWarrior Catapult
thingiverse
I got introduced to this game by a friend several years ago. He had me playing it non-stop back then. Recently, I came across some pictures of the game and decided to see if I could print some of the iconic mechs. The mechs were directly taken from the game and cut up into four different parts with three joints in total. Two of the joints are located on the rocket pods and the last one connects the legs to the cockpit. The joints can be glued together or I came up with a simple movable solution (explained below). Print Settings Printer Brand: LulzBot Printer: Mini Rafts: No Supports: Yes Infill: 20% worked fine Notes: The infill was a little unusual. I made an error and printed at a 20% infill (at the time, I didn't plan on adding functioning joints). This made drilling holes more difficult; the holes cut through the inside honeycomb. I thought it would make it weaker, but they have so far survived for two weeks. I drop tested them many times, mostly by accident. Post-Printing The Joints and Holes The joints were simply created with six post-print holes. Three are located on the main cockpit, one is on each of the rocket pods, and one is on the legs. I cut up some nails into about 1.75 Cm sections. I then wrapped the nail sections in Teflon tape to create a stiff connection. The width of the hole and the width of the nail should be close together for an even stiffer link between parts. Parts Marked the parts before drilling. How I Designed This I will hopefully soon create a video explaining how I captured the models. Coming Soon! It was really hard and I want to share the process so hopefully it gets applied to more games and game models.
With this file you will be able to print MechWarrior Catapult with your 3D printer. Click on the button and save the file on your computer to work, edit or customize your design. You can also find more 3D designs for printers on MechWarrior Catapult.
