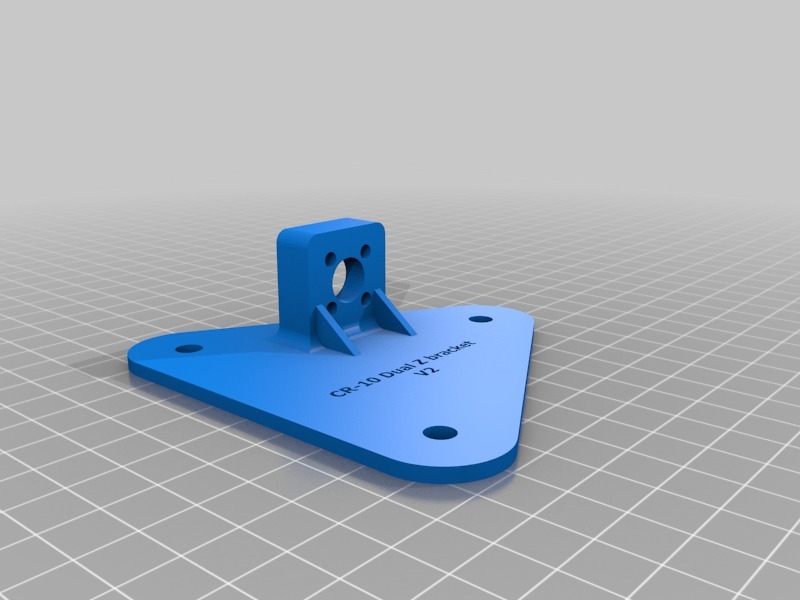
Mechanical Dual Z bracket for CR-10 (Mini)
thingiverse
Installing an additional Z-axis leadscrew on a CR-10 printer requires careful planning and execution to maintain optimal performance. To begin, locate the existing Z-axis assembly, typically situated near the print bed. Identify the mounting points where the new leadscrew will be attached, usually marked with small holes or screws. Disassemble the printer's mechanical components around the Z-axis by removing any belts, gears, or cables that may obstruct access to the area. This step is crucial for a safe and efficient upgrade process. Next, carefully remove the existing Z-axis leadscrew, taking note of its orientation and position within the assembly. With the old leadscrew removed, inspect the mounting points for any debris or residue that may affect the new lead's performance. Clean the area thoroughly using compressed air or a soft brush to ensure a smooth installation process. Now, attach the new Z-axis leadscrew to the mounting points, ensuring it is securely fastened and properly aligned. Reassemble the printer's mechanical components, replacing any belts, gears, or cables that were removed earlier. Double-check that all connections are secure and functioning correctly before powering on the printer. Finally, perform a series of test prints to verify the new leadscrew is functioning as expected, maintaining optimal print quality and precision.
With this file you will be able to print Mechanical Dual Z bracket for CR-10 (Mini) with your 3D printer. Click on the button and save the file on your computer to work, edit or customize your design. You can also find more 3D designs for printers on Mechanical Dual Z bracket for CR-10 (Mini).
