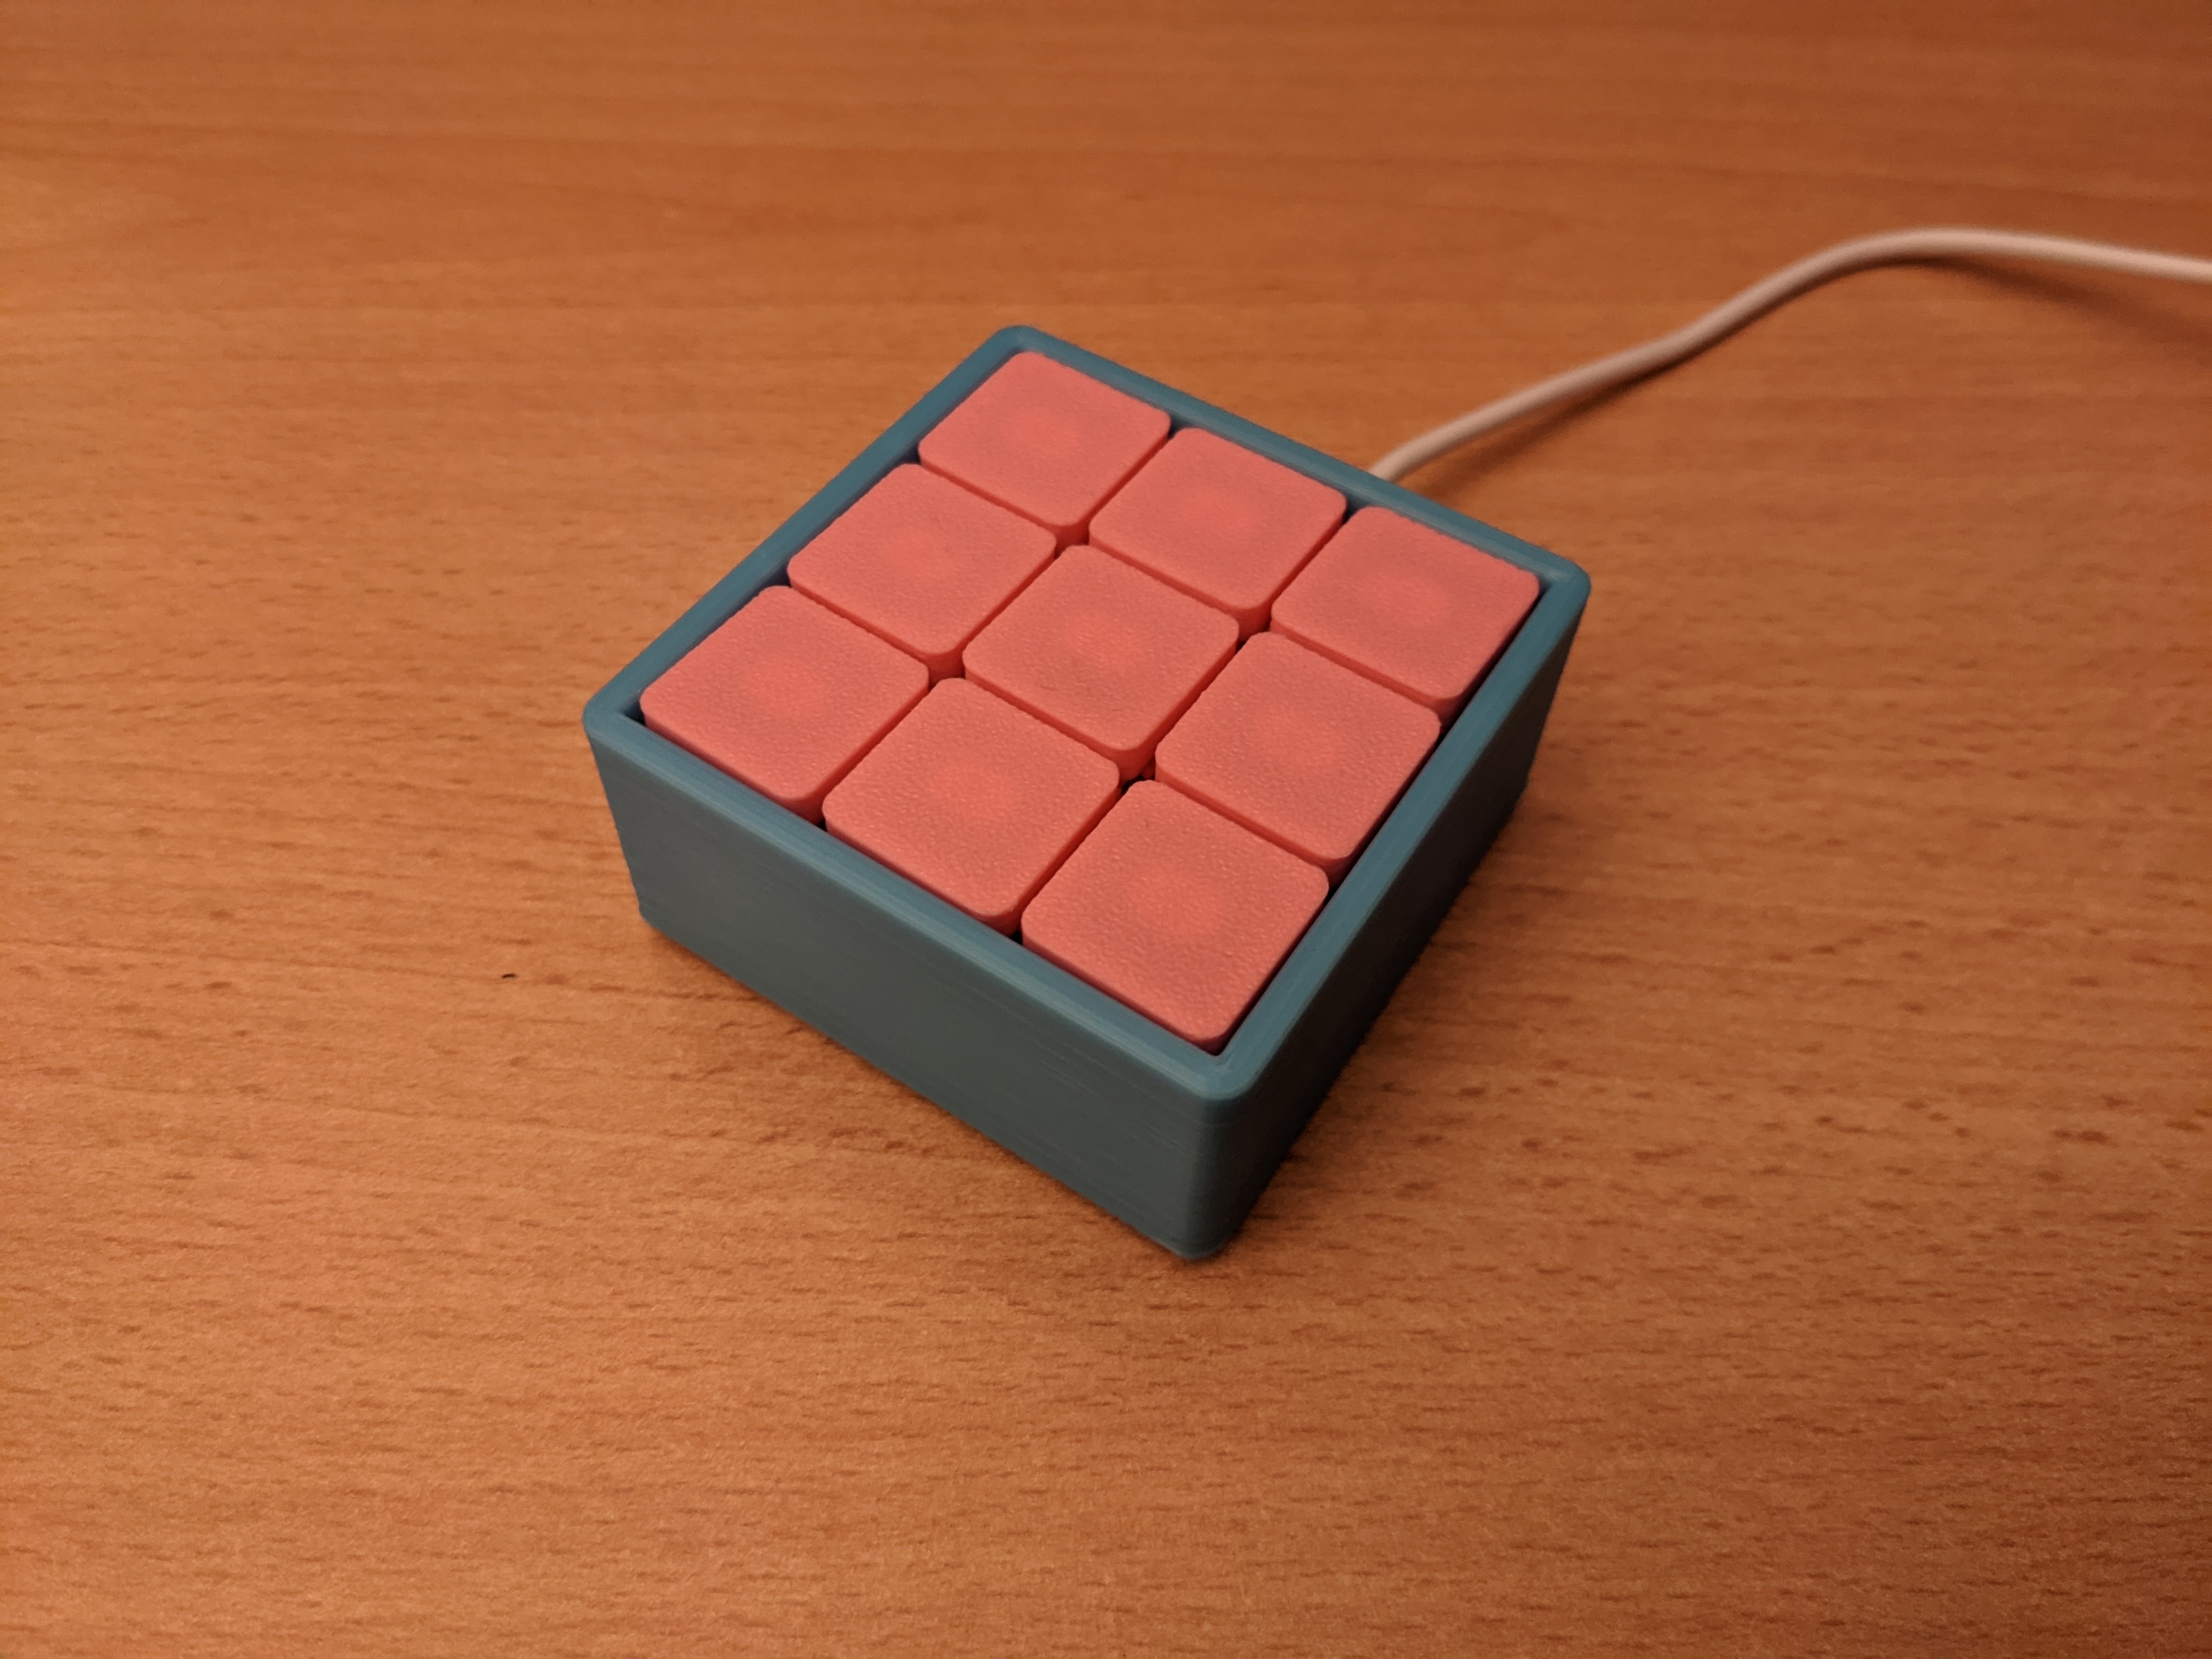
Mechanical 3x3 Macropad
prusaprinters
<p>This is a 3d printed mechanical macropad that I designed as a gift for my cousin. </p><p>I will post a youtube link soon with a video tutorial on how to build one of these, and how to program it. </p><p>Every key can be programmed to any key on a standard keyboard. The most useful keys are media keys (volume up/down, skip, play/pause), and function row keys (f1 - f24). With these keys you can use the macropad in many different applications.</p><p>At the center of this project is an Arduino Pro Micro, running QMK firmware. Arduino Pro Micros can be bought online on amazon and other shopping services for less than 10 dollars per unit when bought more than one at a time. QMK Firmware is an open source firmware that was designed for mechanical keyboard enthusiasts, it allows us to program a microcontroller to work as a Human Interface Device. </p><p>The next piece of this project is the 3d printed case that I designed. It can be printed in under 3 hours at reasonable speeds, and does not require any support, though there are some overhangs. It holds all the other components together, and can be taken apart whenever access to the inside of the macropad is needed.</p><p>Next come the mechanical keyboard switches. Any cherry style keyboard switches should be able to fit into this macropad with no issue. I’m using gateron reds as I impulse bought 120 of them when I saw them on sale at Microcenter, so I have plenty laying around. I lubed them with Glorious G-Lube, though this is totally not necessary.</p><p>To go on the mechanical keyboard switches, I have designed and printed some simple keycaps. You could also use any cherry mx compatible keycaps that you have, and I think that this project would be a great way to display any artisan keycaps that you might have.</p><p>Now comes the magic little components that make this device work. The Diode. Diodes allow electricity to flow through them in only one direction.</p><p>Lastly you’ll need some wire. Any wire will do, but I would highly recommend that you use insulated wire.</p><p>Some optional, though highly recommended components are two m3 by 10mm screws, electrical tape, superglue, and 3/8in rubber feet. These make the final product look and feel a bit more polished, and the electrical tape will make the assembly a lot easier. </p><p>Thanks to Jan Lunge on youtube for the inspiration. </p>
With this file you will be able to print Mechanical 3x3 Macropad with your 3D printer. Click on the button and save the file on your computer to work, edit or customize your design. You can also find more 3D designs for printers on Mechanical 3x3 Macropad.
