Meade LXD 75/55 Repair Parts
thingiverse
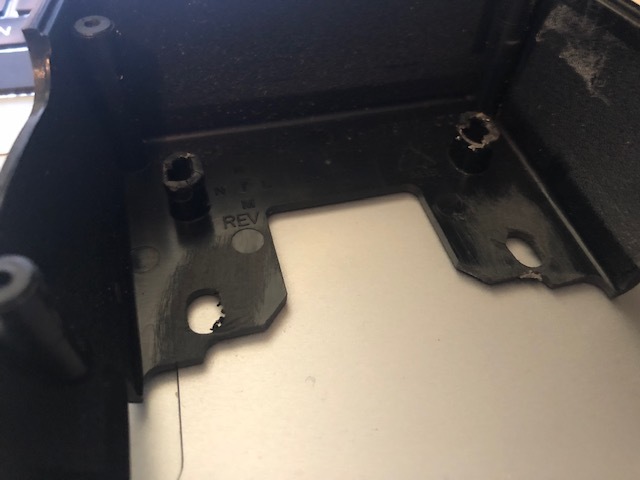
The Meade LXD 55/75 mounts have a notorious issue with declination housing failure, where the screws break and the housing rattles loose on the mount. Fortunately, this is an easy repair to undertake. First, use pliers or a Dremel tool to remove all four screw pockets from the housing. Once removed, sand the area flat using 320-grit sandpaper. To create new screw pockets, print two for each housing and then sand the large flat side smooth with 320-grit sandpaper to facilitate gluing. Next, ensure that the holes line up correctly after gluing by screwing the pockets onto the gearbox first and testing the fit. Use imperial-sized 4-40 screws (not metric) or 3mm computer screws as alternatives. Apply a small amount of glue to the new pocket still attached to the mount and the corresponding half of the housing, then press the housing into place. Wait until the glue sets firmly before proceeding. Verify that the housings do not rub against the gears while the glue is setting. Once cured (after at least 4-5 hours), attach the remaining half of the housing and allow it to set overnight. If printing with ABS plastic, scale up the model to 103% to account for shrinkage. The included Azimuth adjusting knob also requires attention, as aluminum adjusters are prone to bending or breaking when hit hard enough. Print this part at 103% if using ABS and press it onto a 35mm long 8mm x 1.25 socket cap bolt, ensuring the hexagon is aligned before pressing it into place. The total cost of this repair comes out to $1.25, including the necessary bolts.
With this file you will be able to print Meade LXD 75/55 Repair Parts with your 3D printer. Click on the button and save the file on your computer to work, edit or customize your design. You can also find more 3D designs for printers on Meade LXD 75/55 Repair Parts.