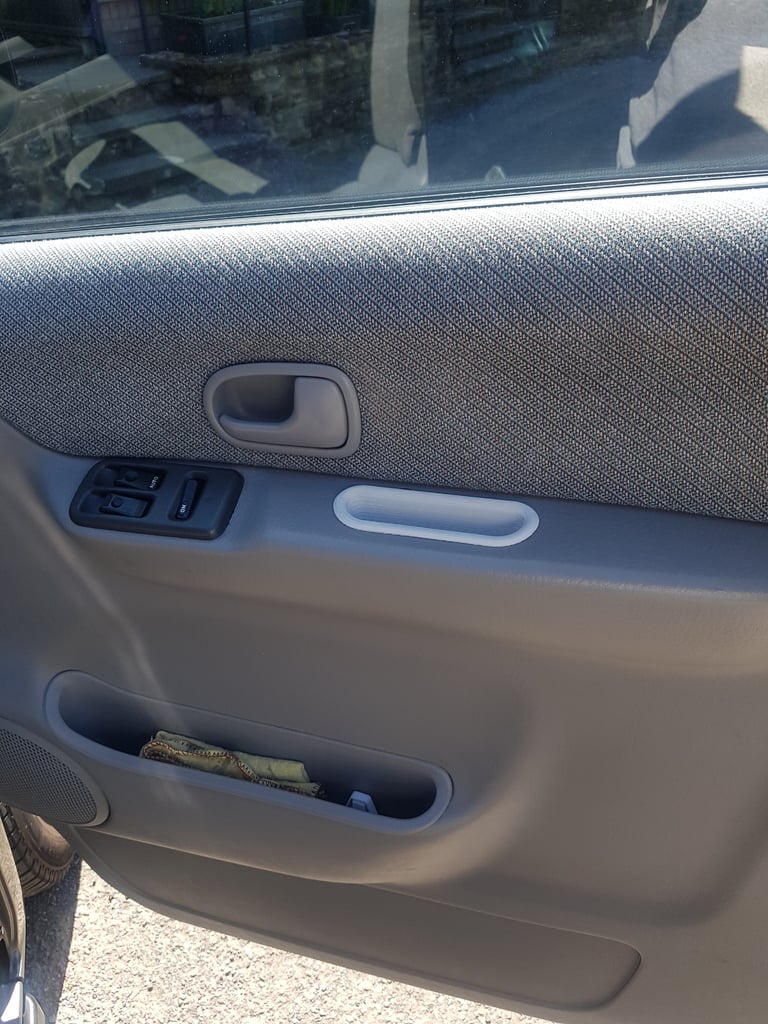
Mazda Bongo Door Pocket
thingiverse
I built a 3D model for a replacement door pocket for my 20-year-old Mazda Bongo, which notoriously breaks around the lip. I used Fusion 360 to create it. To install the new pocket, you'll need to remove the panel screw located beneath the cap on the outer edge of the door panel. Next, take out the original door pocket and set it aside. Now, loosen the outer edge of the panel from its clips by gently prying it loose with your hands. This will give you enough space to insert your fingers between the panel and the pocket. Carefully push the new door pocket into place, making sure that the outer triangular nodule goes in first. As you do this, you'll need to apply gentle pressure to squeeze the pocket into its proper position. Once the outer nodule is securely seated, you can then focus on getting the inner nodule and the pocket flush. Before securing the new pocket with screws, check that the metal bracket inside the door is in the correct position to accept the retaining screw. If necessary, bend the bracket upward to ensure a proper fit. With the bracket adjusted, you should be able to easily screw the new pocket into place.
With this file you will be able to print Mazda Bongo Door Pocket with your 3D printer. Click on the button and save the file on your computer to work, edit or customize your design. You can also find more 3D designs for printers on Mazda Bongo Door Pocket.
