Maximum printing speed
thingiverse
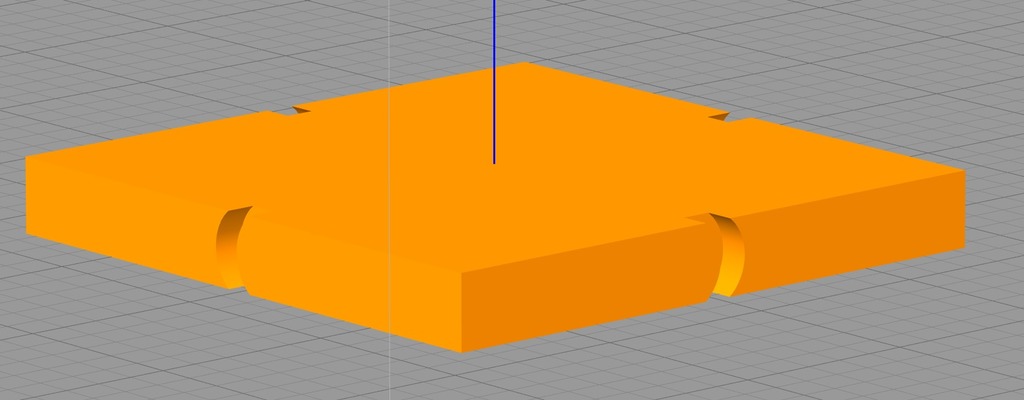
Searching for Maximum Printing Speed without Quality Loss The method involves sequential determination of maximum acceleration, junction deviation, and ultimately speed. The test model used was the following [test](https://www.thingiverse.com/thing:2742318) # Stage 1 To avoid manually editing printer settings each time, after the first command M109, insert the following code into the generated GCODE for the model: M204 S5000.00000, where 5000 - acceleration in mm/s^2. By default, it is either 4000 or 5000, depending on the printer's release date. Start with a small value of 1000 and increment by 500-1000 each time. To observe results on one model, increase its Z-axis scale in the slicer to break it into several parts of 5-10mm. The model was sliced at 0.1618 layers, resulting in over 60 layers. It was divided into four parts (15 layers each) and before starting each part, M204 entries with increments of 200 were added. Increase acceleration until skips or noticeable ripples appear on the model. # Stage 2 After achieving the desired result, remember the last good value of acceleration and proceed to the next stage - finding junction deviation. In general, this parameter affects the initial push during acceleration and the printer's behavior when approaching points of trajectory change. By default, it is set to 0.05 in the firmware. Larger values help achieve higher speeds but increase vibration. Take the old GCODE and delete all M204 entries except the first one. Fix the value obtained on the previous stage: M204 S1300.00000 Immediately after it, specify a new junction deviation value: M205 X0.07500 Z-1.00000 S0.00000 Analogously to Stage 1, add the modified junction deviation value through M205 at the beginning of each part. It is recommended to increment by 0.01; I did it in increments of 0.025 due to laziness. Increase the value until defects appear on the model. Save the last value without defects. # Stage 3 Save the obtained values in the printer's configuration. In config on sdcard, set: acceleration <value at stage 1> junction_deviation <value at stage 2> In config-overrides, check if M204 and M205 entries overwrite the values set in config. If so, you can manually enter new values or perform a repeated calibration of the printer. # Stage 4 Slice the model, gradually increasing the default printing speed. In S3D, this can be done by breaking the model into parts by height using the built-in assistant: Tools-> Variable Settings Wizard As a result, several processes will be created where you can adjust print speed settings. Remember: 1. Distance traveled at constant acceleration: S=(a*t^2)/2 2. At unknown time: S=V^2/(2*a) Therefore, to achieve a speed of V, it is necessary to travel a distance S. For example, if an acceleration of 1500 mm/s^2 was obtained on the first stage, to reach a speed of 100 mm/s, the printing head must travel a distance of: S=100^2/(2*1500)=3.33 mm Do not forget that the same distance needs to be traveled by the head to slow down from 100->0. In total, to print at a speed of 100 mm/s with an acceleration of 1500 mm/s^2, it is necessary for the straight printing line to be more than 6.67 mm. In other words, on details smaller than 6.67 mm, the speed of 100 mm/s and higher will be unattainable, and therefore its increase in print settings on such segments will have no effect on the quality of printing.
With this file you will be able to print Maximum printing speed with your 3D printer. Click on the button and save the file on your computer to work, edit or customize your design. You can also find more 3D designs for printers on Maximum printing speed.
