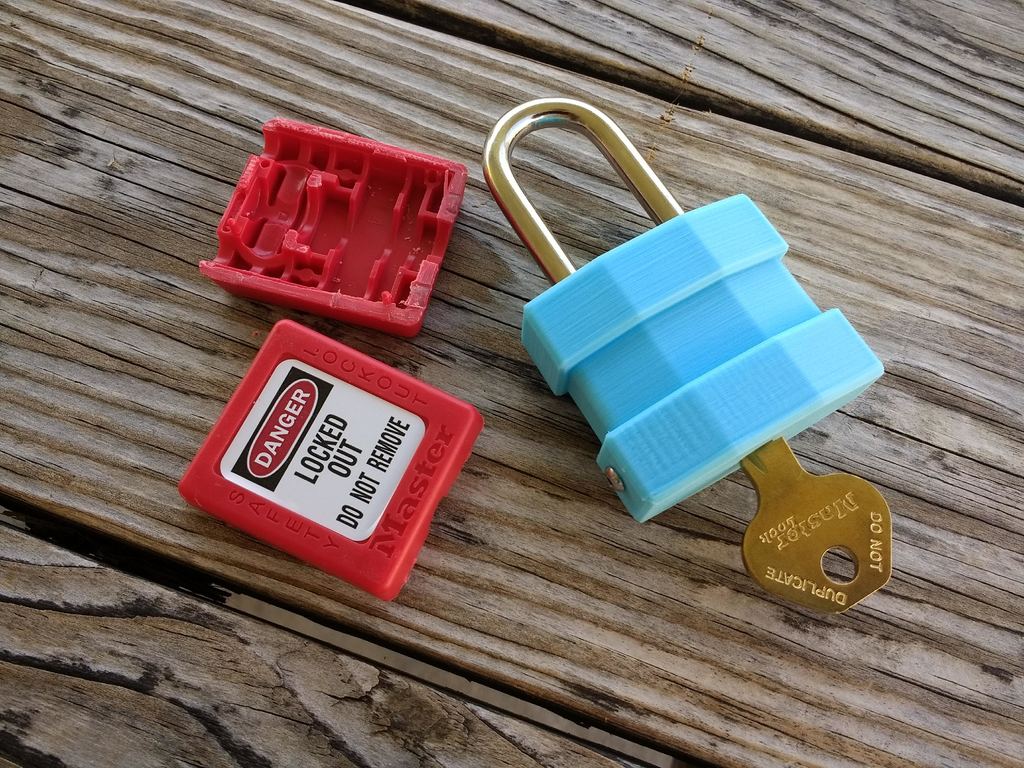
Master Lock 410 Replacement Body
thingiverse
I purchased a Master Lock 410 for practice in picking locks and couldn't resist cutting it open. So, I had to create a new housing to hold its internal components. Only two pieces are needed and it prints without supports being required. However, your printer needs to be precisely calibrated as the tolerances are quite tight to prevent loose movement inside. An M3x5mm screw can be used to secure the cap in place. Alternatively, you can simply glue it on. To assemble: Insert the shackle so that the shorter end is located on the same side as the Bible. Insert the ball bearings (a hint: use magnets to keep them from moving). Insert the cam. Insert the lock and rotate the core until it aligns with the cam. The face of the lock should be flush with the bottom of the housing. Remove the key and put on the cap, ensuring that the screw hole lines up with the one on the body. Then, insert the screw.
With this file you will be able to print Master Lock 410 Replacement Body with your 3D printer. Click on the button and save the file on your computer to work, edit or customize your design. You can also find more 3D designs for printers on Master Lock 410 Replacement Body.
