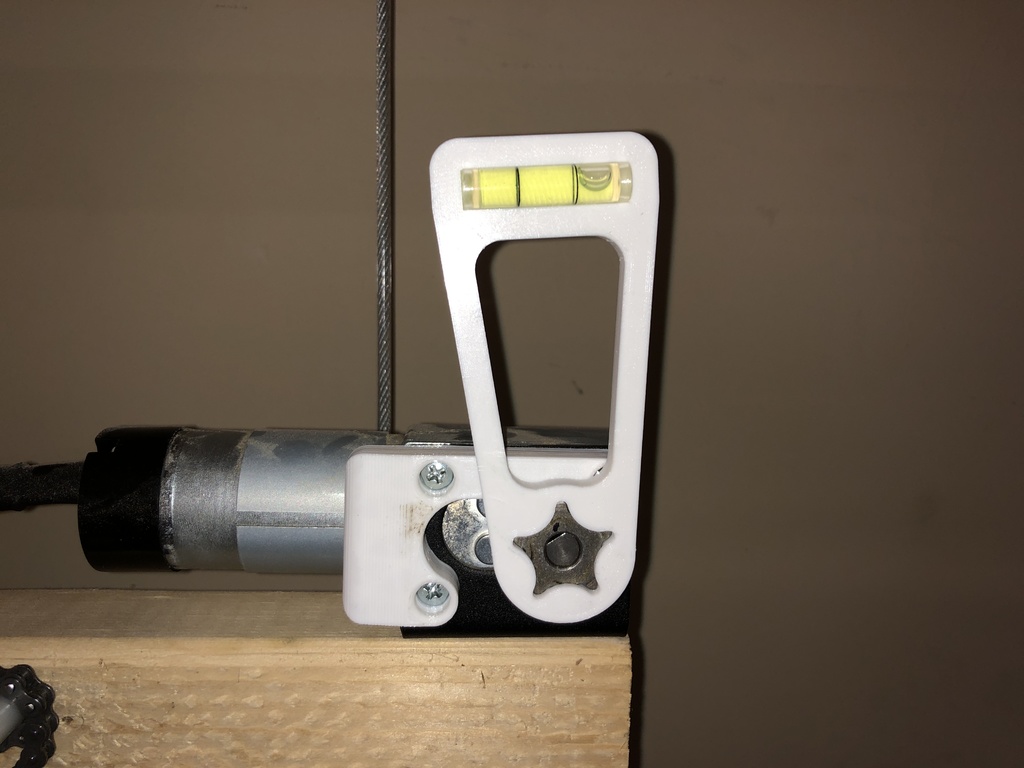
Maslow CNC 12 o'clock level
thingiverse
One of the key steps during setup and calibration of the Maslow CNC involves setting the sprockets so that one "tooth" aligns perfectly with the 12 o'clock position. This useful tool ensures accurate placement, allowing users to set their 12 o'clock position more precisely. For a deeper understanding of how offsetting your 12 o'clock position can impact accuracy, refer to this informative forum post from c0depr1sm: [Set Your 12 O'Clock Position with a Level Because](https://forums.maslowcnc.com/t/set-your-12-oclock-position-with-a-level-because/8445?u=bradm) To achieve accurate results, use a bubble level like the ones found in this product: [10 Pcs Cylindrical Plastic Bubble Spirit Levels, 8*35mm](https://smile.amazon.com/dp/B0153BGY0U/). These levels are commonly used in photography and camera equipment. Simply glue the bubble level into the slot and slide it onto the sprocket. It's essential to note that when setting the sprocket to 12 o'clock, reference is made to the top beam where the two motors are mounted. Therefore, ensure your top beam is level when using this tool for accurate results.
With this file you will be able to print Maslow CNC 12 o'clock level with your 3D printer. Click on the button and save the file on your computer to work, edit or customize your design. You can also find more 3D designs for printers on Maslow CNC 12 o'clock level.
