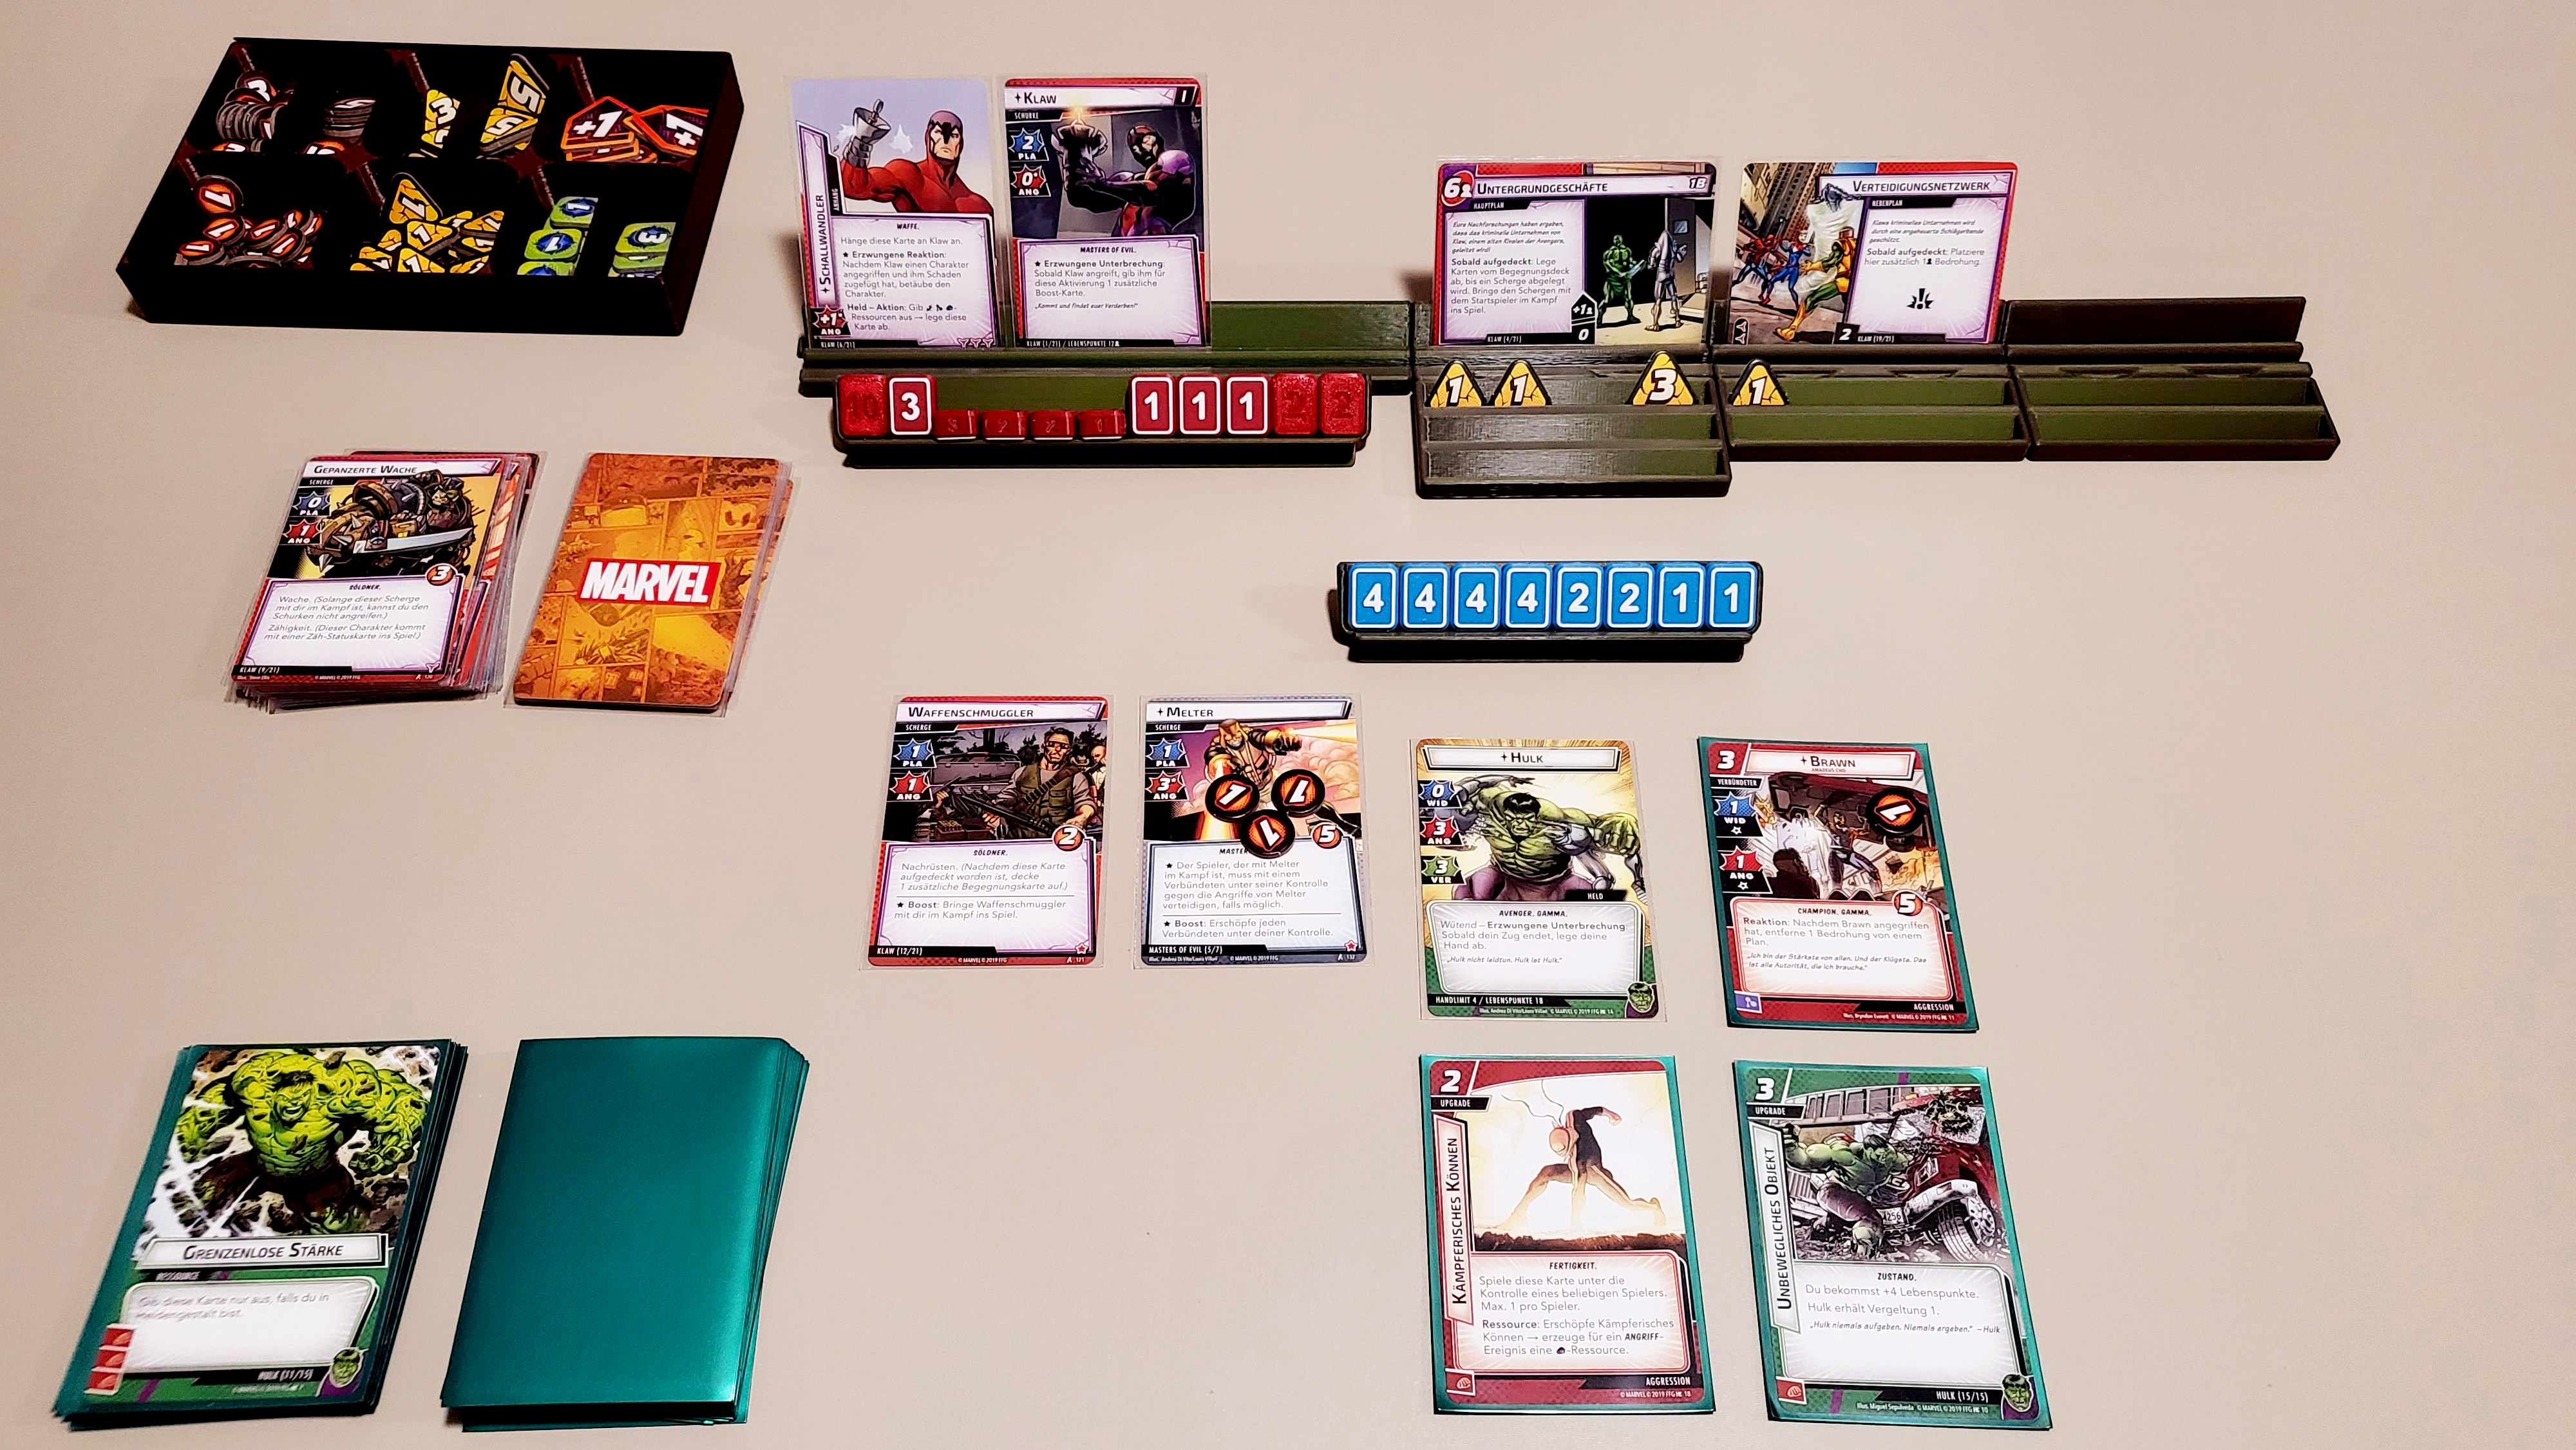
Marvel Champions - Hit Point Counters
prusaprinters
<h3>What is this</h3><p>At first I really liked the hit point dials that come with the game, but after a couple of solo sessions (I usually play MC solo) I found them a bit annoying. The hero dial is very hard to use single-handedly, so whenever I wanted to set the hit points, I had to punt down the cards to free up the other hand. Also, and that's probably just me, I am dialing in the wrong direction ALL THE TIME!</p><p>I wanted something that is quick and easy to use with just one hand. So I came up with these “flippable” hit point counters. </p><h3> </h3><h3>How to use them</h3><p>I have designed counters with numerals from 0 to 9 and another one with a 10 as well as trays to hold them. When setting up the counters for a character do the following</p><ul><li>Pick a suitable number and type of counters and put them into a tray. In my experience counters with 1 to 4 work best, maybe add a couple of 5s for strong villains. The sum of all counter values should equal the starting hit point value of the character.</li><li>Try to fill up the tray. If you end up with empty positions or, alternatively, if you know the character's hit points will increase at some point, add counters and flip them upside down. On the back of each counter is its indented numeral.</li></ul><figure class="image image_resized" style="width:100%;"><img src="https://media.prusaprinters.org/media/prints/130407/rich_content/6e71a0a1-431f-4233-b681-9524891f568d/bc0f047c-01b1-427f-a439-d451eda20220206_213052.png#%7B%22uuid%22%3A%228e1295d6-0279-4e01-b161-5f091d6e203a%22%2C%22w%22%3A2290%2C%22h%22%3A1715%7D"></figure><p><i><strong>Setup example for Tony Stark:</strong> His starting hit point value is 9. There are tech upgrades in his deck, that might increase his hit points by 6 or twice by 1 when played.</i></p><p> </p><ul><li>During the game, when a character loses hit points, tip the required number of counters toward the front lip of the tray. </li><li>When a character is healed, just flip the required counters back up. On the top of each counter there is another indent, showing its numeral. This make identifying tipped over counters much easier.</li></ul><p> </p><figure class="image"><img src="https://media.prusaprinters.org/media/prints/130407/rich_content/1729c045-0347-48f4-a83b-7115ff9ee5e4/01.jpg#%7B%22uuid%22%3A%22232409f5-62f2-4b9e-a856-a8adabba5292%22%2C%22w%22%3A4000%2C%22h%22%3A2235%7D"></figure><p><i><strong>Tony mid-game:</strong> Tony has installed two of his upgrades, so his max hit points are now at 16. But he also lost 8 hit points due to damage. If he chooses to perform his recover ability, he could heal 3 hitpoints, allowing him to flip a 3-counter back up (or a 2 and a 1).</i></p><p> </p><figure class="image"><img src="https://media.prusaprinters.org/media/prints/130407/rich_content/743bab36-117a-472e-b279-45e5d13d0d7f/20220206_214356.jpg#%7B%22uuid%22%3A%2281eae1e8-97fc-4b04-a2aa-bd5e46e0aec8%22%2C%22w%22%3A3261%2C%22h%22%3A1835%7D"></figure><p><i><strong>Villain mid-game:</strong> Klaw just reached his second stage. His second side scheme gives him 10 additional hit points adding up to 28. </i></p><p> </p><figure class="image image-style-align-left image_resized" style="width:43.6%;"><img src="https://media.prusaprinters.org/media/prints/130407/rich_content/3708d4e2-edee-45e2-ac1d-e0a59503cd30/bc0f047c-01b1-427f-a439-d451eda20220206_220238.png#%7B%22uuid%22%3A%226d70da12-753c-4ec9-a4a1-724f00a77680%22%2C%22w%22%3A2015%2C%22h%22%3A1512%7D"></figure><p>There are two different tray sizes (8 counters for heroes or 11 counters for villains) and each has two variants: either stand-alone or with connectors to attach them to the card holders depicted above. <a href="https://www.prusaprinters.org/prints/131312-marvel-champions-card-holders-counter-trays">You can find them here.</a></p><p> </p><p> </p><p> </p><p> </p><p> </p><p>In order to minimize setup time I also designed a box in which the counters can be organized and stored. The box contains inserts, each holding up to 8 counters. I left a bit of wiggle room inside the box to allow picking the counters up without having to lift the carriers. The box can be closed with a sliding lid that clicks into place when fully inserted.</p><figure class="image"><img src="https://media.prusaprinters.org/media/prints/130407/rich_content/11240b7d-515b-4656-ac81-6c3db1985fd9/bc0f047c-01b1-427f-a439-d451eda20220206_222727.png#%7B%22uuid%22%3A%222cf5e376-5498-4e88-92fa-4d2e7670c849%22%2C%22w%22%3A2790%2C%22h%22%3A2095%7D"></figure><p> </p><p> </p><h3>How to print</h3><p>As with most of my designs I print at 0.2 mm layer height ("Quality" setting) usually with <i>Prusament PLA</i> or <i>DasFilament PLA</i>, using the <i><strong>standard Prusament PLA profile</strong></i> in PrusaSlicer. </p><ul><li><i><strong>Counters:</strong> </i>The counters should be printed<i> <strong>with 100% infill</strong>.</i> This gives them some weight, which keeps them sitting in the tray. They also feel much nicer when handling them. You can print them in a single color, but printing the numerals in a different color makes them much more useful. Add a color change at 8.2 mm. If you're not sure how to do that, check out one of the 3MF files in the file section.<br> </li><li><i><strong>Counter trays without connectors:</strong></i> You can print the trays with the standard settings (or any settings that work for you). <br> </li><li><i><strong>Counter trays with connectors:</strong></i> If you want to use the connectors, the print dimensions need to be accurate, so the connection is tight enough to make the parts hold together, but still loose enough to make separating them an easy process. If your printer is not correctly calibrated or your filament diameter is not consistent, you might end up with connectors that are too big or too small. So, before printing any holders and trays with connectors, you should <i><strong>first print the test models from </strong></i><a href="https://www.prusaprinters.org/prints/131312-marvel-champions-card-holders-counter-trays"><i><strong>Card Holder page</strong></i></a> and follow the instructions.<br> </li><li><i><strong>Counter box:</strong></i> No special settings required, <i><strong>standard settings</strong></i> work fine for me. If the x/y dimensions of your prints end up being to big, the lid might not slide properly. A little bit of sanding should solve that. If not, check the extrusion multiplier and/or the diameter of your fillament and adjust them.</li></ul><p> </p><h3>Misc</h3><p>Please let me know what you think. Also, do feel free to drop me a message, if you have problems with printing these or if you have ideas for add-ons or for how to improve the design.</p><p>All my models are free and may be used and shared by everyone. I put a lot of time in my designs to get everything right and I hope the result shows. So, if you like my stuff, consider hitting the donate button above.</p><p>Cheers! ^_^</p>
With this file you will be able to print Marvel Champions - Hit Point Counters with your 3D printer. Click on the button and save the file on your computer to work, edit or customize your design. You can also find more 3D designs for printers on Marvel Champions - Hit Point Counters.
